Test Mode
GiveWP’s Test Mode enables you to test your donation process thoroughly before going live. This article walks you through the necessary steps to test your donations, confirm you are receiving them, and confirm in your gateway as well.
Note: Test Mode allows you to run through the donation process with no real money involved. You’ll be able to view the donor experience and test donations on your site, but no funds are moved during test transactions.
GiveWP’s Test Mode is a powerful tool that allows you to fully test your donation process from start to finish without having to spend actual currency. Here’s an overview of how to test your donation process:
- Enable Test Mode
- Enable your payment gateway for Test Mode
- Complete a test donation on your donation form
- Confirm the test donation in your payment gateway
- Test your emails
- Confirm your Donor History pages
Enable Test Mode
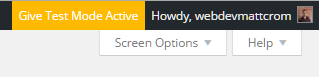
Once you activate GiveWP, you might notice that it’s already in Test Mode. You’ll find a yellow alert in the top right of your admin screen indicating Test Mode is active.
If you happen to disable Test Mode and want to enable again, you can re-enable it by navigating to Donations > Settings > Payment Gateways and selecting to enable Test Mode.

Once that’s done, you can already create a form and use the Test Donation Gateway.
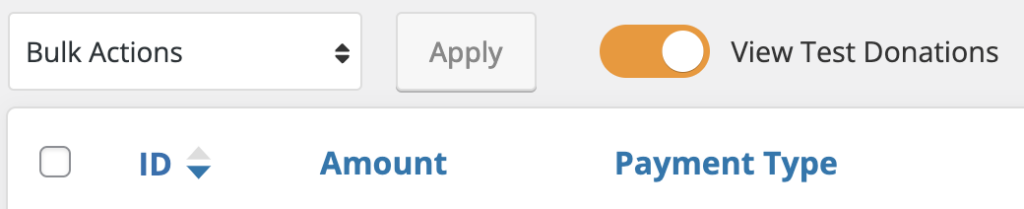
You can toggle the ability to view your test donations on or off in the Donations section of GiveWP. When viewing transactions in Donations > Donations, you’ll see a toggle button labeled “View Test Donations”. Toggle on to view your test donations, and toggle off to see only your live donations.
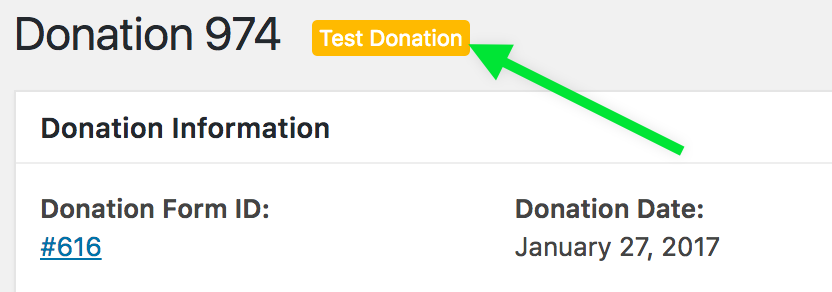
Also, when viewing an individual donation you find a similar yellow label at the top of the page.
Enable Your Gateway for Testing
GiveWP is now ready to send test data to your gateway, but the next step depends a bit on which payment gateway you are using. Each gateway has its own unique way of sending, receiving and handling test data. You can find links to each payment gateway’s documentation article, describing how to enable their unique test modes below:
Note: PayPal Standard does not have a Test Mode. If you choose PayPal as your payment option, click “Donate Now” and you will be taken to the Paypal website where you can finish your donation.
Make a Test Donation
Now that GiveWP can send test data, and your gateway is properly configured to receive and handle test data, you need to make a test donation using your payment gateway.
Note: To test your payment gateway, you will not use the Test Donations gateway. You will use test cards and your payment gateway of choice.
For example, if you need to test Stripe, you’ll enable Test Mode in GiveWP, enable Test Mode on your Stripe account, and then select Credit Card as your payment option, entering the test card details supplied by Stripe.
Each payment gateway also has a list of test credit cards which you should use for your test donations. These credit card numbers can purposely trigger specific responses. For example, you might have a test credit card number that will complete the donation successfully, while another is intended to trigger a failure message. Each test card will include notes to indicate what the intended purpose of that card is.
You can find a list of test credit card numbers for each payment gateway below:
- Stripe Test Credit Cards
- Authorize.Net Test Credit Cards
- PayPal Pro Test Credit Cards
- Braintree Test Credit Cards
- Paymill Test Credit Cards
- WePay Test Credit Cards
- 2Checkout Test Credit Cards
Confirm the Donation in Your Gateway
Now that you’ve tested your donation form while GiveWP is in Test Mode, your payment gateway in test mode, and using test credit cards, you should be able to confirm that your gateway received the donation information from your donation, and that it reflects the amount and donor information correctly.
Each payment gateway handles this information differently. You can refer to each gateway’s main documentation for more details:
Test Your Emails
When a donation is marked as complete, GiveWP automatically sends two emails:
- A Donation Confirmation Receipt to the donor
- A Donation Notification email to the site administrator.
You can test this process without actually sending these emails to live donors using the Email Cop plugin. This plugin disables your WordPress site from sending out any emails, and instead captures each email that would be sent, presenting them in a list for you to see what they would look like.
Note: When testing emails using Email Cop, you may notice a loss of styling or other elements. This is because Email Cop is intended to test the sending and receipt of emails, not the exact images that those emails include. While you may see a loss of styling, the content of the email should be correct.
- Go to Plugins > Add New and search for Email Cop. Install and activate it.
- Once activated, you’ll see an alert at the top of your admin screen indicating that no emails are being sent out from your WordPress site as long as Email Cop is activated.

- You’ll see a new menu item in the left-hand menu called “Emails”. After you complete a donation, navigate to this menu item and you’ll see a list of all the emails that Email Cop has captured. When you find the email that you want to review, hover over the title then click on “View”.

That’s it! Just make sure that you disable Email Cop properly before going live.
Test Your Donation History
Your donors might also be logging into your site to review their donation history. You can test the donor experience for this using the User Switching plugin. This simple plugin allows you to switch your current logged in user to any of the users on your website so you can interact with your site just like they would when they are logged in.
To do this, navigate to Plugins > Add New, search for “User Switching”, then install and activate it.
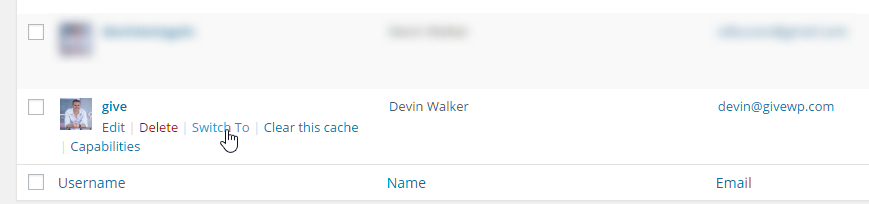
Next, navigate to Users > All Users, and you’ll see when you hover over a user’s name, there is now a “Switch to” link.
When you click this link, you’ll be able to navigate to your homepage and view your website just like the donor would, including seeing their entire donor history on your designated Donor History page.
To switch back to your account, hover over the profile in the top-right admin back and you’ll see a link that says “Switch back to {your admin username}”.

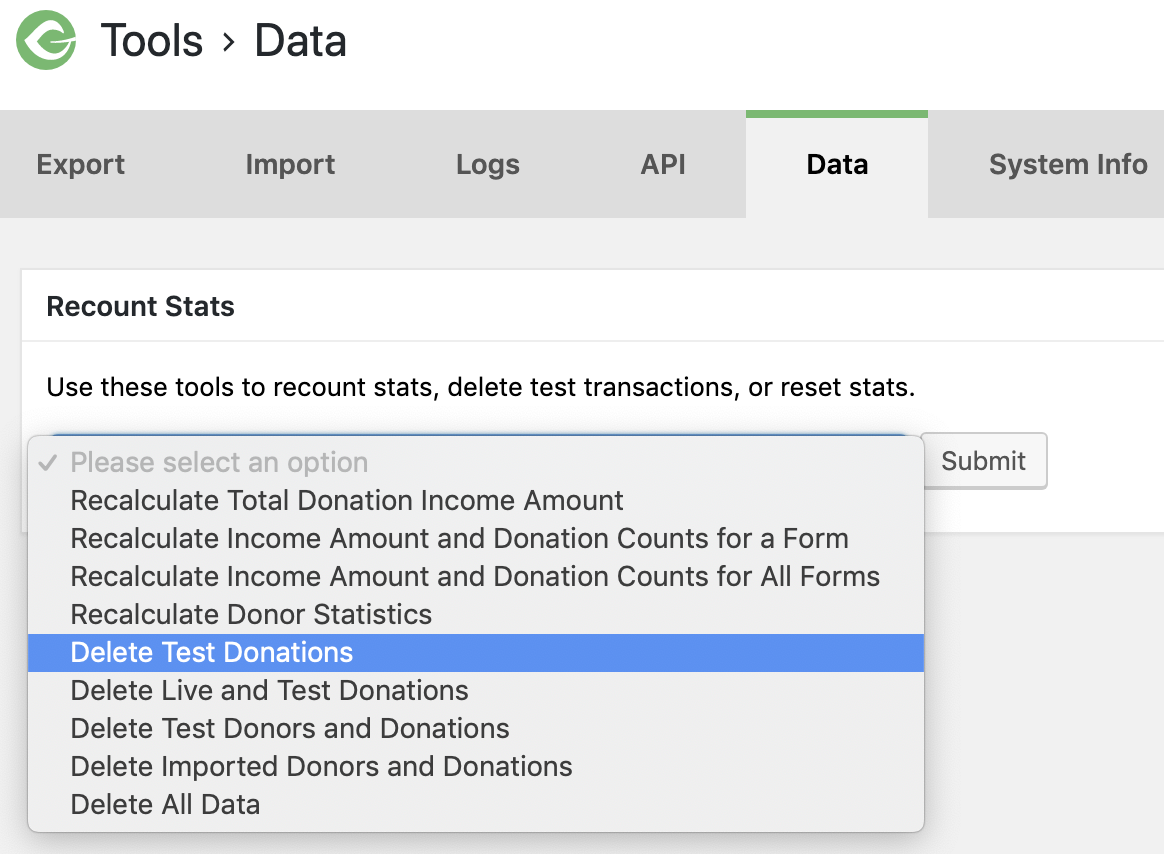
Removing Test Donations
To remove test donations, navigate to Donations > Tools > Data (tab) and select “Delete Test Transactions” from the dropdown. Now your data is free of test transactions and their related donors, records, and log entries.
A Note on Staging and Local Development
Despite all of these precautions and testing methods, a live environment is never a safe place to be changing and updating settings for your donation platform, or your website in general. We highly recommend one or both of the following:
- Use a host that offers a staging environment. There are many, but we recommend the following:
- Develop your site locally. This might sound daunting but we believe that using Desktop Server makes it as easy — and even enjoyable — as possible. Read our review and tutorial on our Impress.org blog here.


