Dwolla Gateway
Learn everything you need to know about how to accept donation payments with Dwolla and the GiveWP WordPress plugin.
Getting Started with Dwolla
In order to accept payments with Dwolla using GiveWP you will need to have an active Dwolla account, the Dwolla add-on, and the Core GiveWP plugin installed and activated. See here for instructions on installing and activating GiveWP Add-ons.
After your Dwolla Add-on is activated, go to “Donations > Settings” and click on the Payment Gateways tab. There you will see the default Payment Gateways (PayPal Standard, Test Payment, and Offline Donations). You should also see Dwolla as an option as well. Click on that to enable Dwolla as your payment Gateway for your website.
Obtaining your Dwolla ID and Keys
Once you have activated the Add-on, it’s time integrate your Dwolla account with GiveWP. You’ll need to register an Application in your Dwolla account, and use the API Keys generated there to configure GiveWP with Dwolla.
Test vs Live
Dwolla has mirror live and test sites to help you test donations and ensure payments process properly before implementing it on a live site. To test Dwolla, ensure GiveWP has in test mode enabled under Settings > General > Test Mode and make sure the sandbox is setup properly. First, create an account for both Dwolla live and test domains:
Dwolla Domains:
- LIVE: https://www.dwolla.com/
- TEST: https://uat.dwolla.com/

Dwolla provides identical test and live platforms for testing purposes. This is very convenient for testing things work as expected. We always recommend testing integrations prior to implementation on a live website.
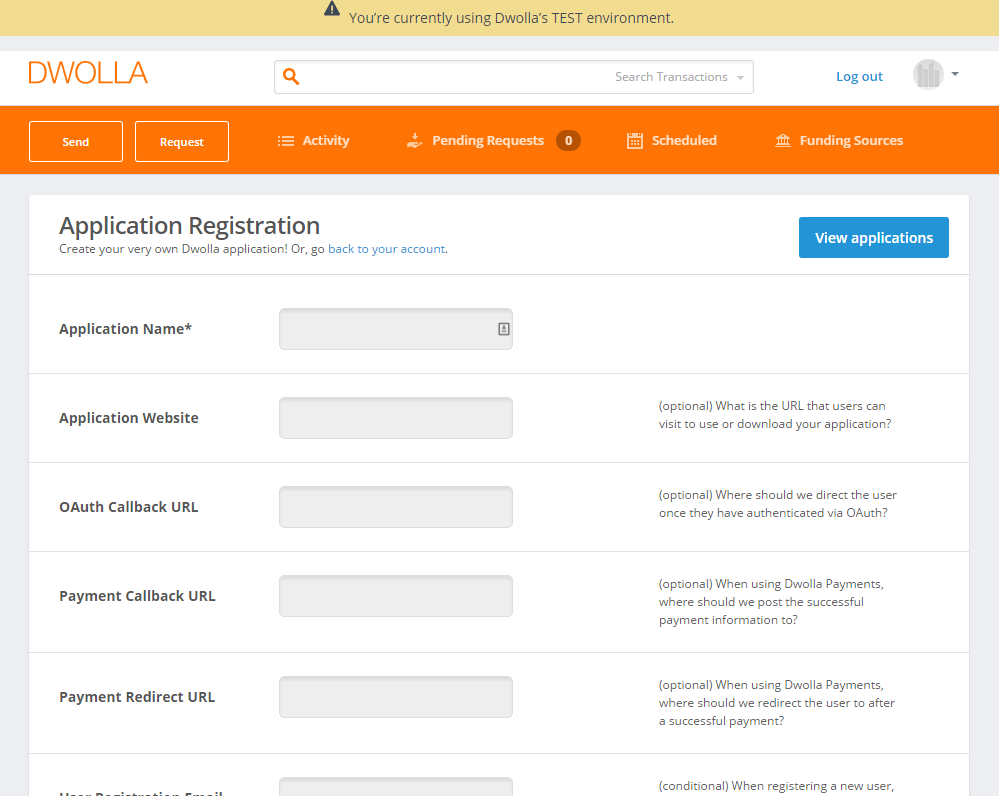
Register an Application
The first thing you should do to integrate Dwolla with GiveWP is register an application (test and live):
- Click here to register a LIVE application: https://www.dwolla.com/applications/create
- Click here to register a TEST application: https://uat.dwolla.com/applications/create
You can use any name you would like for the application. The website address should be the URL of your website and you can leave all the other URL fields blank. For the permissions required you check just “Account Information” – GiveWP needs the minimum permissions to function properly.
Once the Dwolla application has been created copy the App Key and Secret Keys to a safe place:

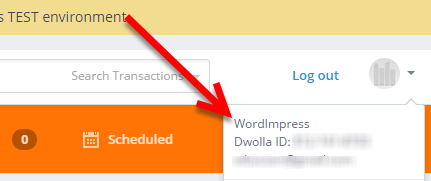
Get Your Dwolla ID
Now that we have our Dwolla Application information the last piece of information we need is our account’s Dwolla ID. Thankfully, it’s very easy to find this… just login to either the live or test accounts and click on your avatar in the top-right corner to reveal your Dwolla ID:
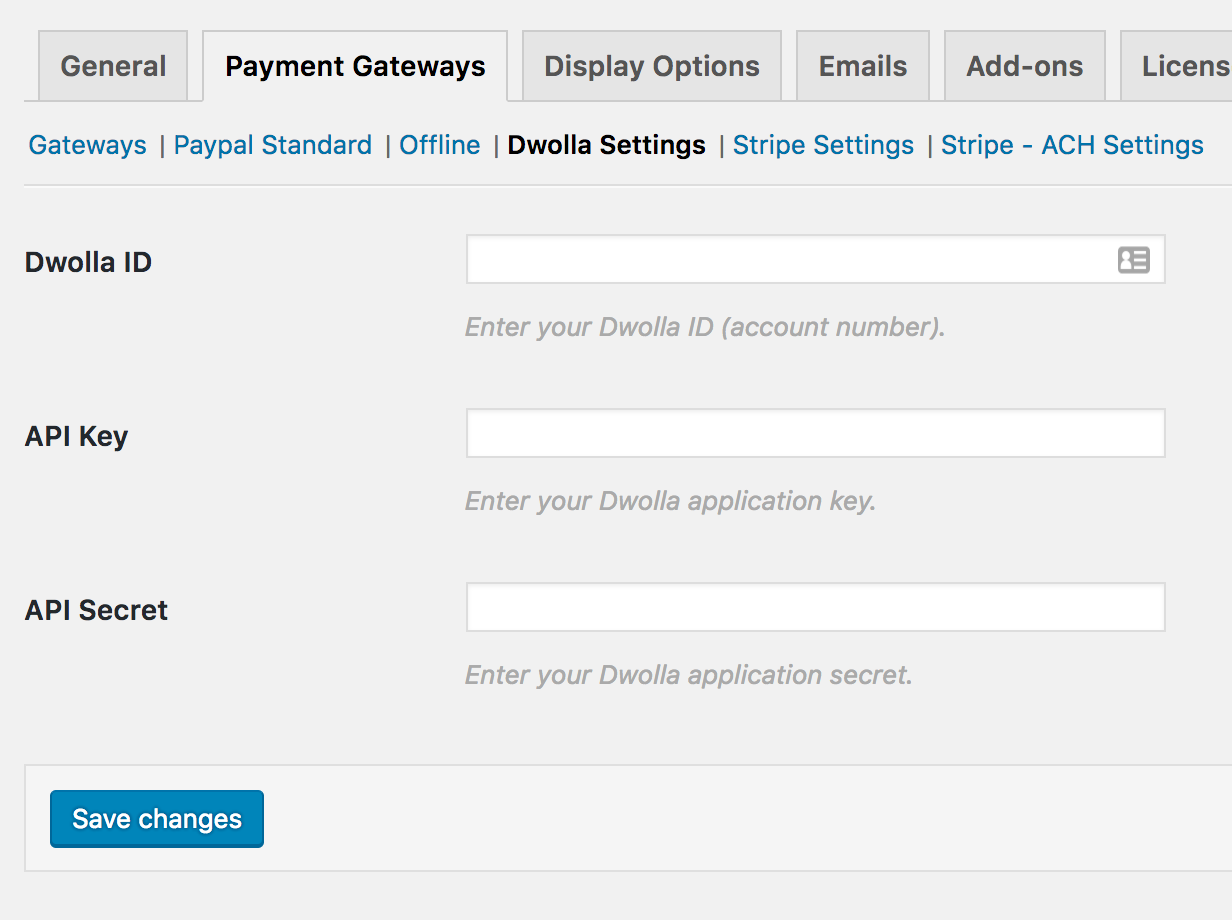
Configuring GiveWP
Now you’re ready to integrate your account with GiveWP.
Copy each key/ID from the steps above into your WordPress site. To do this, login to your site and navigate to “Donations > Settings” and click on the Payment Gateways tab. There you’ll see a section called Dwolla Settings. Paste each key into it’s respective field, then click save.
That’s all there is to it. Now when your donors come to your site, they’ll be able to use their Dwolla account to donate your cause.
Common Questions
The following section provides helpful troubleshooting information should you experience trouble with the add-on or integration.
Common Questions
Unfortunately, our Dwolla add-on does not currently support recurring donations.


