Creating Campaigns
Introduction
Creating a Campaign in GiveWP is a simple and intuitive process designed to help you launch engaging fundraising initiatives quickly. This guide walks you through setting up your campaign, configuring donation options, and customizing your campaign page to maximize impact.
By the end of this guide, you’ll be able to:
- Create a new Campaign from your WordPress dashboard.
- Customize your campaign with images, goals, and donation options.
- Publish and share your campaign with your audience.
Creating a Campaign
Begin in your WordPress Dashboard.
- WordPress Dashboard > GiveWP > Campaigns
- Click the “Create Campaign” button to begin the setup process.

Configuring a Campaign
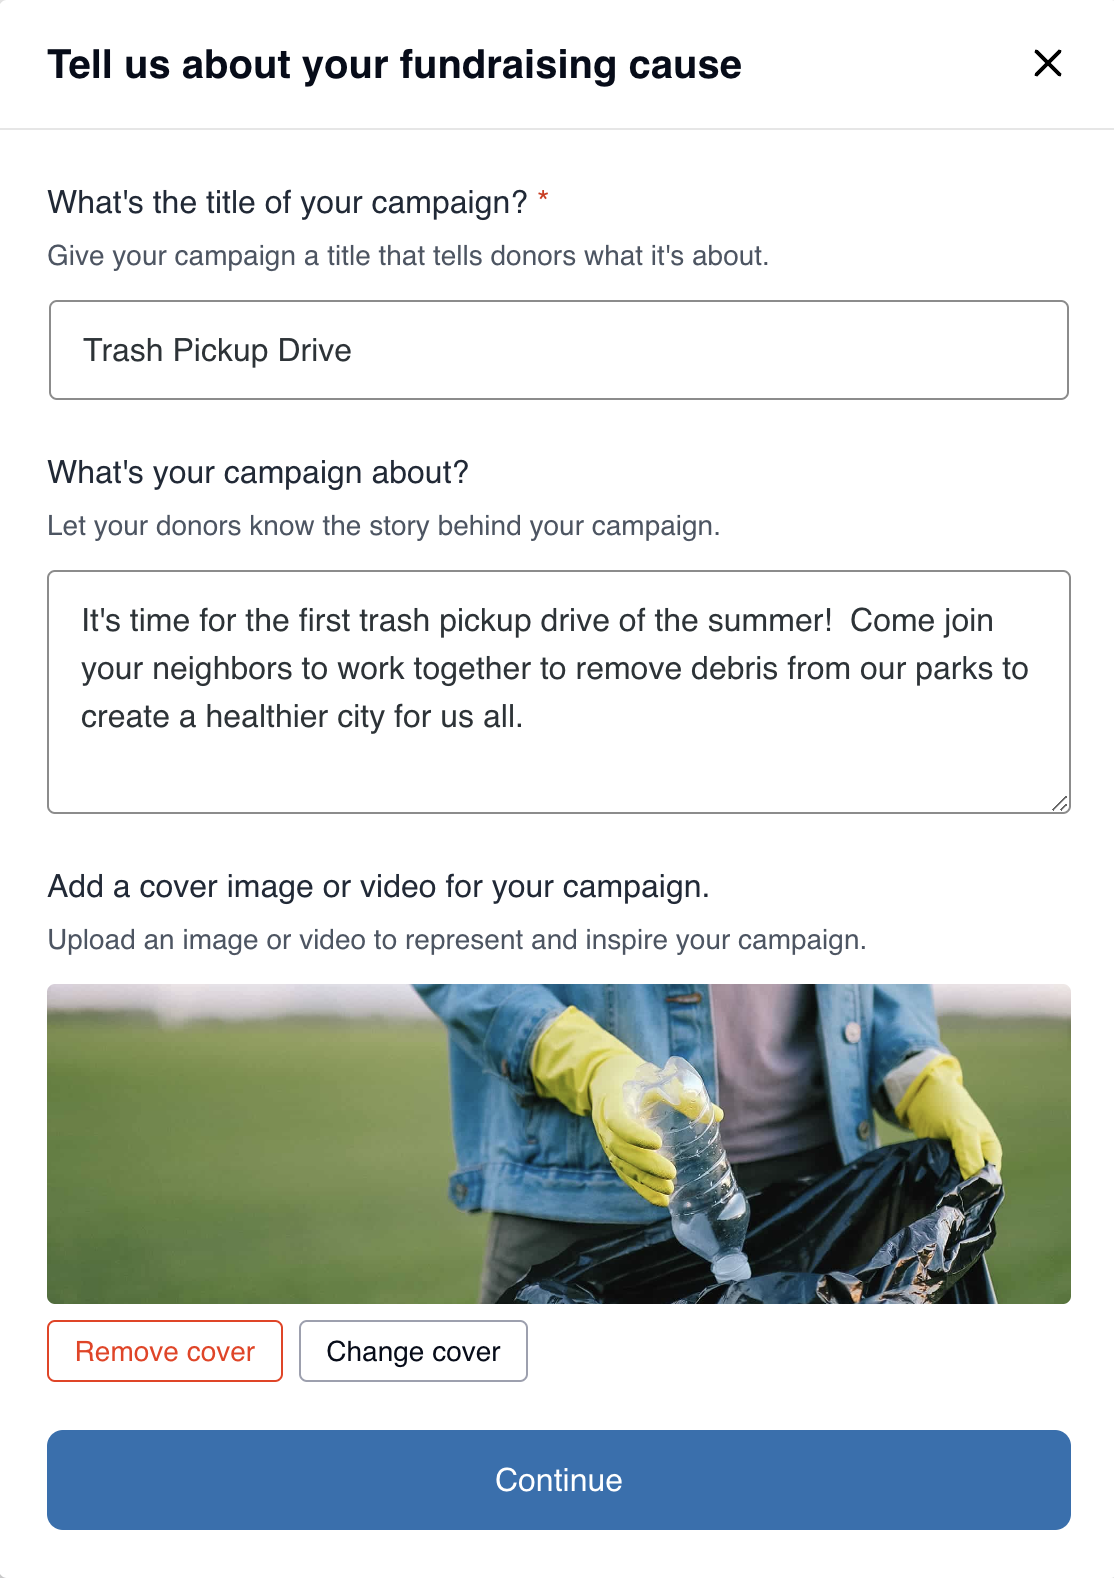
Creating a campaign in GiveWP involves setting up the basics that tell the story and inspire potential donors. This includes the campaign title, description, and visual elements.
- Add a compelling campaign title that captures your fundraising goal. (Required)
- Use the description section “What’s your campaign about?” to tell your story, explain why you’re fundraising, and provide key details about what inspired you to get started. (Limit: 120 characters)
- Pictures are key! Add a cover image to create visual appeal for donors. (Recommended size: 1600px x 900px)
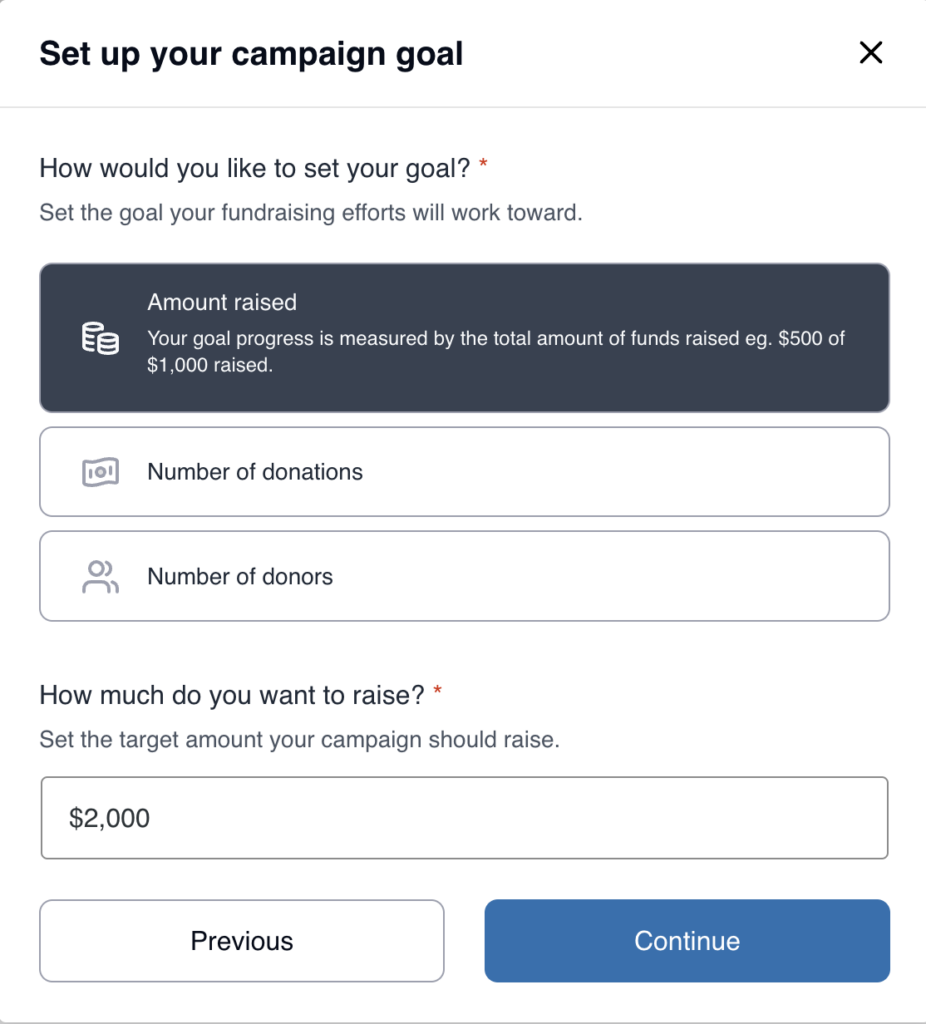
Campaign Goal and Progress Tracking
Set a fundraising goal for your campaign (required). You can choose from Amount raised, Number of donations, or Number of donors. If you have the Recurring Donations add-on installed, you can also choose from Recurring amount raised, Number of recurring donations, and Number of recurring donors. Select the one that best fits your overall campaign goal. After your campaign is created, you can change your goal at any time.
Click Continue, and your campaign will be created.
Next Steps to a Live Campaign
Congratulations on creating your Campaign! There are a few more steps before you can start fundraising.
Edit and Publish Your Campaign Page
This will be the landing page for your Campaign, where donors go to learn about your cause and make a donation. This page is optional, and you can add your donation form to any page on your website.
Learn how to edit and publish your Campaign Page.
Edit and publish your Donation Form
Each Campaign created automatically includes a Donation Form. You will need to edit this form to customize the design, settings, and form fields. After that, publish the form to make it available for donations.
Learn how to edit and publish your Donation Form.
Campaign Statuses
Each campaign can have one of three statuses: Active, Archived, or Draft.
- Active: A campaign with this status is live and currently accepting donations. Every campaign starts in this status when it’s created.
- Archived: Once a campaign is published, it cannot be deleted. However, you can set its status to Archived to prevent the campaign from taking in donations.


