Manual Donations
The Manual Donations Add-on allows you to enter new Donations through your WordPress Dashboard. This add-on is not designed to actually charge donors’ cards/accounts but to add donations to reconcile donations that already exist elsewhere and need to be added to your site. This article walks you through the steps to adding those manual donations.
Articles in this section:
 Working with Form Field Manager
The Manual Donations Add-on provides a simple way to add donations manually to your website using the admin interface. This is an effective method of reconciling charges that have happened at the payment gateway with your data in GiveWP.
Requirements:
- GiveWP 1.5 or newer
- Installing and activating block
Watch or Read
If you like watching tutorials, we have this simple walk-through for you here. Otherwise, scroll down for full detailed text.
Creating Manual Donations
There’s no configuration necessary to use the Manual Donations Add-on. It does not affect the front end of your site at all for visitors and donors. It works with any of your payment gateways, with this important clarification: you are not actually processing a transaction with the Payment Gateway. You are creating a record of a transaction that has already happened in one way or another.
Manual Donations do not actually charge cards or process payments. This Add-on is intended to create donations that may have happened outside of GiveWP for your records.
After activating the Add-on, you’ll see a few changes. First, when you hover over the “+New” link on your admin bar you’ll see a new post type to add called “Donation.”
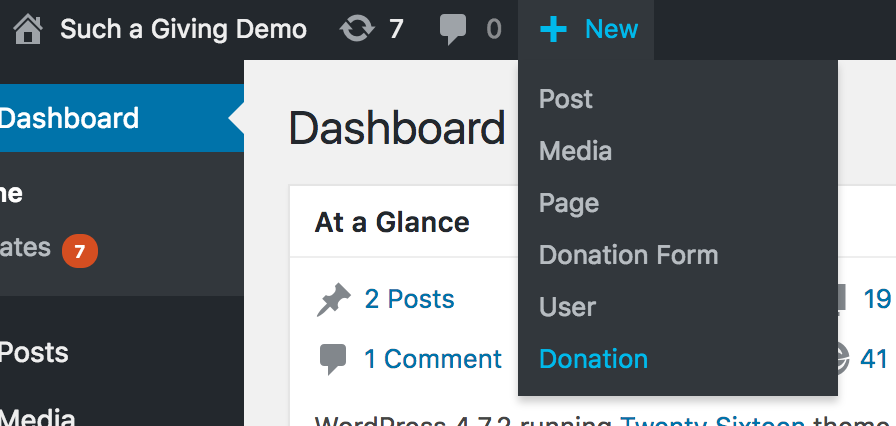
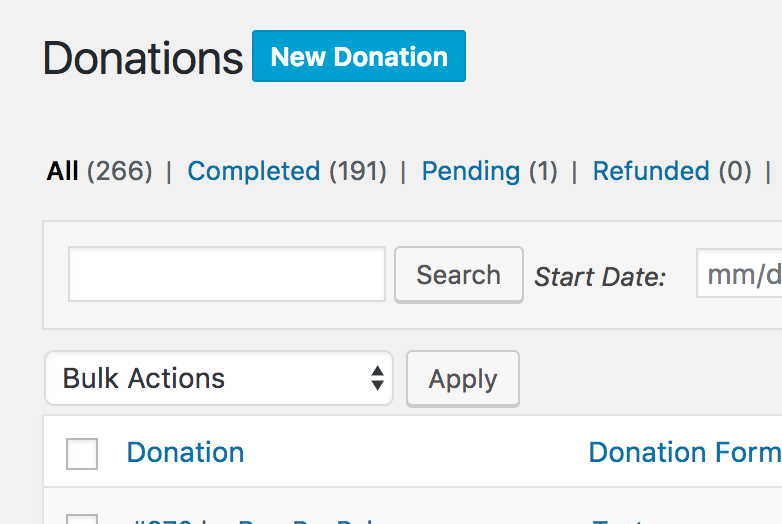
Additionally, on the Donations page (navigate to GiveWP > Donations in the admin area) you’ll see a new link to “Create Donation.” Both of these two new links take you to the same Manual Transactions page.
On that page, you can create a manual donation. Let’s walk through how:
Selecting your Form
The first option available is to select which form this donation will be connected to. Select the form from the dropdown.
GiveWP Donation Forms have a lot of variety in the options available. For the purpose of donations, Manual Donations dynamically shows different information based on the form you choose.
Standard Forms: Simple, one-time forms with a “Set Donation” amount simply ask for the amount.
Multi-level Forms: Forms with multiple levels will show a new “Donation level” column for you to choose the associated level.
Recurring Forms: Forms using our Recurring Donations Add-on will dynamically show an alert indicating that you are creating a new Manual Subscription.
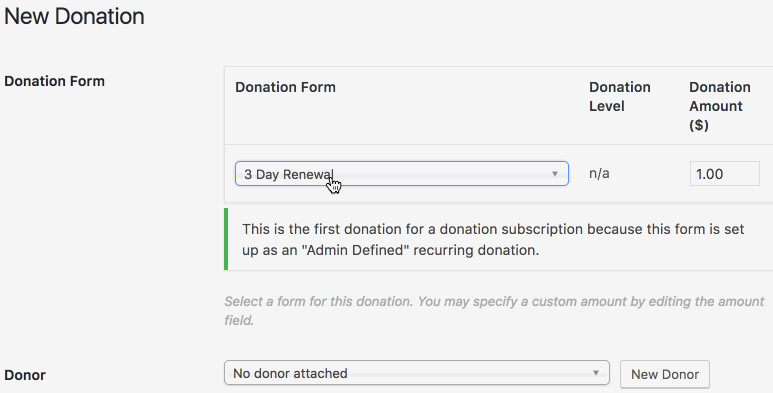
Once your form is selected you can enter any amount you like.
Choose Your Donor
The next section allows you to choose the donor to this donation should be attached to. All donations must be attached to a donor. From here you can either pick one from the dropdown, or click the New Donor button to bring up the required fields for creating a new donor.
Donation Status
The Donation Status dropdown allows you to choose the status for the transaction.
Payment Method
The Payment Method allows you to choose from the activated payment gateways. Important note: This dropdown pulls from all available payment gateways, not just the enabled ones. So, if you receive an offline donation, but don’t want to enable offline donations on the front end of your form, you can still manually create the offline donation here.
Keep in mind that donations created with the “Test Gateway” will have the “Test” label appended to them. These can be deleted in bulk with the “Delete Test Donations” tool.
Date
The Date option autofills with today’s date, but you can make the date any day in the past by clicking the date field and selecting it. Selecting a future date will give the donation today’s date as well. If you need to future-date a donation, once you’ve manually created the donation you can go into the individual record and change the date to the future. Note that future-dated donations still show up on goal progress bars.
Send Email Notifications
If you want the donor and/or the site admins to receive an email notification about this donation, check the appropriate boxes. The Donor you selected will receive the standard Donation Receipt email if selected; and the Admin will receive the Admin Notification.
Note that the email setting in GiveWP > Settings > Emails (tab) take priority over the Manual Donations setting here.This means that if you’ve disabled admin emails there, this option will not send an email, no matter what.
Notes
The Notes section allows you to add any additional details to the donation before saving it. These will appear at the bottom of the “Donation Details” screen.


