Razorpay Gateway
Razorpay, a popular payment gateway in India, provides excellent support for many forms of payment such as credit cards, net banking, UPI and more. The following article describes how to integrate Razorpay with GiveWP using the official add-on.
Getting Started with Razorpay
In order to accept payments with Razorpay using GiveWP, you will need to have an active Razorpay account, the Razorpay GiveWP Add-on, and the GiveWP Core plugin installed and activated. It is also highly recommended that you have an active SSL certificate for your website.
Click here for instructions on installing and activating GiveWP Add-ons.
Note: You can always access your add-on purchase receipts, downloads, and licenses from your GiveWP Account dashboard.
Adding Your Razorpay API Keys to GiveWP
API keys are necessary for GiveWP to send donation information securely to Razorpay. This requires logging into your Razorpay account, copying down the API keys, and then adding them into your GiveWP Settings.
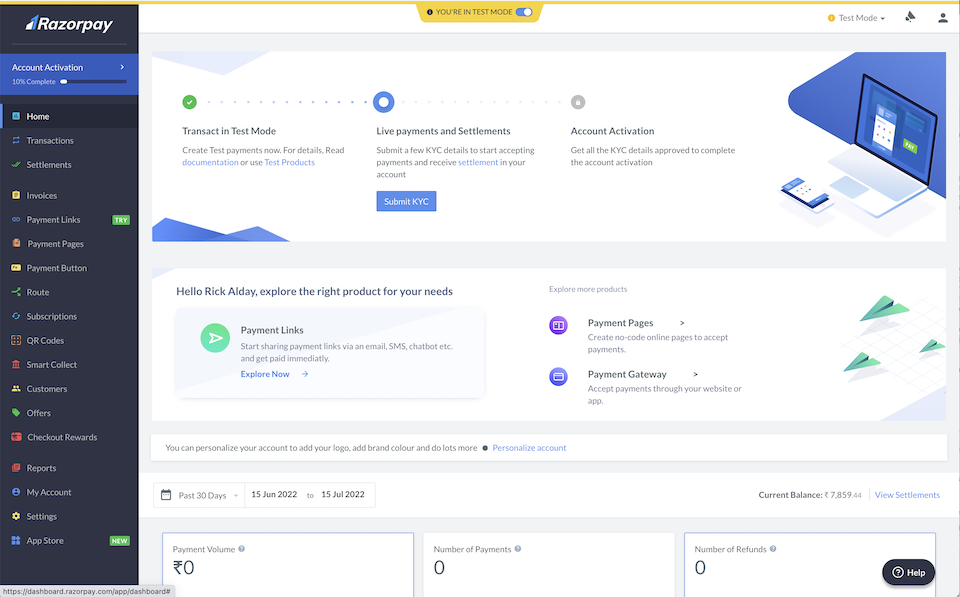
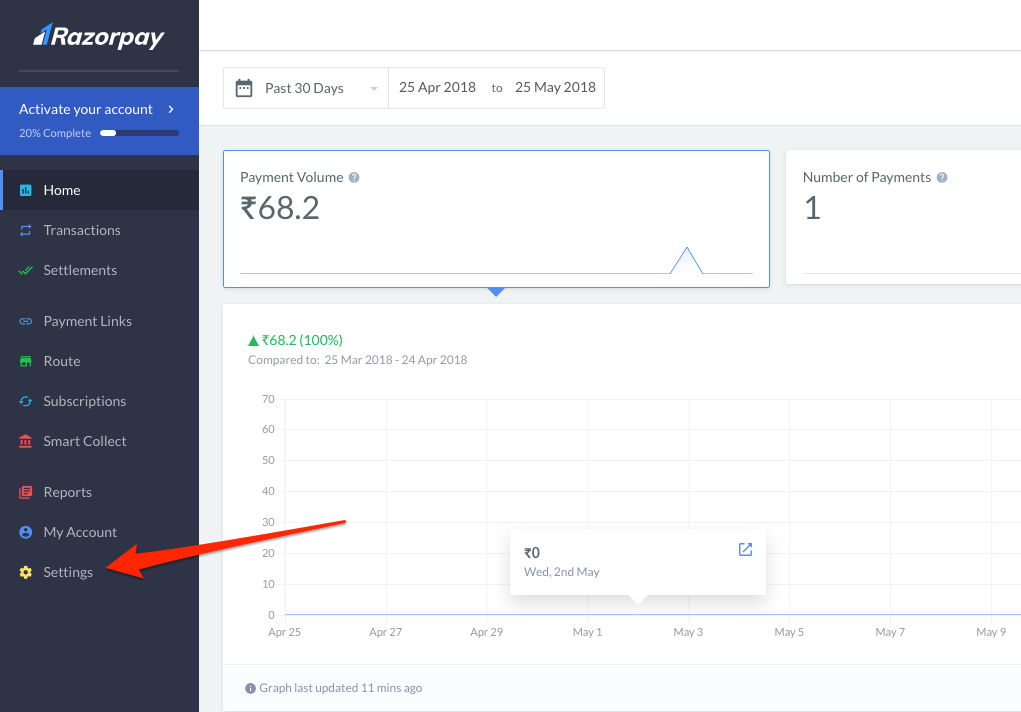
1. Log into your Razorpay account and click on the Settings tab:
2. Select the API Keys tab.
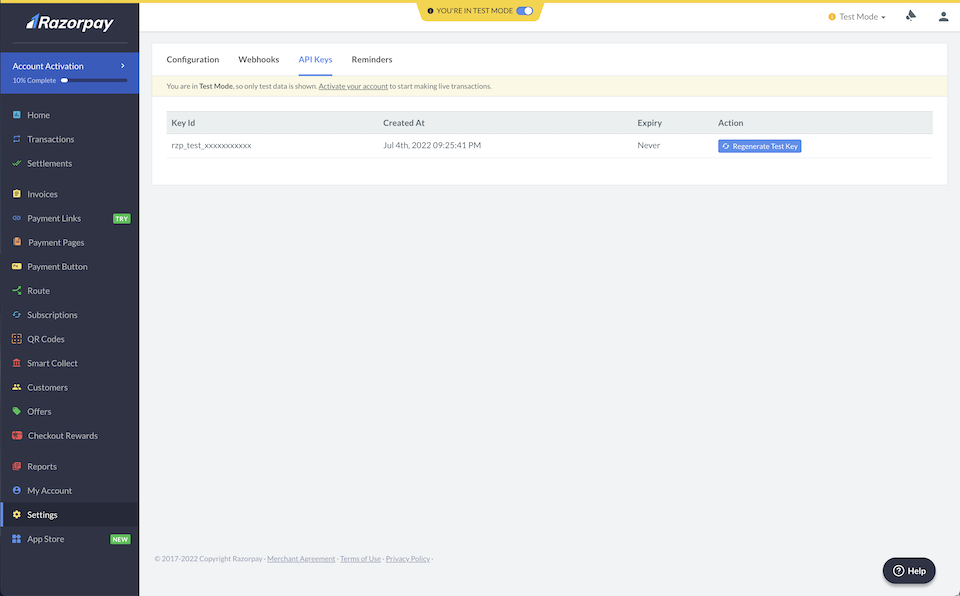
The only way to get the Key Secret is to click the “Regenerate Test Key” button.
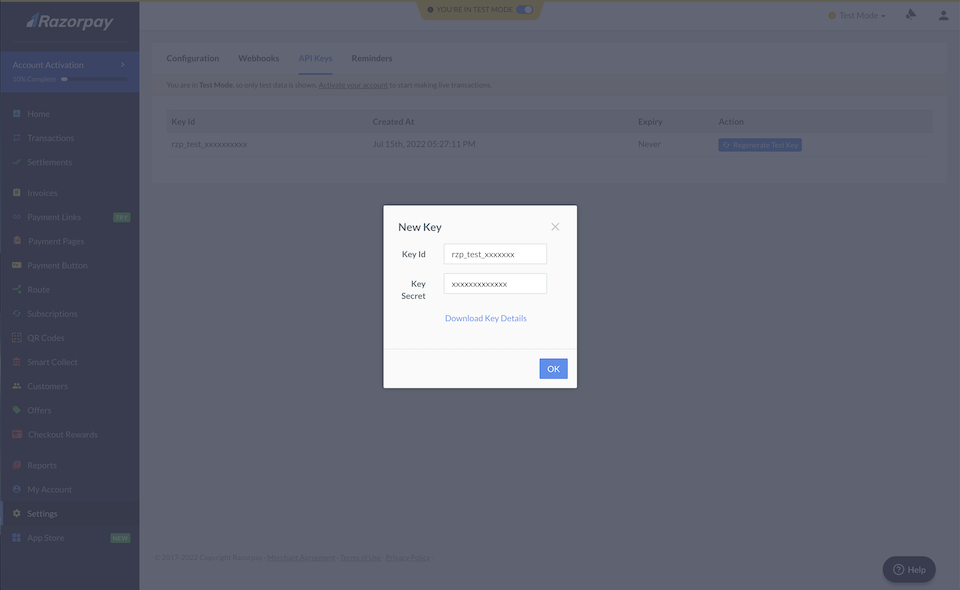
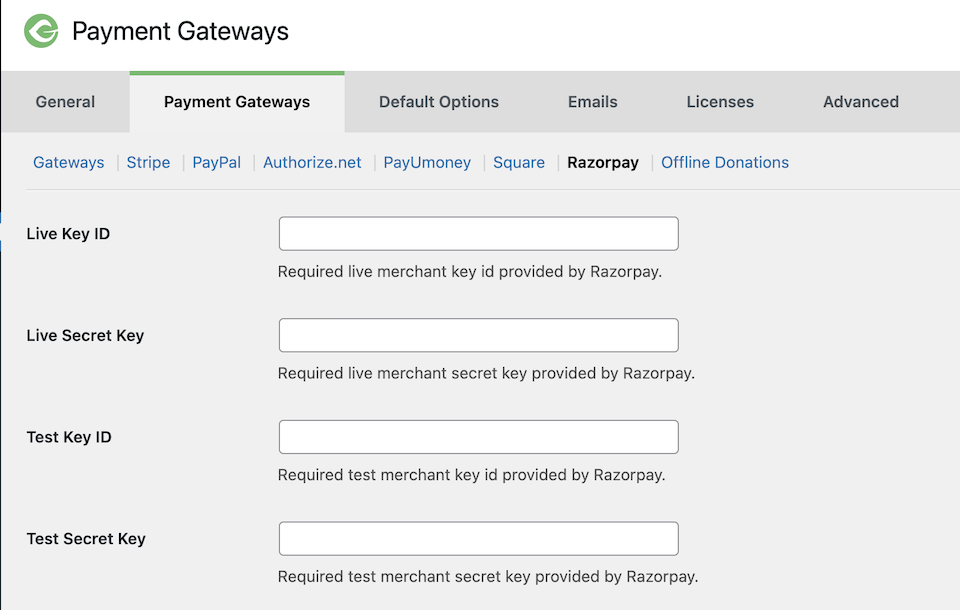
3. Copy the appropriate keys into GiveWP. The “Test Mode” keys go into the “Test Key” fields within GiveWP. Likewise, the “Live” Razorpay keys go into the “Live” key fields within GiveWP:
Testing the Razorpay Integration
Once the plugin has been setup you can now test the plugin to see if it works properly.
- To begin testing place GiveWP in “Test mode” – Read more about GiveWP’s Test Mode.
- Ensure that the Razorpay gateway is active.
- Navigate to a donation form on your website and checkout using the Donate button.
- Test using a card number like 4111 1111 1111 1111 with any future expiry date and CVV in test mode.
- Upon successful donation you will be taken to the successful donation page.
Paying with Razorpay
The Razorpay payment process is done completely on your website via the checkout modal popup. Here is the process of making a donation with Razorpay from a donor’s perspective.
1. Navigate to a Donation Form with Razorpay enabled.
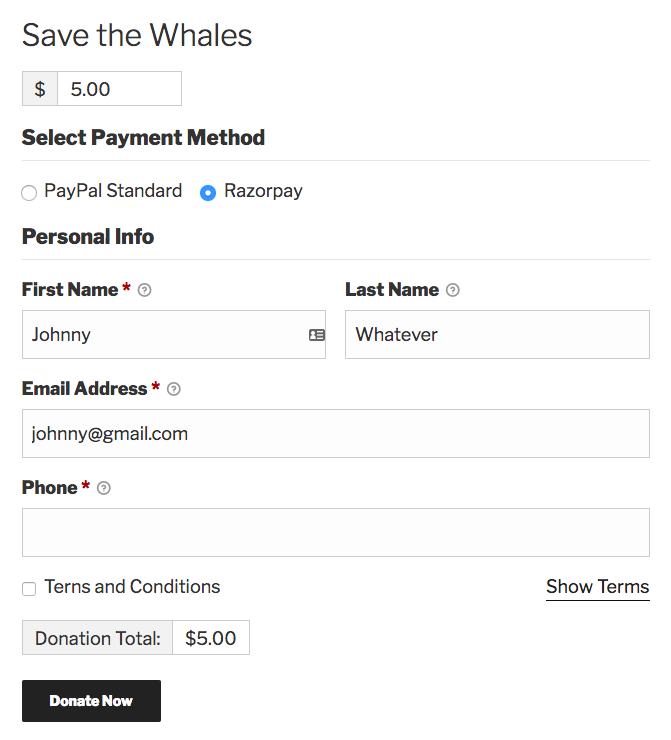
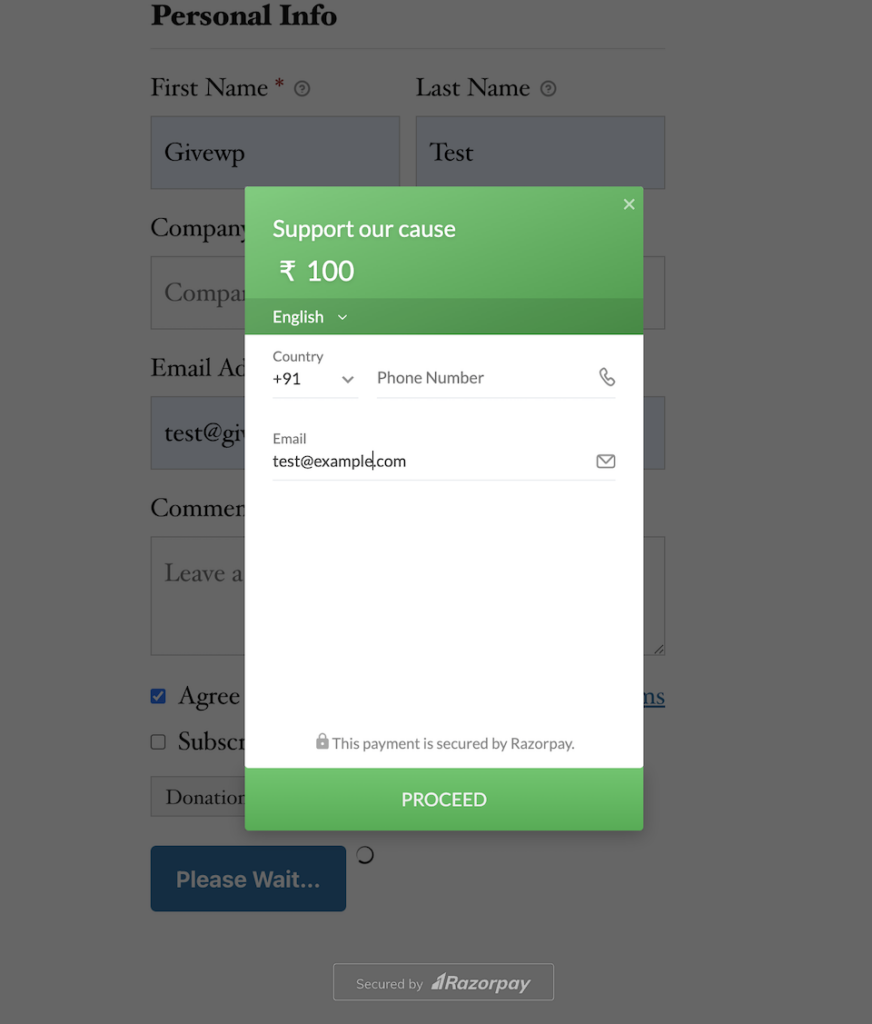
2. After the donation form is completed and the “Donate Now” button is clicked the Razorpay checkout appears.
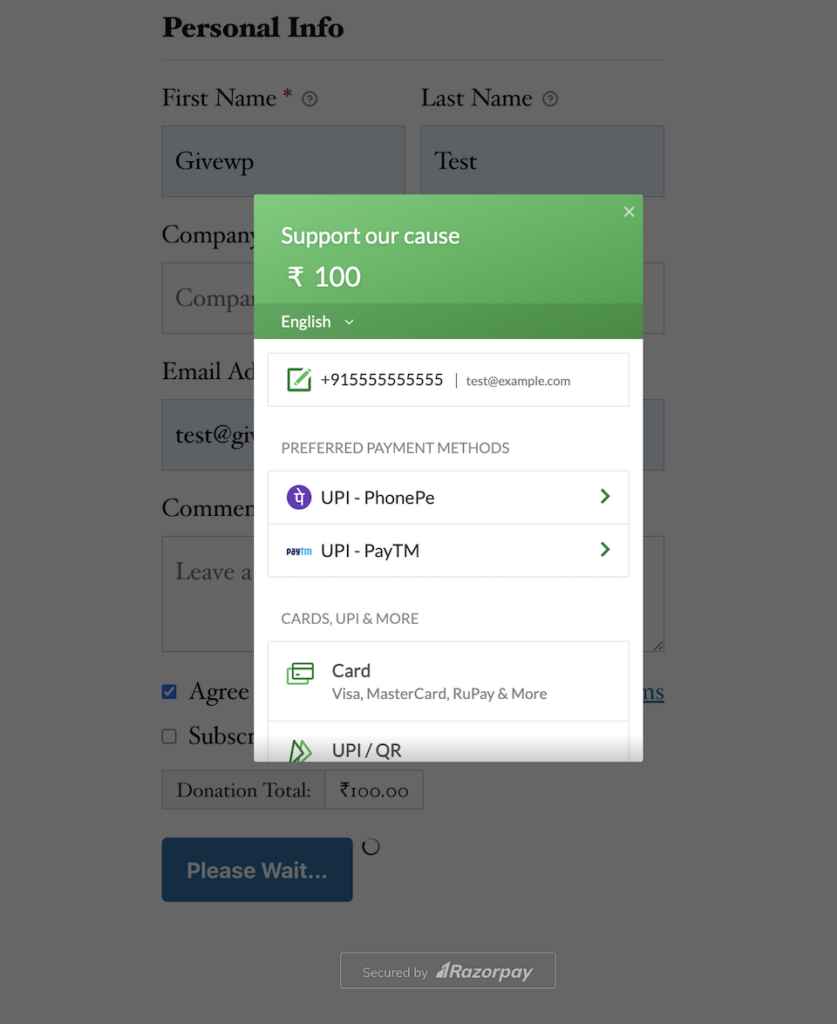
3. The donor selects a payment method and continues.
Test Cards and Test UPI ID
Use test cards to test domestic payments, international payments and subscriptions. Use test UPI IDs to test domestic one-time payments.
To use the test card details:
- At the Checkout, select Card as the payment method.
- Enter the card details. This depends on the flow you are testing.
- Enter any random CVV.
- Enter any future date as the expiry date.
- Click Pay. A sample payment page is displayed.
- Click Success to make the payment successful.
- Click Failure to fail the payment.
Test Cards for Domestic Payments (India)
Mastercard
5267 3181 8797 5449
Random CVV
Any future date
Visa
4111 1111 1111 1111
Random CVV
Any future date
Test Card for International Payments
Mastercard
5555 5555 5555 4444
5105 1051 0510 5100
Random CVV
Any future date
Visa
4012 8888 8888 1881
5104 0600 0000 0008
Random CVV
Any future date
Test Card for EMI Payments
Mastercard
5241 8100 0000 0000
Random CVV
Any future date
Test UPI ID
To use the test UPI ID details:
- At the Checkout, select UPI as the payment method.
- Enter the UPI ID.
- Test payment success flow using success@razorpay.
- Test payment failure flow using failure@razorpay.
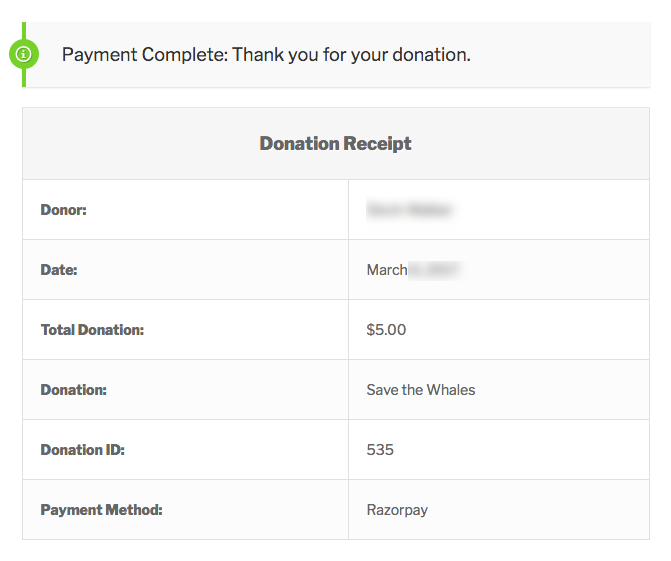
4. Upon successful donation the donor is taken to the receipt page on your website.
Common Questions
The following section provides helpful troubleshooting information should you experience trouble with the add-on or integration.
Common Questions
Yes, the GiveWP Razorpay add-on supports Recurring Donations.


