PayPal Website Payments Pro (REST API)
Note: PayPal Pro is no longer supported by GiveWP. PayPal Pro will be maintained for existing users and include help with technical support for those users.
Moving forward, PayPal Donations (free in GiveWP core) is the best way to accept donations via the PayPal payment gateway. PayPal Donations allows for easy PayPal, credit card, or Venmo payments. The Stripe add-on is also recommended for its wide variety of payment options, including Apple Pay and Google Pay. If you have any questions about the best payment gateway option for you, reach out to our Customer Success team.
PayPal is one of the most widely recognized and used payment gateways in the world. PayPal Website Payments Pro allows non-profits in the US, Canada, and the UK to accept secure credit card payments on their site directly rather than being redirected to the PayPal website. This article will walk you through how integrate PayPal Website Payments Pro (REST API) with GiveWP on your WordPress website.
Getting Started with PayPal Website Payments Pro
A PayPal Website Payments Pro account allows you to accept donations via credit card directly on your website. In order to accept payments with PayPal Pro using GiveWP you will need to have an active PayPal Website Payments Pro account, the PayPal Pro Add-on, and the core GiveWP plugin installed and activated. See here for instructions on installing and activating GiveWP Add-ons.
Note: You can always access your add-on purchase receipts, downloads, and licenses from your GiveWP Account dashboard.
After your PayPal Pro Add-on is activated, go to “Donations > Settings” and click on the Payment Gateways tab. There you will see the default Payment Gateways (PayPal Standard, Test Payment, and Offline Donations). You should also see additional PayPal options available.
Note: The PayPal Website Payments Pro (REST API) gateway is not available to new PayPal accounts. Newer accounts will want to use the PayPal Payments Pro gateway to process credit card donations.
Setting Up PayPal Website Payments Pro
Before you can start accepting donations via PayPal Website Payments Pro the gateway needs to be connected to PayPal. Don’t worry, the setup process is pretty quick and simple.
First, head over to https://developer.paypal.com/ and login using your PayPal login. Once logged in, you will be taken to your dashboard (if not, click on “Dashboard” in the top right of the screen). First, let’s create a sandbox account before we create our PayPal app. This allows us to assign the sandbox account to the app upon creation.
Creating a PayPal Sandbox Account
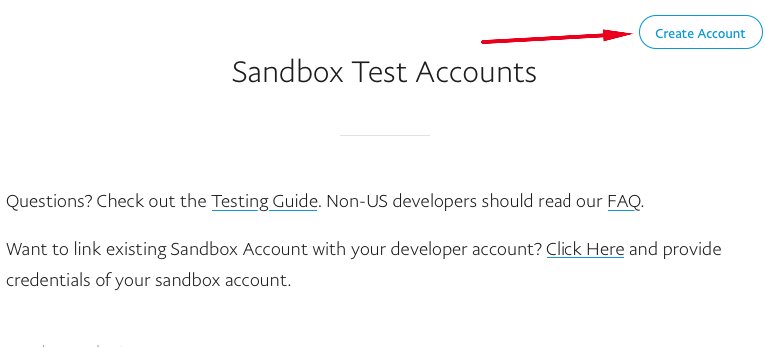
After you log in you should see a screen similar to the one below with the “Sandbox > Accounts” link in the left sidebar:

Click that link to be brought to the Sandbox Test Accounts page. Click Create Account in the top right:
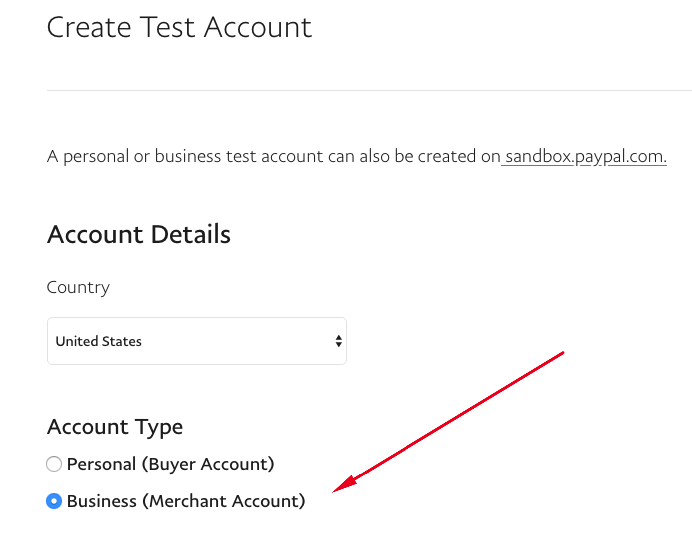
Set up your test account. Be sure that when you create the sandbox account it’s set up as “BUSINESS-Pro”.
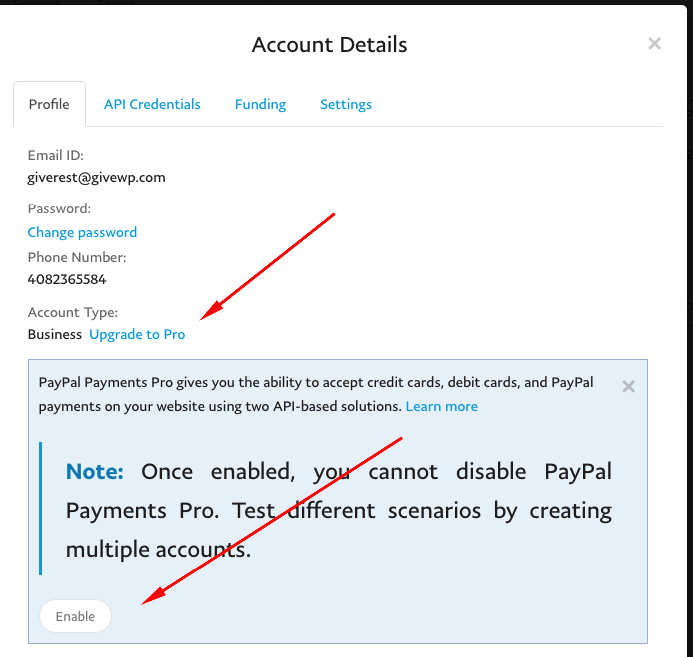
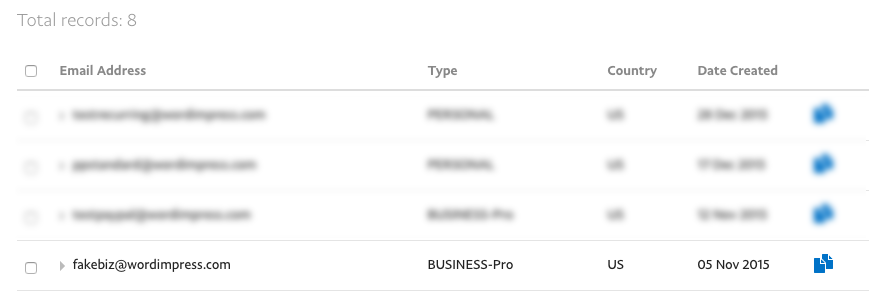
Once you create the PayPal Sandbox account you should see “Business-Pro” under the “Type” column in the account list screen:

If you do not see this hover over the account and click on “Profile” and upgrade the account to business pro:
Once the sandbox account has been created it’s time to create our REST App.
Creating the PayPal REST App
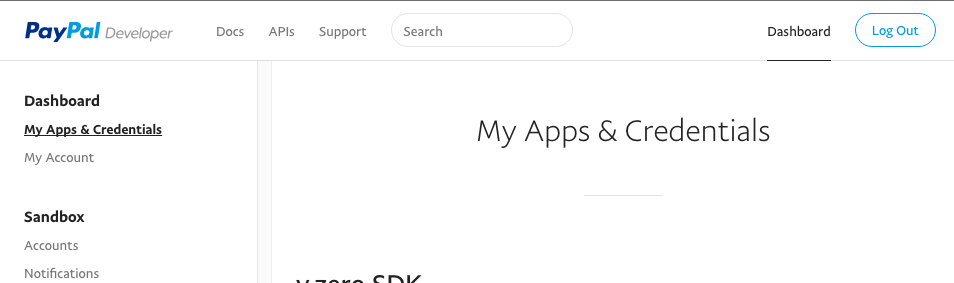
A PayPal REST App is necessary for GiveWP to integrate with PayPal and process payments. To create a PayPal REST App click on “My Apps and Credentials” in the left menu. You will be taken to the following screen:
Scroll down the page a bit until you see REST API apps:
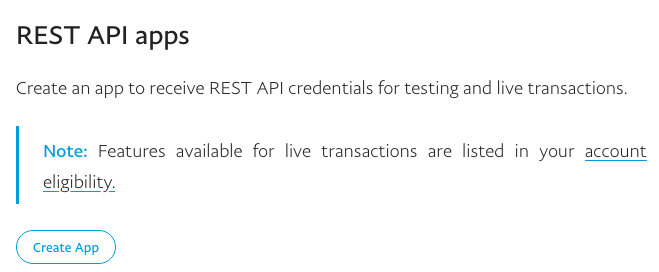
Click the Create App button shown above.
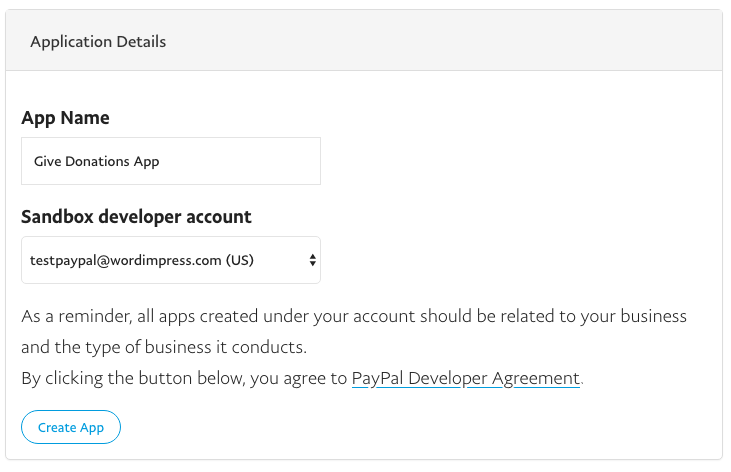
Provide the App a name and select the sandbox account we created in the steps above and click Create App.
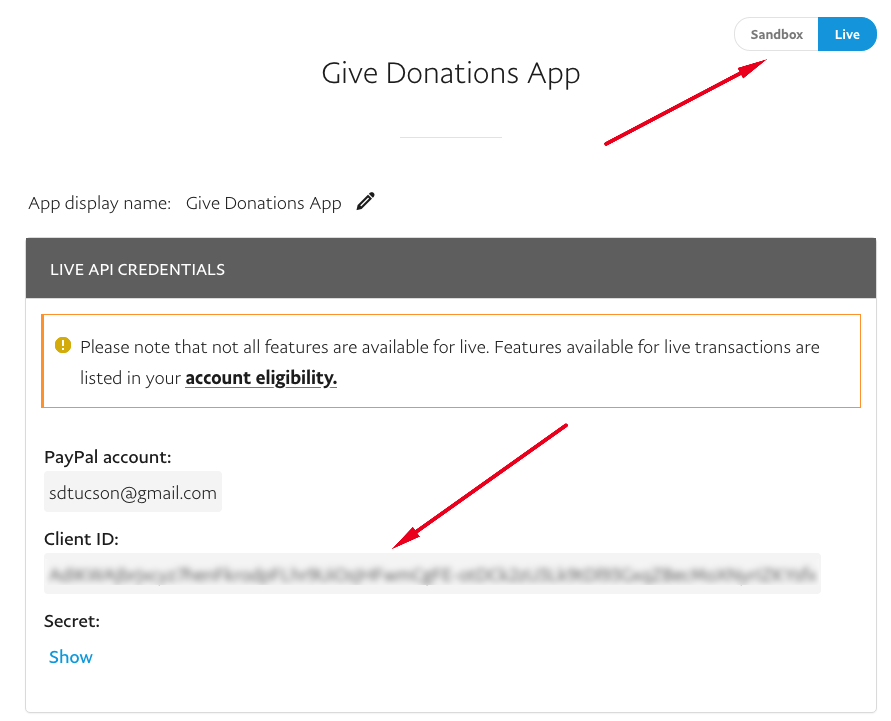
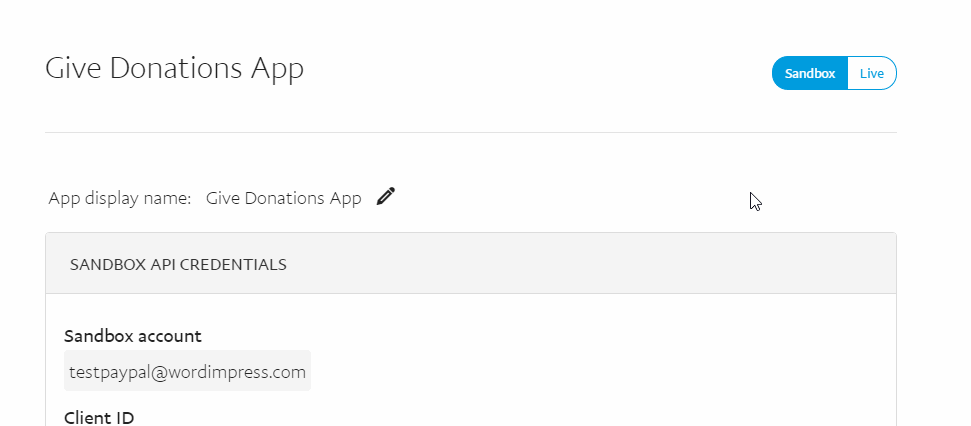
Once the App has been created copy your live and sandbox Client ID and Secret API Credentials to a secure location for your records.
Take note of the sandbox/live switch to toggle app credentials:
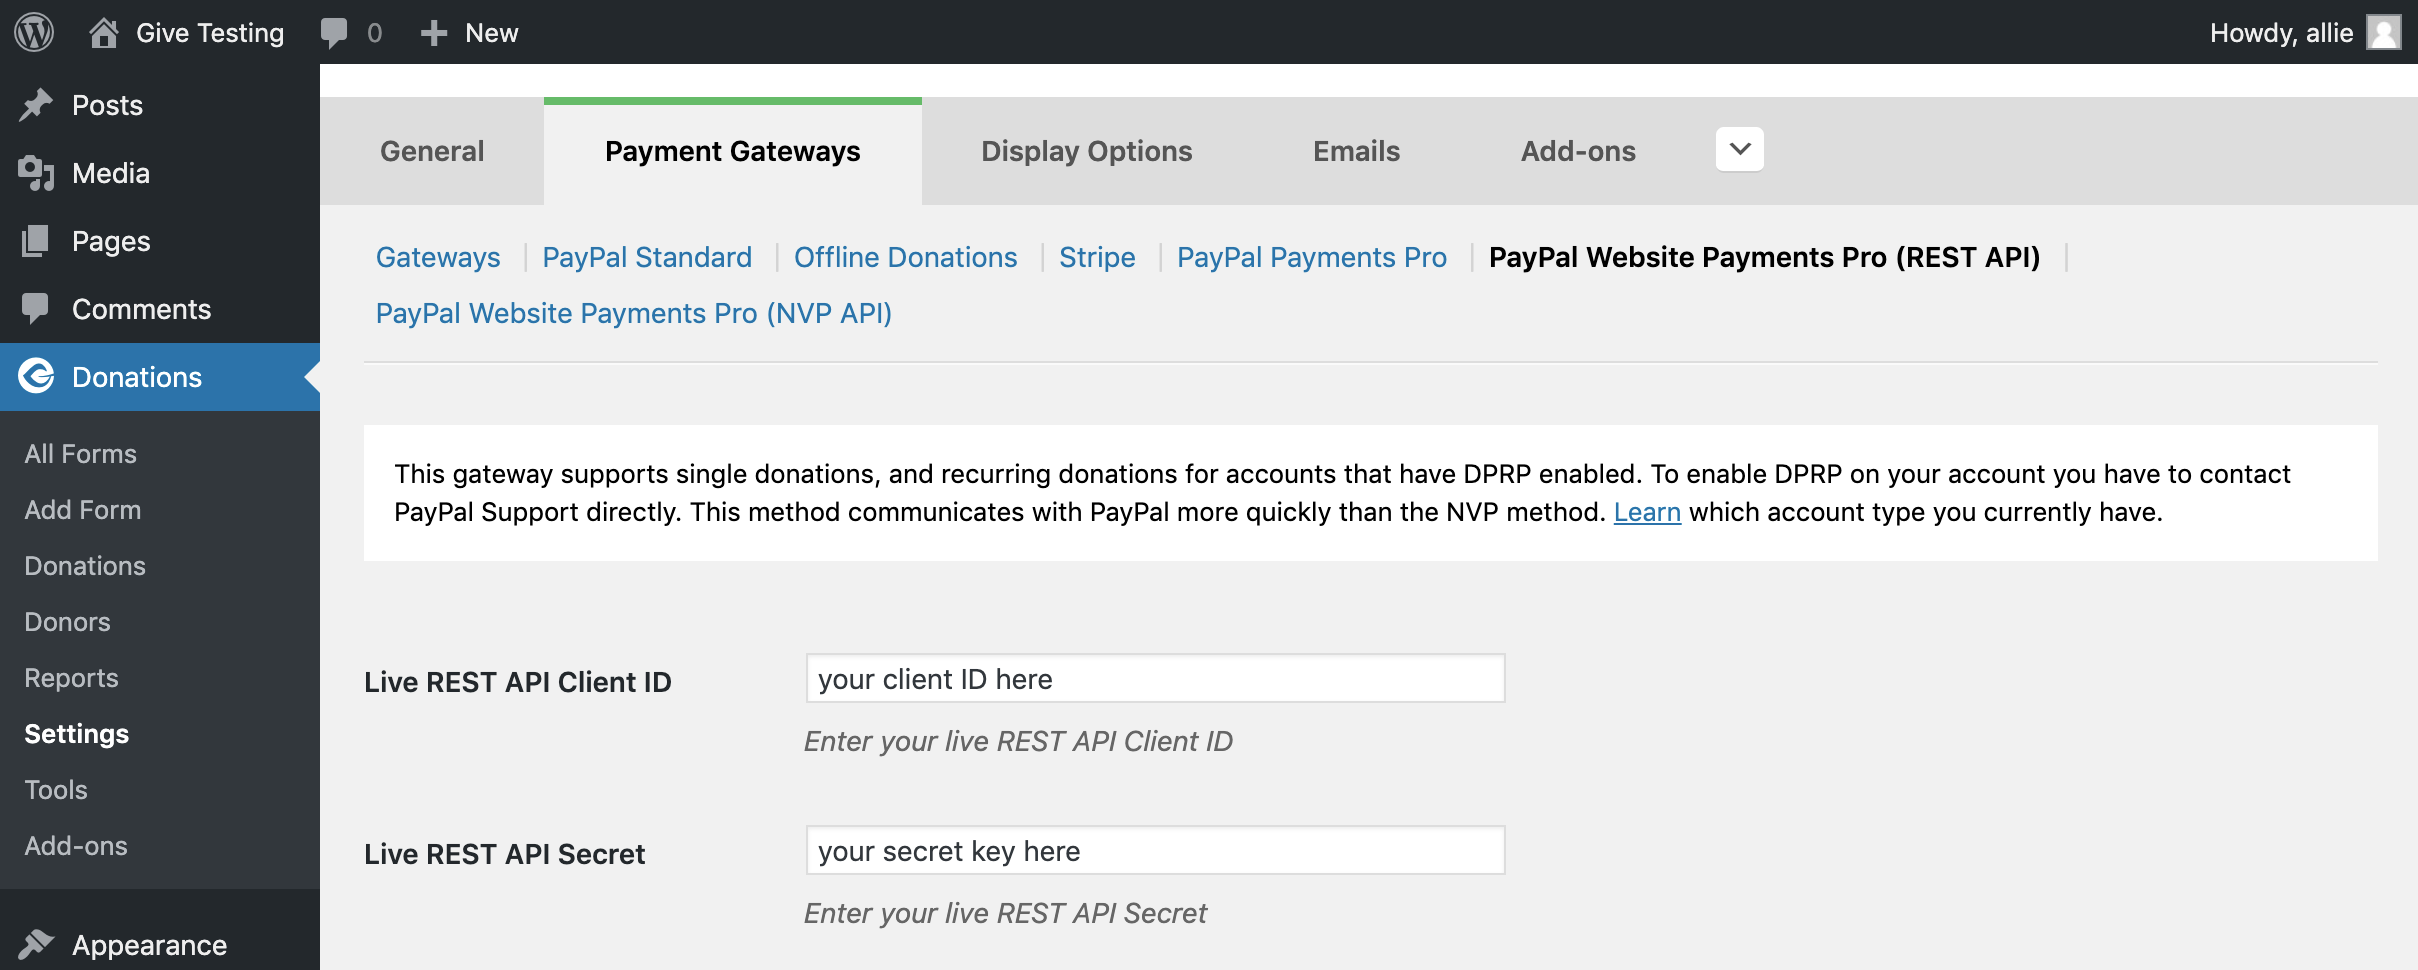
Add the API Keys into GiveWP
Copy both the live and sandbox credentials into the appropriate fields under the PayPal Website Payments Pro – REST API in the GiveWP Payment Gateways Settings:
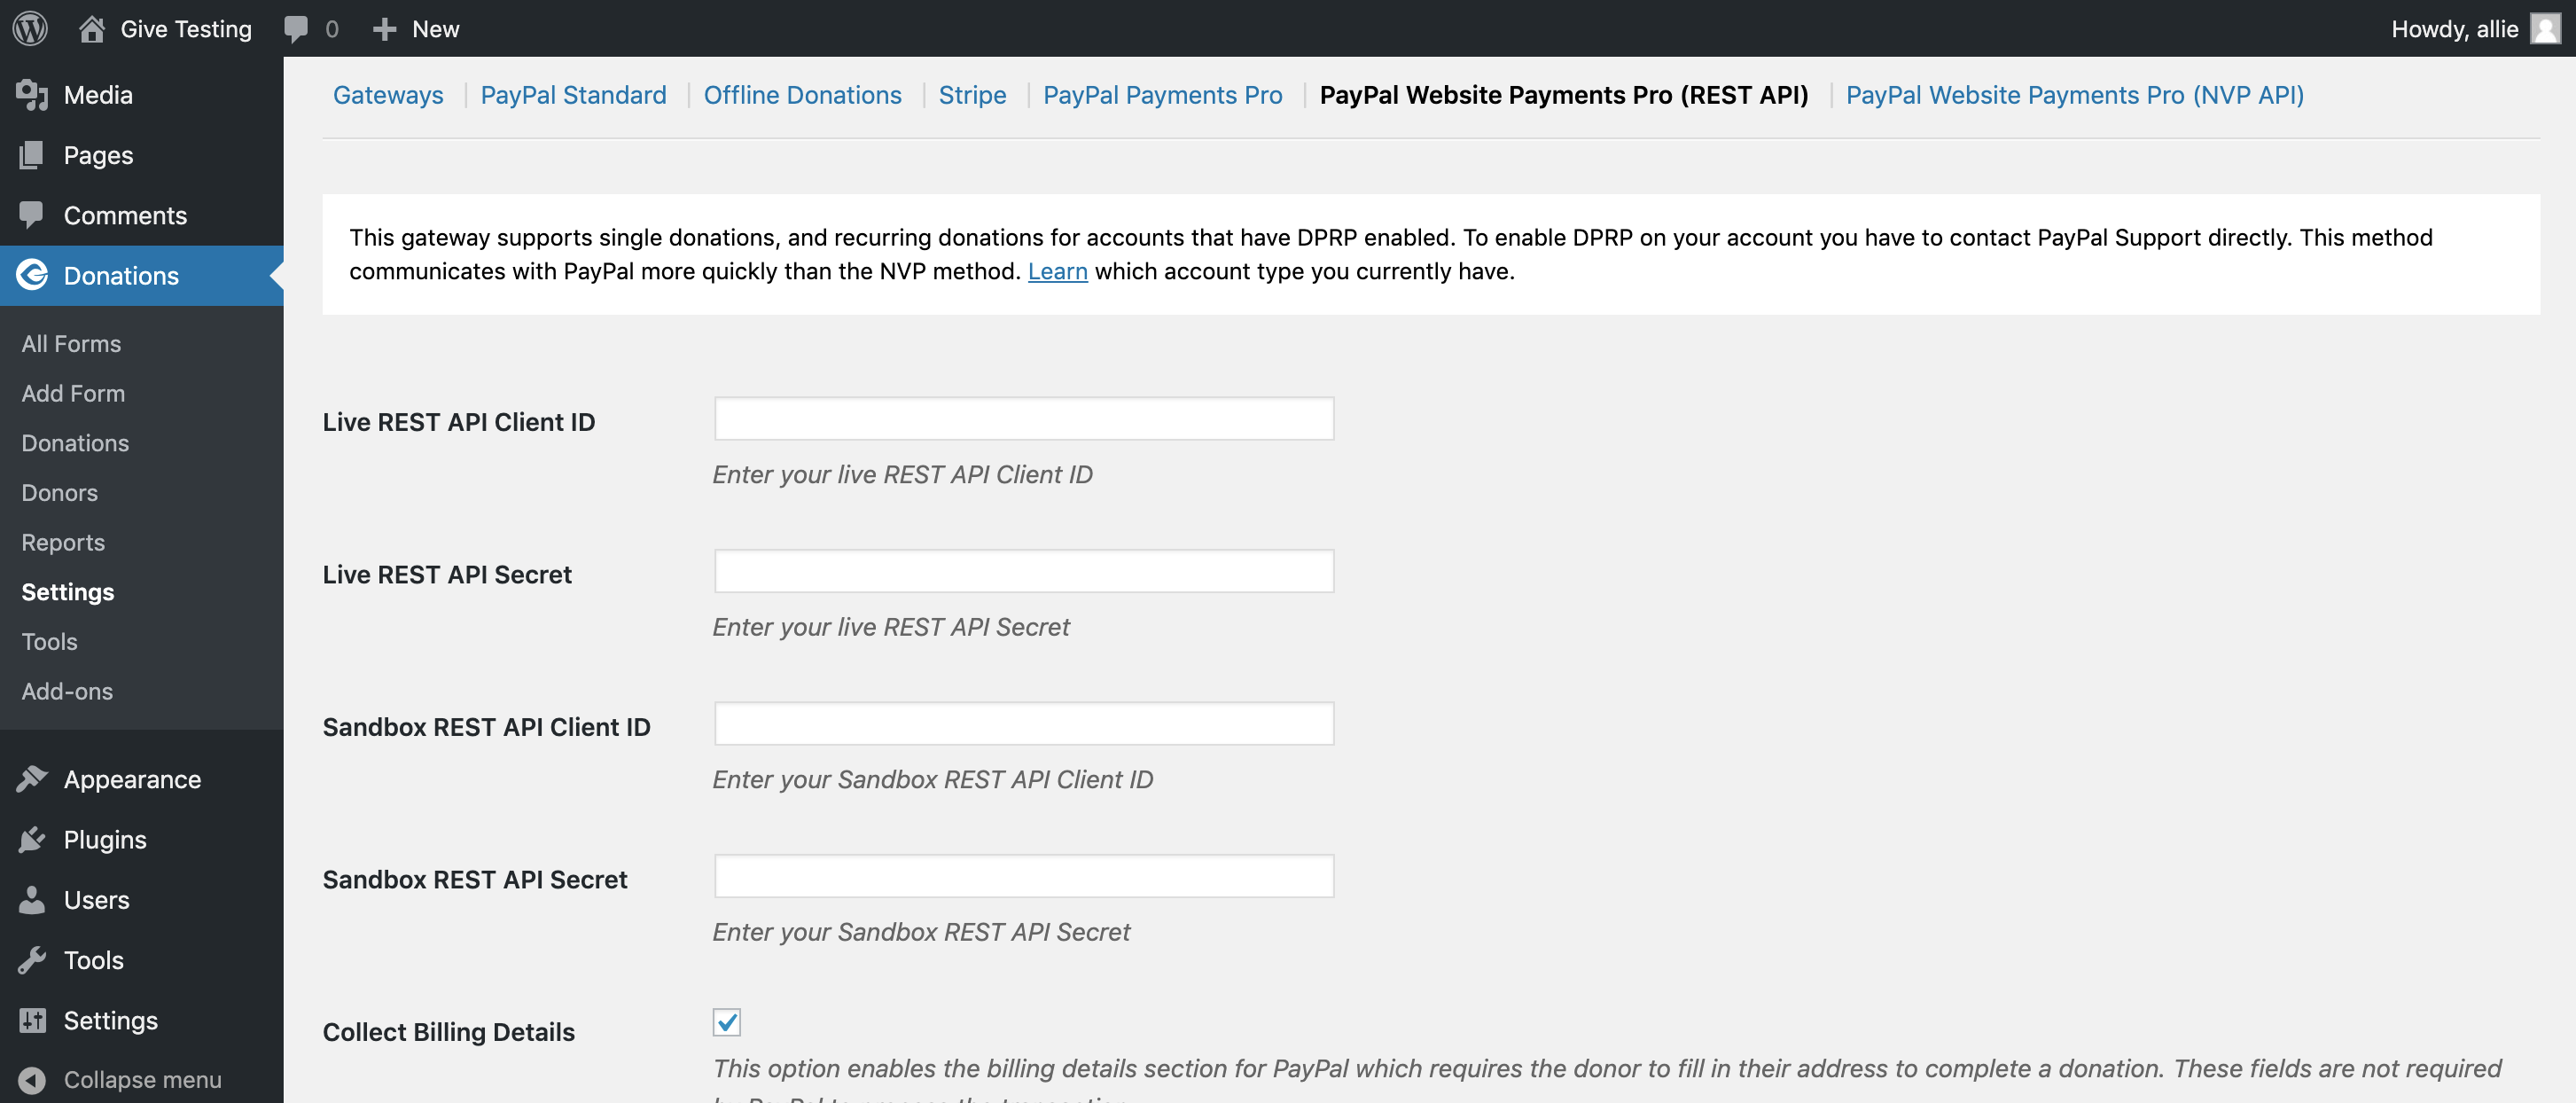
Once you have copied the appropriate keys into the fields, click Update.
Now you’re all set to start accepting payments. We recommend you first run a few test donations using the PayPal sandbox prior to going live.
If you would like to accept credit cards directly on your website you will need an SSL certificate to ensure transactions are processed securely.
IPN URL and PayPal Website Payments Pro (REST API)
In order for your website to communicate properly with PayPal you will need to set your IPN URL to:
Note: Replace “website.com” with the actual your actual website domain URL.
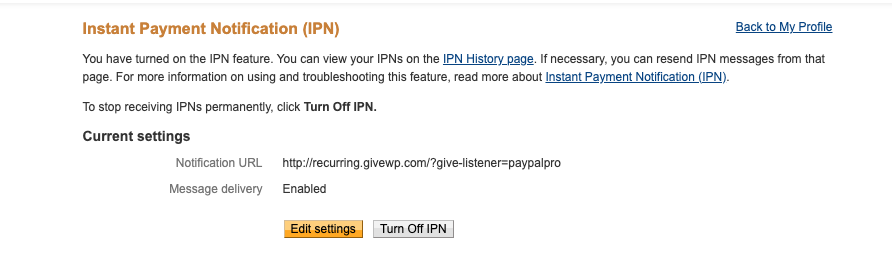
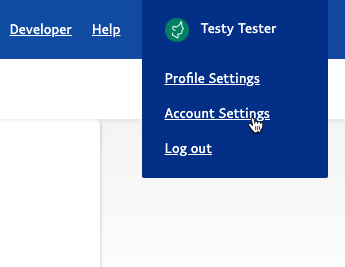
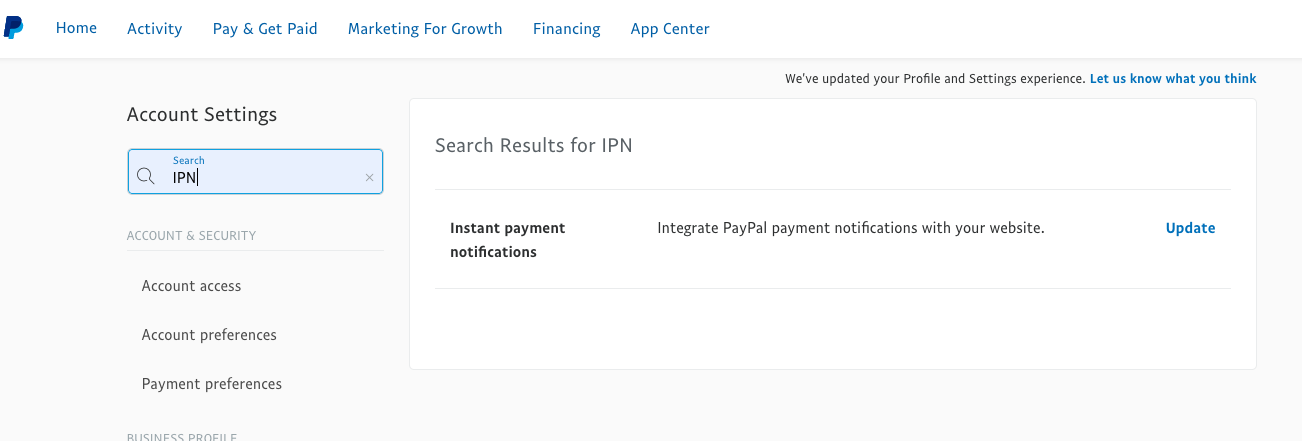
To do this, log into your PayPal account and hover over your account name in the top-right and click “Account Settings”. Once on the account settings page type “IPN” in the search bar.
Testing with the PayPal Sandbox
The PayPal Sandbox is helpful for ensuring your donation forms are working as expected without having to use real money. Note: The PayPal Sandbox can be often buggy and slow. As well, the interface often uses the “Classic” mode so be forewarned that there are differences between LIVE and Sandbox PayPal. Payment completion response times and setup may differ as well. Despite this, as best practice you can and should test as your setup with the Sandbox prior to going live with any donation forms.
Put GiveWP in Test mode
If you haven’t already, your first step is to put GiveWP into “Test Mode“. When GiveWP is in test mode no live transactions are processed.
Read about how to put GiveWP in test mode here »
Testing Using the Sandbox Account
When we created our REST App we specified a sandbox account to test it with. Navigate to the PayPal developer dashboard and click Sandbox > Accounts in the left menu. You should see the account we created previously in a table:
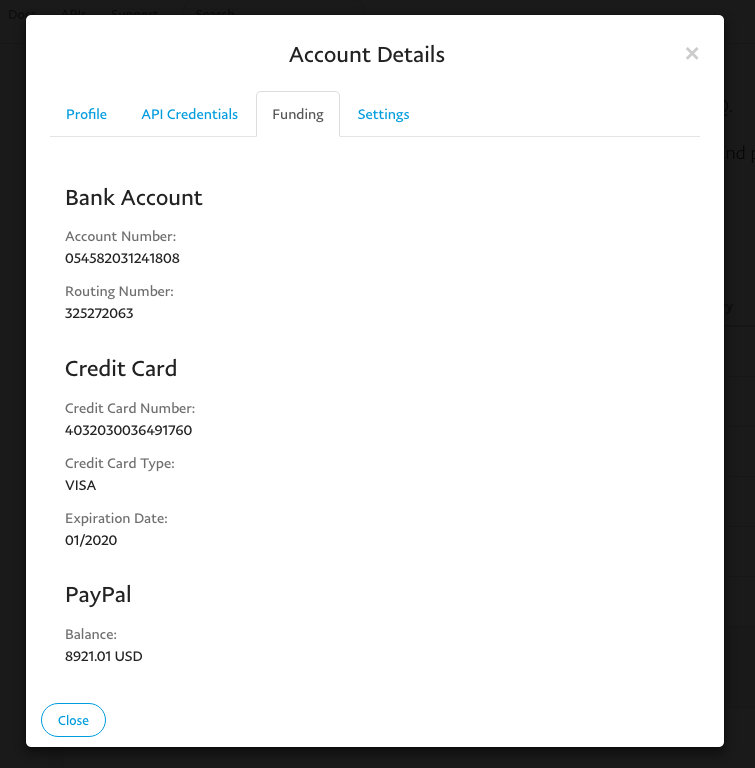
Hover over the account and click Profile and you will see a modal window display relevant account information including the test credit card number you should use to test sandbox transactions with:
Confirming Test Transactions
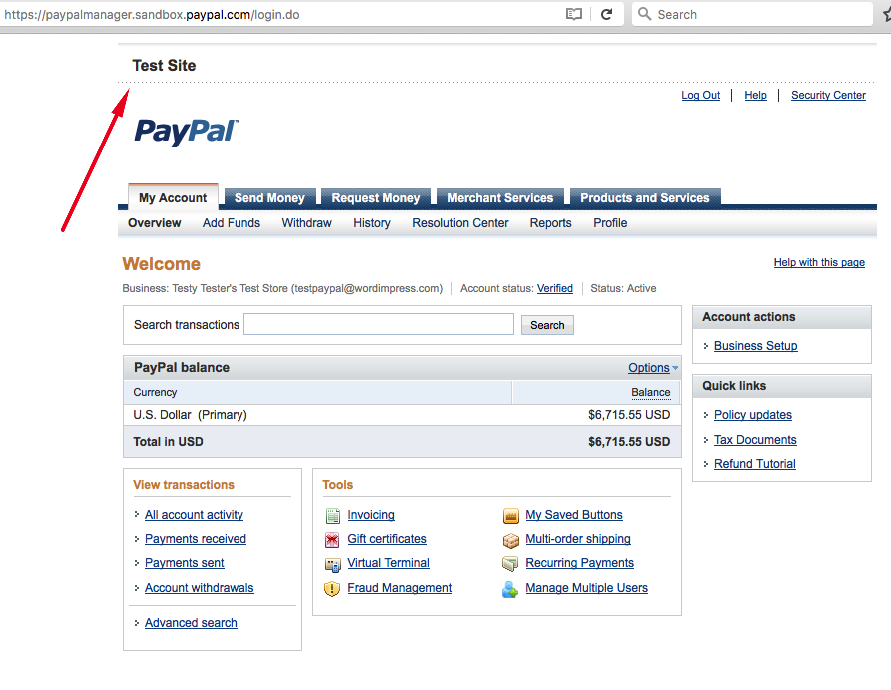
You will need to login to PayPal’s sandbox using the Sandbox account created above to confirm your test transactions processed. Once you log in you should see a balance equal to the sum of the test transactions:
Once you have confirmed that the transactions processed correctly, you’re all set to take give out of test mode and start accepting donations in live mode.
Going Live with the REST Credentials
Now that you’ve confirmed that your Test Transactions are coming through and are reflected in your PayPal Sandbox account correctly, it’s time to go LIVE.
Here’s the nutshell version of how to do that:
- In your Developer Dashboard, toggle to “LIVE”
- Copy/Paste your Credentials into your GiveWP PayPal Settings
Make sure you’re in your developer.paypal.com Dashboard. Click on the App name. At the top-right of the screen you’ll see a toggle like the above. Click it to “LIVE”.
There you’ll see your Account Email, Client ID, and Secret Key.
Copy and paste each of those into your GiveWP PayPal REST settings and hit “Save” and you’re done!