Donation Form Block for Stripe
The Donation Form Block for Stripe is the quickest way to start accepting donations on your WordPress website. Install straight from the block editor, connect to Stripe, and hit publish!
What is the Donation Form Block?
In the words of both Jamie Marsland and Justin Tadlock, the Donation Form Block is the fastest way to start taking donations on your website with Stripe. All you need to do is install the block, connect to your Stripe account, and hit “Publish” and you can begin accepting donations immediately.
Here’s a great overview of the Donation Form Block by Jamie Marsland. This video was not sponsored by us, thanks Jamie for your review!
How Do you Install the Donation Form Block?
This is a single-block plugin, so it can be installed directly from the Block Editor. To find it, go to edit any page or post on your site with the Block Editor and click on the “➕” in the top-left of your screen. Then in the search bar, type “donations.” There you’ll find our block. Click install and it will instantly install on your website and insert your donation form block on your page.
How Do I Configure the Donation Form Block?
Once the block is inserted on your page, all the options are visible and pre-configured. You could connect to Stripe, hit Publish and be done.
If you want to get more control over the look/feel of your donation form, there are several helpful options for you.
Header Image
Each form can have a custom image in the header. Upload or choose your image via the Media Library and it will be automatically cropped.
The ideal size for the header image is 648px wide by 215px tall.
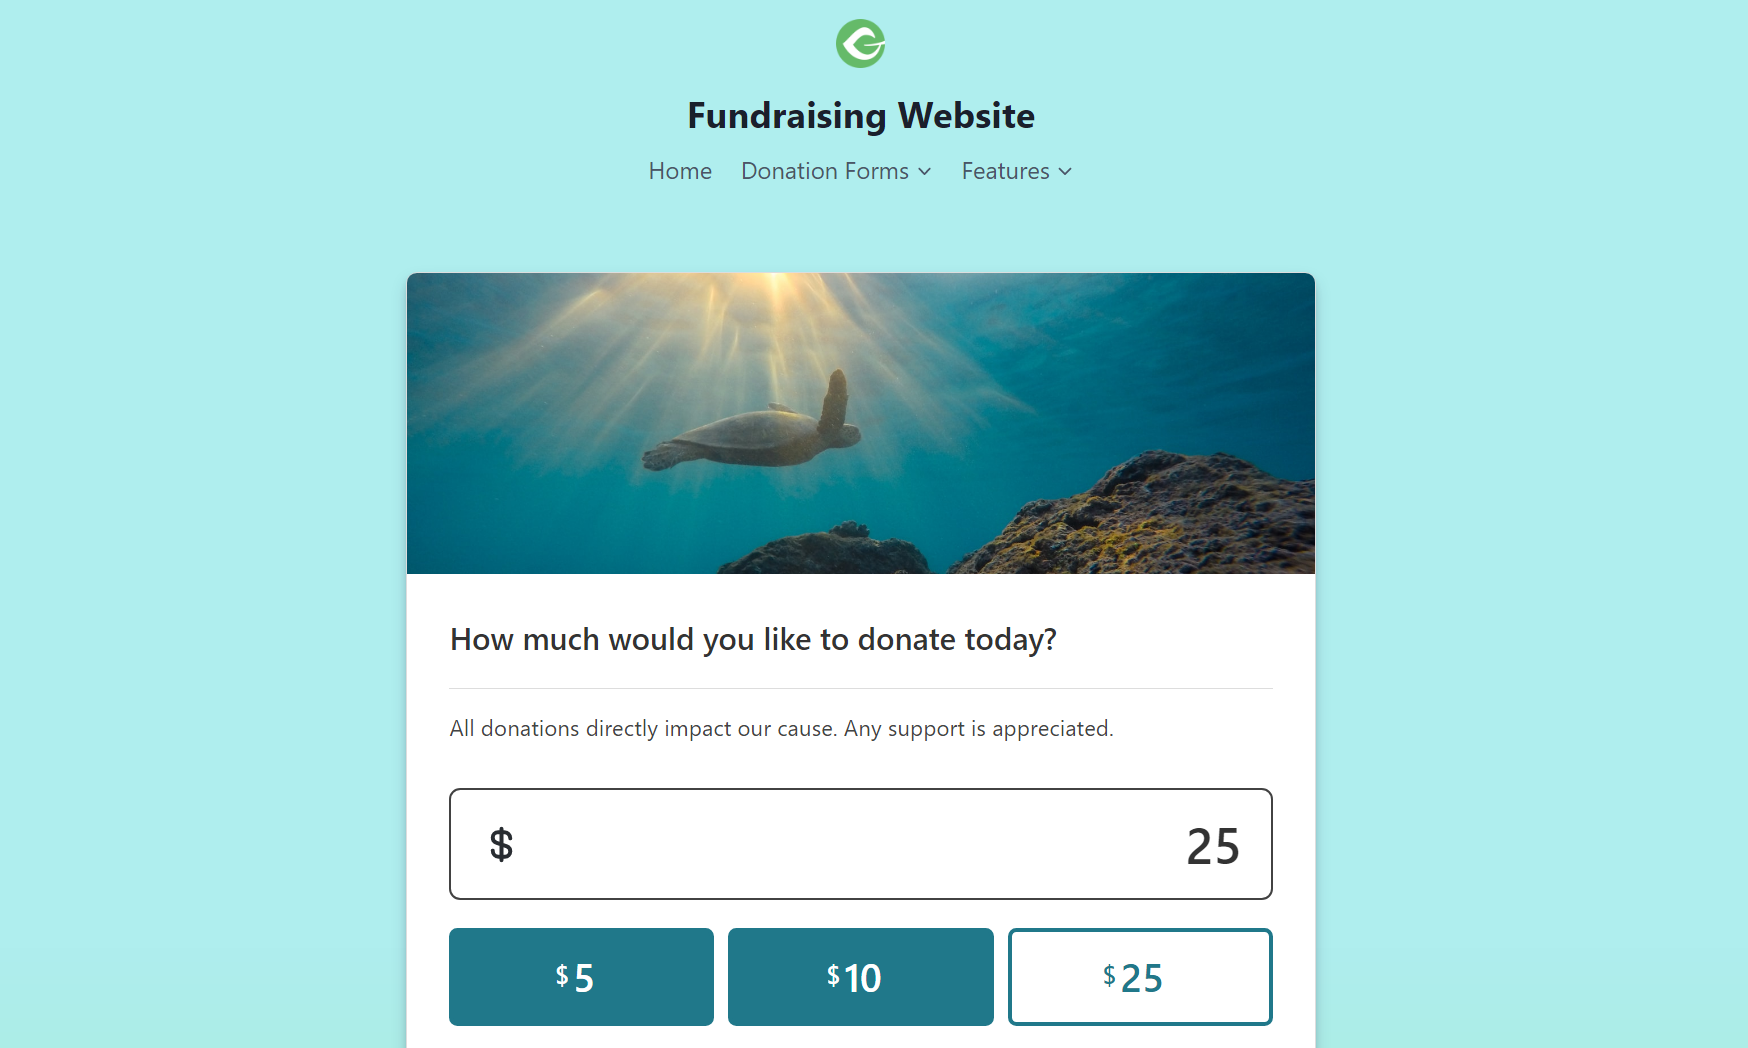
If no header image is present the form will start with the donation amount section.
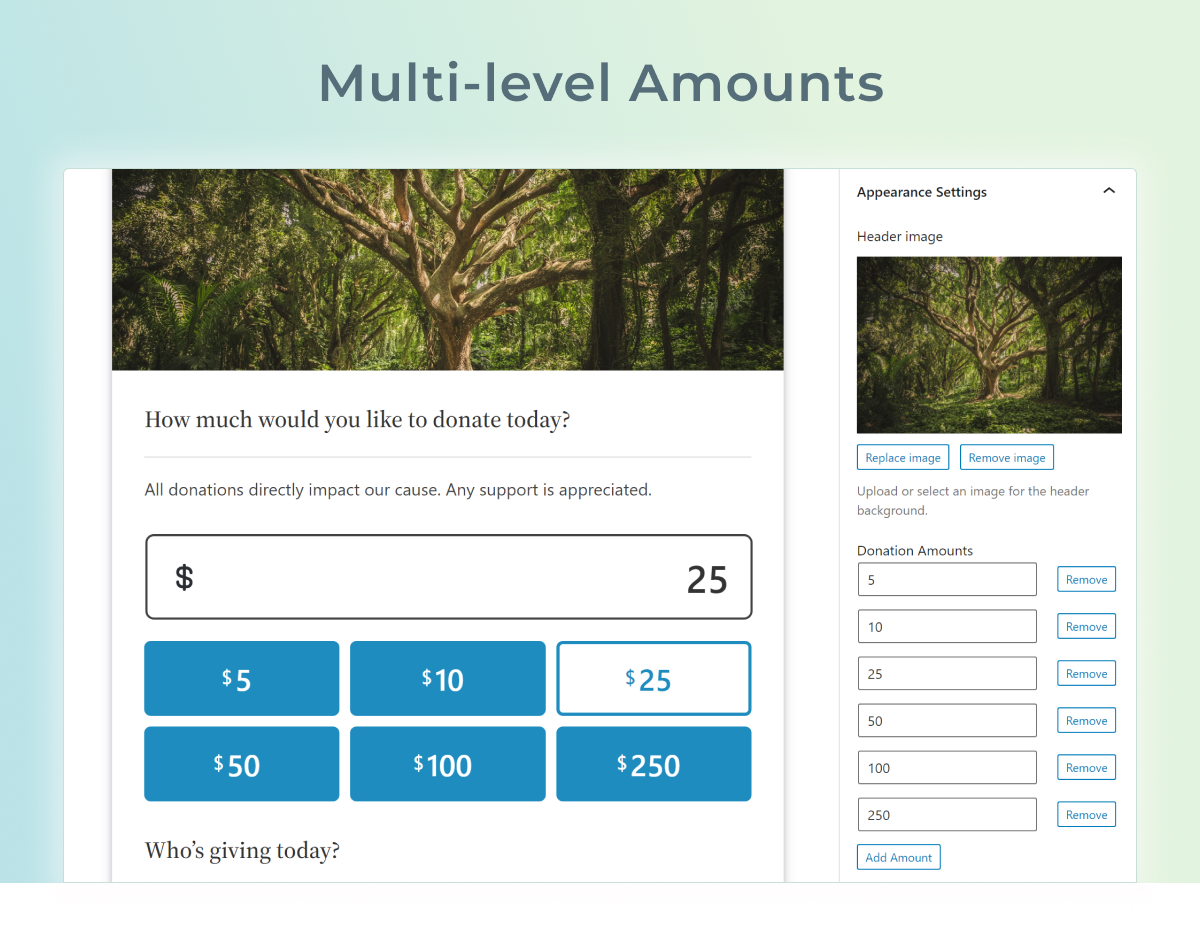
Multi-Level Amounts
Primary Color Settings
Setting the primary color impacts the buttons colors in your form. These can be chosen with a built-in color picker setting. Changes made to the colors appear in the block preview instantly.
Content Settings
The text within the form can be customized to your liking. These are the content settings available:
- Main Heading
- Man Sub-heading
- Fields Heading
- Donate Button Text
Changes you make to these settings appear on the block immediately.
Connect to Stripe
Lastly — and most importantly — you need to connect your Stripe account. To do so, click on the “Connect to Stripe” button and the connection wizard will walk you through the pain-free process.
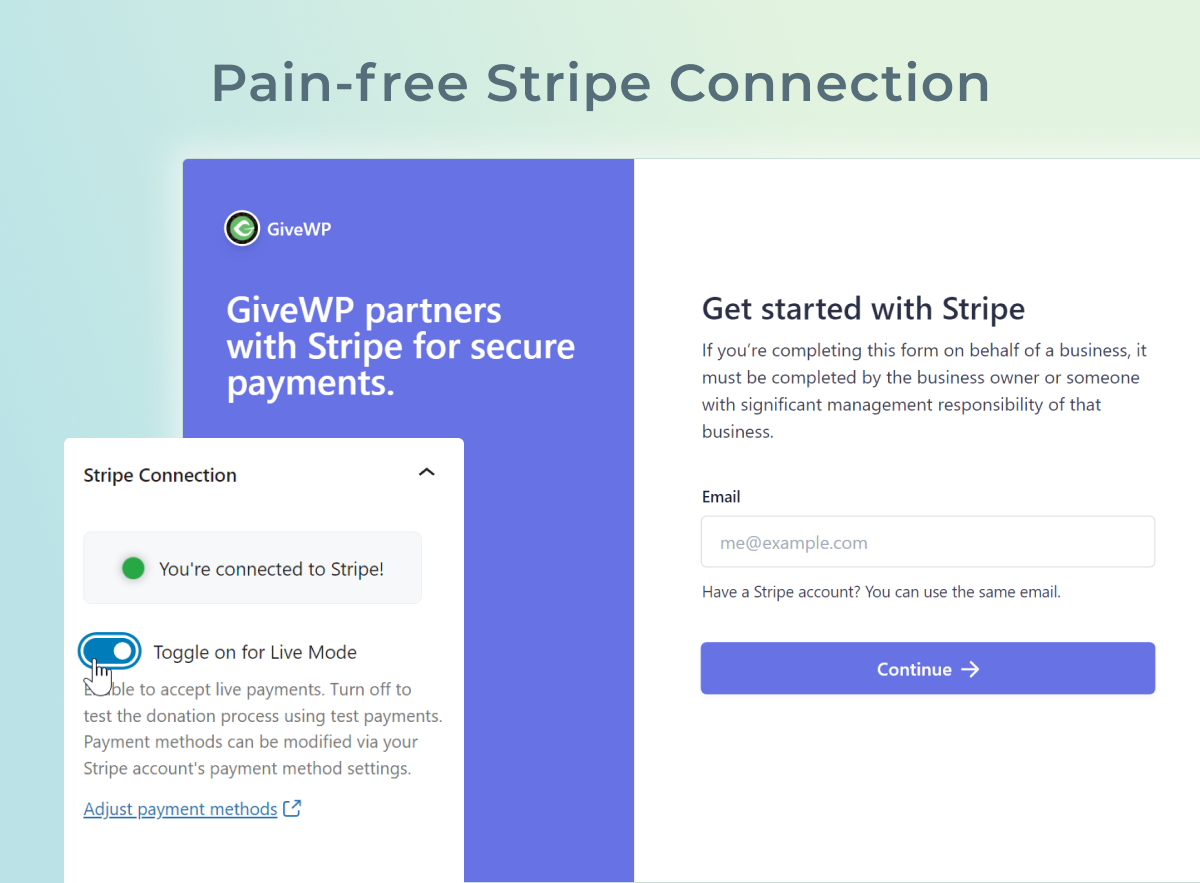
You can toggle your donation form to be in Live Mode (required for actual monetary donations), or Test Mode. See our docs on how to test Stripe without live credit card donations here.
Frequently Asked Questions
Additionally, when you connect your Stripe account, you authorize GiveWP to add 2% to each donation you process.


