How to Build an Effortless Nonprofit Website with WordPress.com
Whether you need to use WordPress.com for your nonprofit to collect donations, boost awareness for your cause, or attract volunteers, you’re in the right place.

Suppose you’re a nonprofit organization, or you’re thinking about launching a website to accept online donations or advertise a fundraiser. You may be wondering which website platform best suits your needs.
In this comprehensive blog post, we’re explaining how to build high-quality nonprofit websites using WordPress.com.
The Difference Between WordPress.com and WordPress.org
Before we get started, let’s quickly clear up something that often confuses new users: the difference between WordPress.com and WordPress.org.
WordPress.org is usually referred to as “WordPress.” It’s an open-source software used as an operating system for blogs and websites. Due to its open-source nature, the responsibility of hosting your own blog or site is on you.
Conversely, WordPress.com takes care of everything for you. You don’t need to download any software, pay for web hosting, or manage a web server. All these complicated elements are taken care of. All you need to do is create an account and consider which WordPress features and paid upgrades you might need (but more on that in a sec).
We believe WordPress.com is a remarkable platform for getting your fundraiser online. Namely, because it takes care of all the following:
- Its website templates help you create and project a professional image.
- WordPress websites typically boast high performance.
- You enjoy lots of customization freedom.
- You can securely process donations and collect donor information.
- WordPress.com is powerful enough to handle a large number of contributors.
Curious yet? Let’s take a deeper dive into how nonprofits can use WordPress.com
Introducing: WordPress.com
WordPress.com is a Software as a Service (SaaS), which, as we’ve already hinted at, enables you to build a powerful website effortlessly and affordably. Once you’ve chosen your WordPress plan, you can create a full website using one of WordPress’s modern and sleek-looking templates.
WordPress.com takes care of your web hosting for you, and you can connect your own domain name. On top of that, you can customize your site as much or little as you want. In theory, within under an hour, your nonprofit website could be ready to go!
WordPress for Nonprofits: Design The Perfect Site
There are dozens of themes for you to choose from, with new additions every week. Each theme is customizable, so you can modify your chosen template to radiate your nonprofit’s brand. Mobile-friendly themes can be created with just a click, or you can choose from a selection of responsive themes. Regardless of which device visitors use to access your site, each one is both functional and attractive to users.
You can customize your site’s colors, images, fonts, logos, and much more. Not to mention, you can edit your web pages and sections and unlock unlimited customization by adding your own code. If you run into any trouble, 24/7 support is available on WordPress’s active community forums. Here, thousands of WordPress users exchange their experiences, network, and provide handy tips and advice to one another.
Create a Professional Blog
WordPress.com is a powerful blogging tool. This is no small feature when you consider how heavily nonprofits rely on engaging their audience to inspire action.
With WordPress.com, you can edit each blog post’s layout, schedule your posts, assign tags and categories, and insert images and videos. It even comes with a distraction-free writing mode to keep you focused.
It’s also worth mentioning that WordPress.com comes with built-in social sharing, so you can automatically publish your posts to Twitter, Facebook, and more. Needless to say, this works wonders for extending your reach.

Like What You’re Reading? Subscribe Here!
Newsletter Opt-in
Search Engine Optimization (SEO) and Analytics
To check how well your site’s performing, WordPress.com provides in-depth statistics that provide an insight into who your visitors are. You can find out where they come from, what they read, when they visit, etc.
What’s more, you can integrate with Google Analytics to dive deeper into your user demographics, engagement, bounce rates, etc. With this info to hand, you’ll get a clearer understanding of what’s driving conversions, and more importantly, what isn’t. When you use this data to fuel your content marketing strategy you’re better positioned to write content that resonates with your readers and inspires them to take action.
On top of that, WordPress.com’s sites are also optimized for search engines, which means new donors should have an easy time finding you. When you consider that WordPress.com comes with built-in sitemaps and other SEO tools, it’s safe to say you have everything you need to ensure your site climbs through the rankings.
How To build a Nonprofit Website Using WordPress.com
Now, let’s break down how to get your charity’s website up and running with WordPress.com…
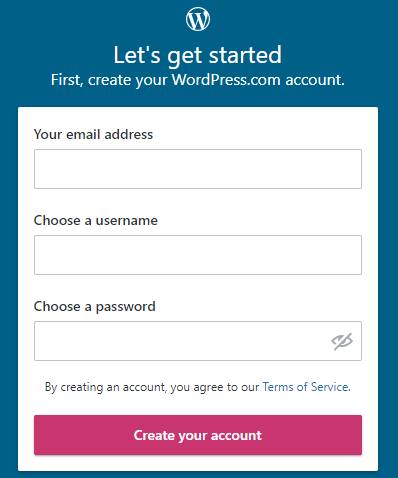
Step 1: Create an Account
You don’t have to download or install anything to use WordPress.com. Simply head to their home page and create an account.
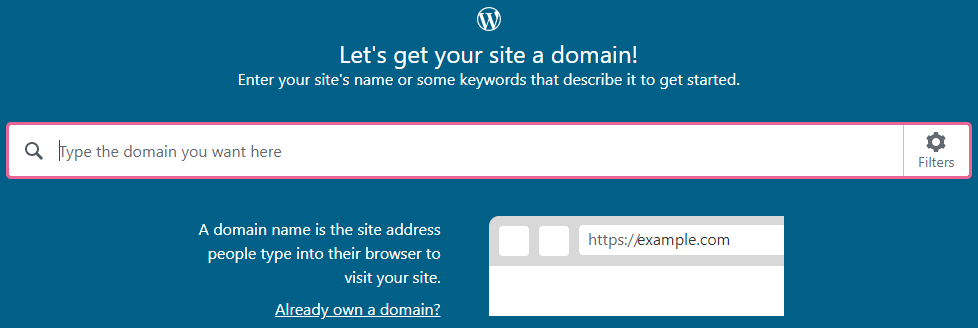
Step 2: Decide on Your Domain Name
When you first start creating your website, WordPress.com will ask you what you want to call it. Don’t worry, this can be changed later on. To begin with, WordPress provides you with a free WordPress.com subdomain.
But, to access your own domain name, you’ll need to upgrade to a paid plan. You can opt to host your site with WordPress.com, and buy your own domain for as little as $4 a month!
As you go about deciding on a domain name, make sure it’s available. You can use instant domain search to ensure your charity’s name isn’t conflicting with another brand. This is especially useful if you’re just starting out!
Step 3: Choose a Payment Plan
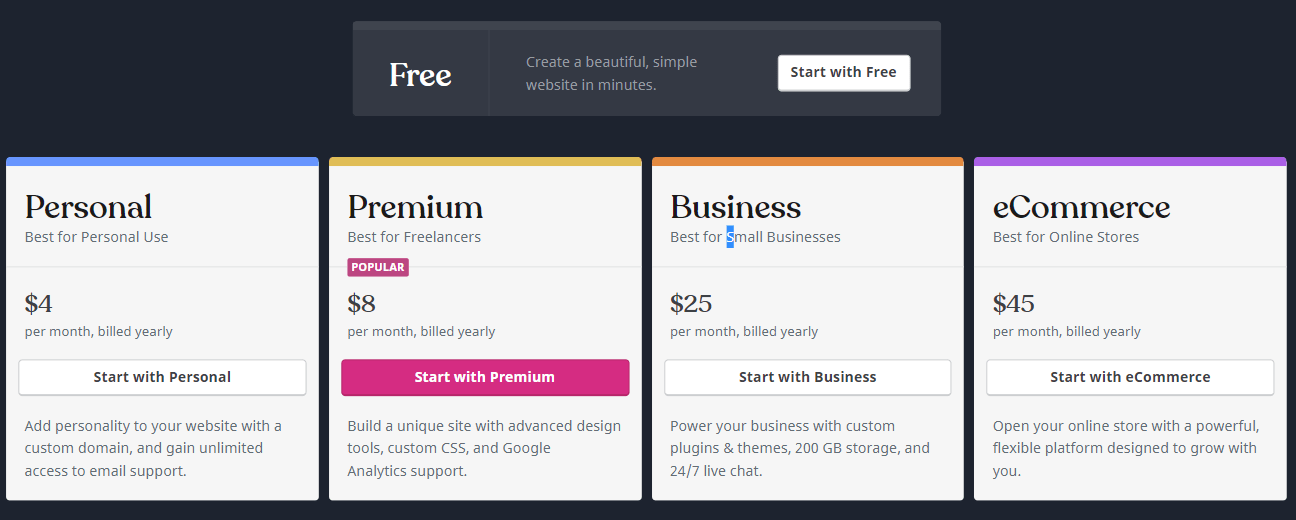
At this point, you’ll be asked to choose a plan. Although you can use WordPress.com for free, its features are limited. Having said that, it’s a fabulous package for testing WordPress and getting familiar with the way it works.
Don’t fret, however, because its paid tiers are very reasonably priced. Ordinarily, WordPress.com’s prices range from $4 to $45 a month. Every plan comes with a free SSL certificate pre-installed and all of WordPress.com’s ‘essential’ features.
With the Personal plan, you can connect your own domain. Or, if you choose to upgrade to the popular Premium plan, you’ll gain access to unlimited premium themes and unlock advanced customization features. You’ll also get access to sophisticated social media tools, a Google Analytics integration, and you can accept PayPal payments.
However, we suggest looking towards the Business plan for $25 a month. This removes WordPress’s advertising which is imperative for ensuring donors aren’t distracted with needless ads. Plus, you can install plugins, and with so many high-quality nonprofit plugins like GiveWP available, this is undoubtedly a nifty feature to have. On top of that, the Business plan also comes with automated backups, databases, 200GB worth of storage, and advanced SEO tools.
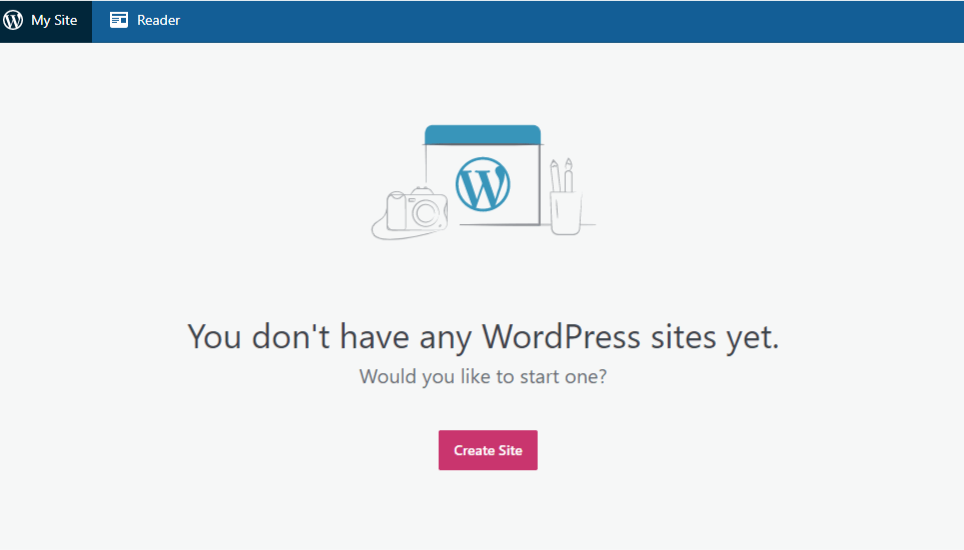
Step 4: Start Your Nonprofit Site
When you’re logged into your WordPress dashboard, click on the ‘My Site’ tab located towards the top right-hand corner of the page. Then select the pick the ‘Create Site’ button.
Step 5: Choose Your Theme
Next, you’ll be directed to WordPress.com’s impressive theme library. If you search for nonprofit themes, you’ll find three premium themes designed with fundraisers and charities in mind.
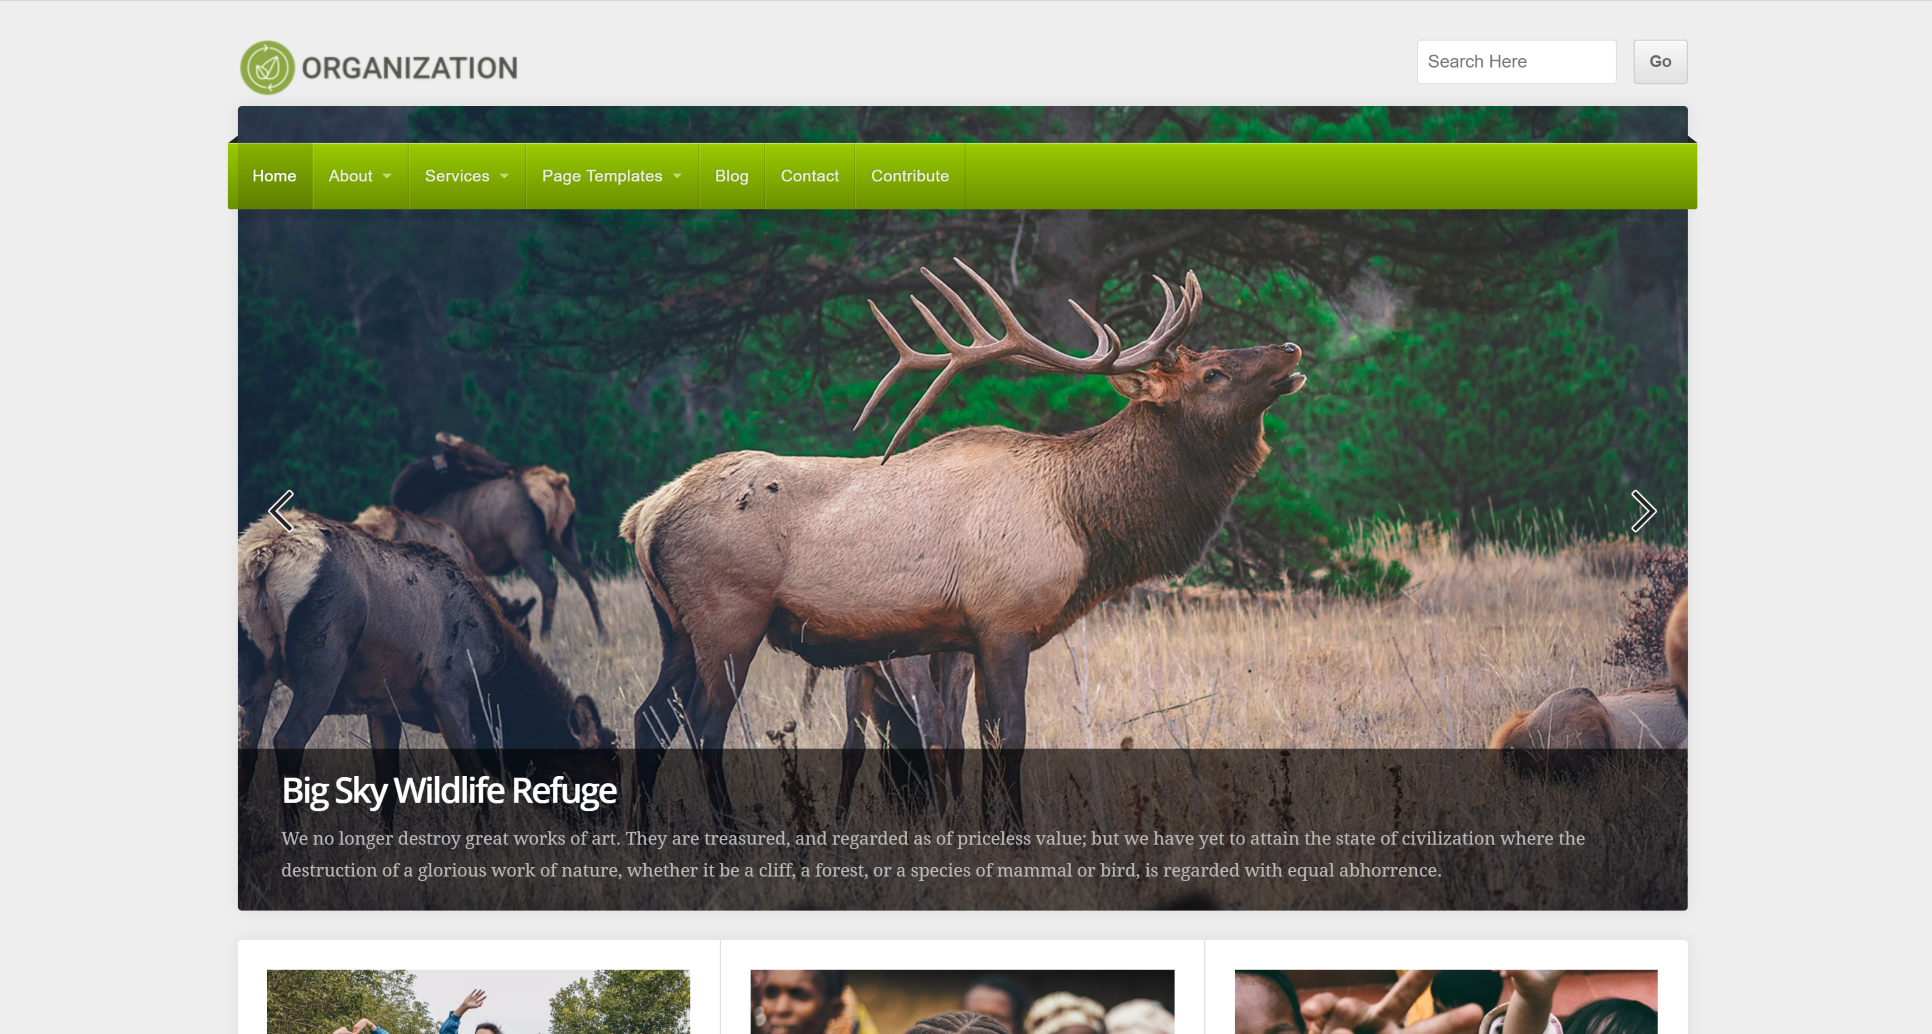
Organization by Organic Themes is a well-rounded template. It’s clean, professional-looking, and prompts you to feature your most outstanding content front and center.
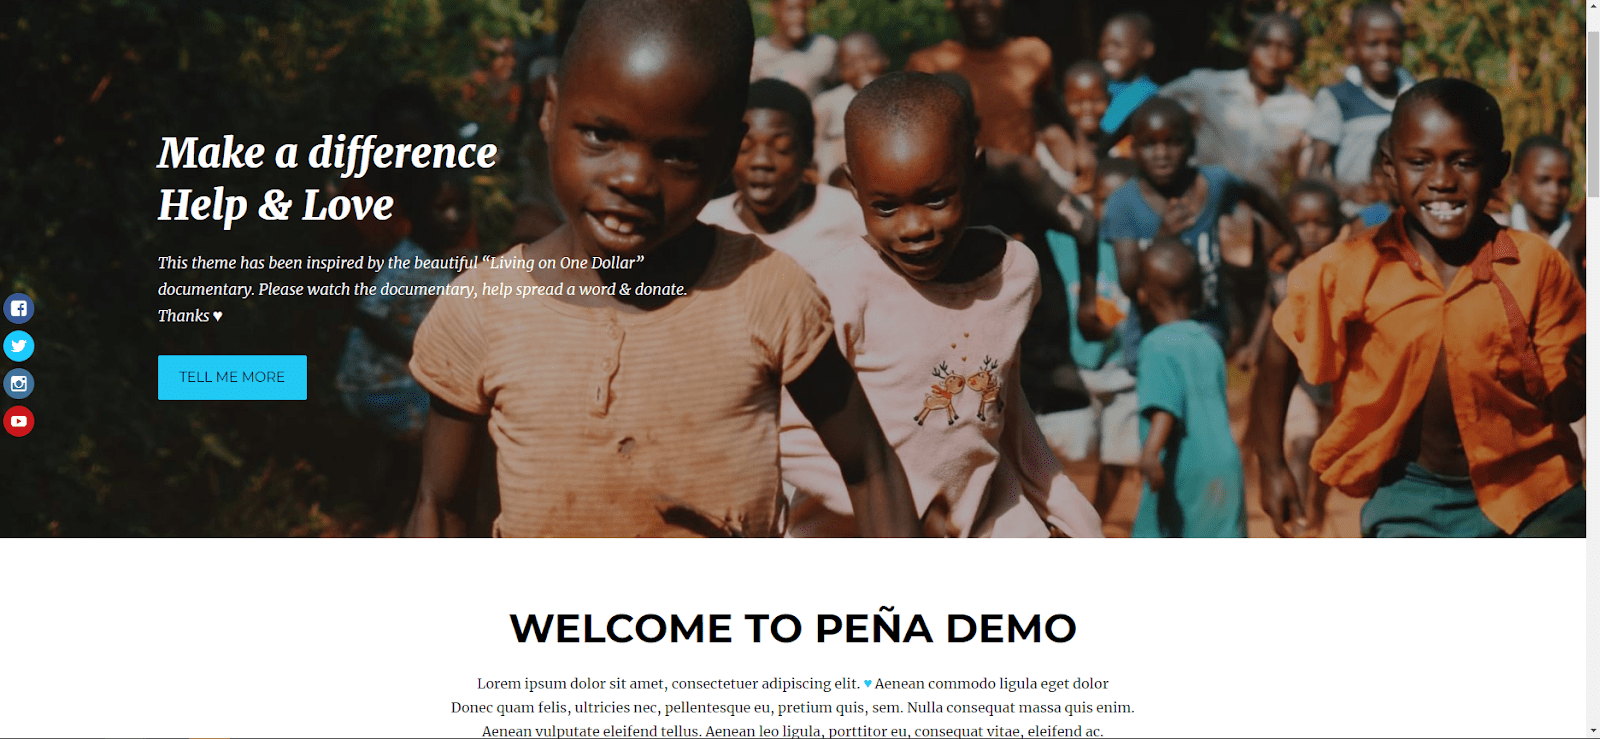
Peña is designed with nonprofits and charities in mind and features a responsive and customizable layout. This template capitalizes on your ‘featured content’ to display your most important articles on your homepage.
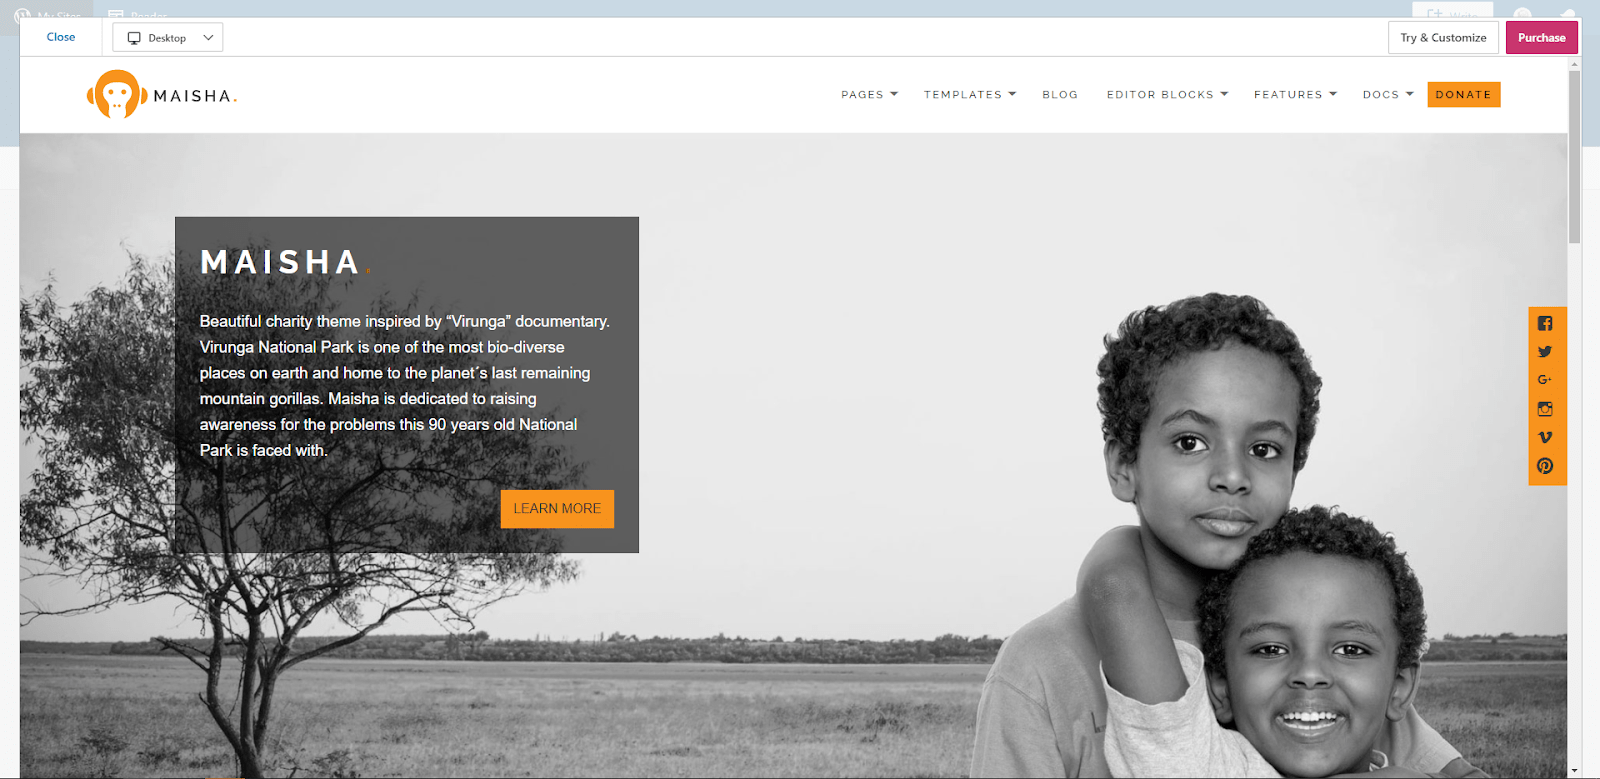
Maisha is an easy-to-use theme that comes with a variety of customization options, including six blog layouts and two header layouts, as well as five different page templates.
If you’d like to keep looking for themes, or you want to get started on the free plan, don’t worry! WordPress.com lets you switch themes easily later on. So, you can get started for free and then think about upgrading to access more features and themes when you’re more established.
Once you’ve chosen your theme, you can then customize the fonts, colors, and logos to reflect your charity’s aesthetic.
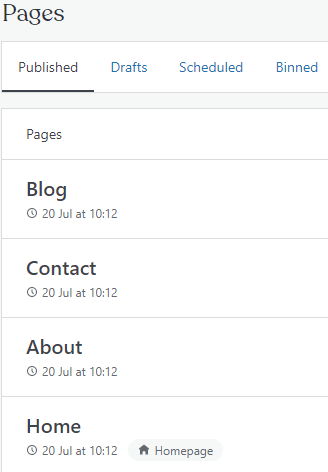
Step 6: Add Pages and Media
Now your WordPress.com website is ready to be customized. Navigate your way to the admin-bar on the left-hand side of your WordPress dashboard. From here, you can edit and add individual pages, customize the overall theme, and add widgets.
At this stage, you’ll want to add content to your website and explain what you’re all about. Of course, this will include inserting relevant titles and subtitles to your pages and saying a few words about your mission.
You can also easily access your blog and start writing content. Once you have a few pages written, you can then set up your website navigation menu.
Step 7: Install Plugins for Nonprofits
As you go about modifying your site, if you have a Business plan (or higher) it’s worth exploring what plugins are available to you. Over on WordPress’s app market, there are tons of social media integrations, subscription forms, and much more. Ensure you set up a way for your contributors to get in touch or stay informed about your efforts.
Rest assured, there are plenty of plugins explicitly designed for WordPress.com that enable you to accept donations and grow your audience.
For example, you can integrate with GiveWP. This is one of the easiest ways to accept one-time and recurring donations, set campaign goals, manage your donors, and provide multiple payment options.
It’s vital to provide donors a variety of options to pay. Some prefer to use their credit cards, whereas others lean more towards PayPal and/or digital wallets. If a donor can’t find the most convenient payment option for them, you might lose their contribution. So, be sure to install a plugin that enables you to take payments with just a few simple clicks. GiveWP has a variety of payment gateways to choose from that will allow your donors to give in the way that best suits them. You can get started for free with PayPal Donations or by accepting donations with Stripe.
Amplify your fundraising with a GiveWP Plan
Depending on your nonprofit, there are a vast number of plugins that could be helpful.
- Event Calendar can help you organize your fundraising and charity events.
- Newsletter plugins like MailChimp for WP allow you to send updates to all your contributors with automated email campaigns.
- Social sharing tools like Jetpack empower you to distribute your content more effectively.
- SEO tools like Yoast SEO give you more control over the SEO of your WordPress nonprofit sites.
…the list goes on!
Many plugins offer discounts for nonprofit organizations, so keep a lookout for good deals.
Step 8: Set Up Your SEO
As we’ve already hinted at, the good news is that WordPress.com already optimizes its themes for search engines. However, you can enhance your SEO efforts by taking a few additional steps:
- Use structured headings throughout your content. Meaning, make sure they are wrapped in <h> tags and in a chronological order (<h3> comes after <h2>).
- Include relevant keywords in your content, alt tags, meta descriptions, etc.
- Incorporate useful internal and external links throughout your content.
- Start writing long-form content. Tell your nonprofit’s story, your impact, and how your donors make a difference.
You should also check your settings to ensure the following:
- Search engine visibility is set to not discourage search engines from finding your website.
- SEO-friendly permalinks are enabled (a short, customized web page URL that makes it easy for search engines to navigate your content).
Using plugins like Yoast SEO, you can also verify your site on Google Search Console and submit your sitemap.
For more guidance on setting up WordPress SEO for nonprofits, check out the free GiveWP + Yoast SEO eBook.
Step 9: Start Writing Content for Your Nonprofit Mission
WordPress.com’s blogging platform is incredibly powerful. So, be sure to make the most out of it by creating engaging and relevant content for your audience. The most powerful tool in guiding people to give through passive fundraising is your nonprofit’s story.
For the uninitiated, blogging is great for:
- Improving your SEO.
- Engaging loyal supporters and finding new ones.
- Raising awareness about subjects close to your heart, like your nonprofit’s mission.
In short, blogging empowers you to inform your audience about the importance of donating to your fundraiser and keeping them updated on your charity’s progress.
As you start writing your first few blog posts, follow some of these content marketing best practices:
- Include images in your posts.
- Write long-form and evergreen content with relevant keywords.
- Mix up your formats. You could write a mixture of volunteer and donor interviews-impact stories, fundraising updates, etc. to keep things fresh.
- Include relevant internal and external links.
Using WordPress.com’s post editor, you can categorize and tag your posts and schedule them to go live when your audience is most likely to read them.
Step 10: Include a Call-to-Action
Always include a concise call-to-action (CTA) at the end of your content, whether it’s your generic web pages or blog posts! This is your chance to encourage your website visitors to act. Whether it’s asking them to read more information or donate to your cause, tell them what to do in your CTA!
Use WordPress for Nonprofit Sites, and Start Raising Money for Your Cause Today
When you use the right website platform and follow a few simple best practices, creating a new nonprofit website with online fundraising is well within your reach.
We believe WordPress is one of the best options out there for nonprofits. It’s easy to use, affordable, and provides plenty of opportunities for customization. The themes are sleek and professional, and with the right plugins, you can easily collect donations from your contributors.
Simply head over to WordPress.com to set up WordPress for your nonprofit today. In just under an hour, you could have a beautiful website for your charity ready to go.
About the Author
Rosie Greaves
Rosie Greaves is a professional content strategist who specializes in all things digital marketing, B2B, and lifestyle. You can find her published on Reader’s Digest, G2, and Judicious Inc. Check out her website Blog with Rosie for more information.