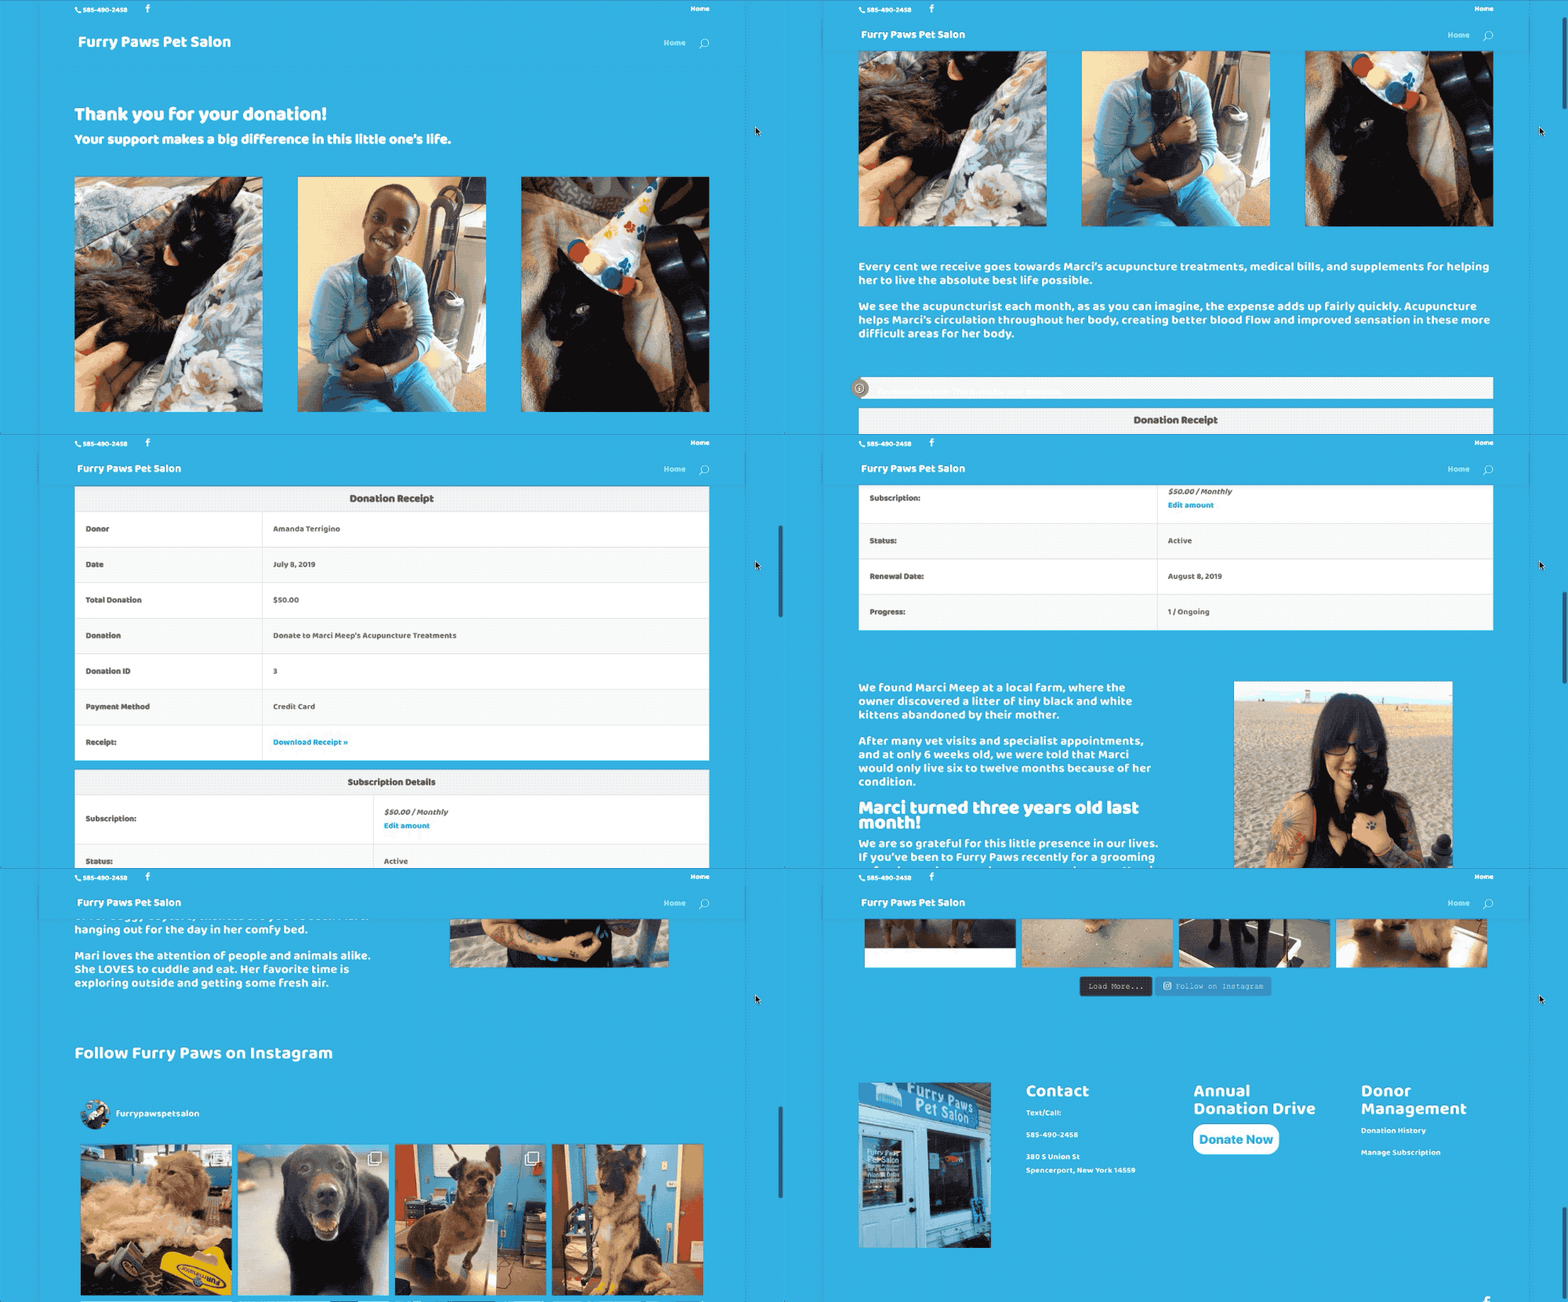
Getting your donors to take action and contribute to your cause is only one piece of the donation strategy puzzle. Donor retention completes the picture and begins with an impactful thank you page.
A well-thought-out donation confirmation page reminds your donors of the impact they can have on the world. It also allows you to share your gratitude, learn about the donor, and ask them to take the next step.
Stay cautious of the time and energy you spend getting donors to your website to make a donation. A healthy, strategic donation campaign considers both campaign promotion and donor retention. Your goal is to build donors for life, not only for a day.
How to Increase Donor Retention on your Donation Confirmation Page
Once a donor completes their payment, the donation thank you page is the very first thing that they see. It’s crucial to go above and beyond a traditional “thank you” message and instead use creativity to show your gratitude.
There are a few elements of the donation thank you page that are a must-have and a few others that are optional (but add value). Take what you need that makes sense for your organization and leave the rest.
With GiveWP, you can set your thank you page to any page you’ve built. That means your thank you page can be built with any WordPress page builder that supports shortcodes. Just make sure that you have the receipt shortcode on the page so your donors get confirmation of their payment.

1. Thank your donor for their support.
A generic “thank you for your donation” message isn’t enough to make an emotional impact. Use creativity and empathy when developing your note of gratitude to your donors. Put yourself in their shoes: What praise do you look for when donating? What do you want to hear that affirms you made the right choice? What message makes you feel appreciated? What might you feel inspired to do next?
2. Include a detailed report (with a downloadable PDF) of the completed donation.
Showcase your donor’s contribution clearly and boldly. They’ve just invested in your cause, so make sure they know exactly what they’ve given and how they can keep the receipt for their records. GiveWP’s PDF Receipts add-on provides your donors with a PDF version of their receipt for download. This is great for tax time or to give your donors something tangible to hang onto, rather than just an email.
The PDF receipt is available on your site’s Donation History page as well, where donors can find the receipt when they need it throughout the year. You can also take things a step further and provide your donors with annual receipts for their taxes.
3. Educate your donors on what their contribution does for your cause.
It’s a good idea to mention the benefit your donors’ donations have at the very top of your thank you page. Share with your donor exactly what their money contributes to in order to further emphasize their impact. Paint a picture for your donor: show them how far you’ve come. Use graphics and images to display the number of donations and/or donors received so far. Give tangible estimates for how far you still need to go.
Below your donation confirmation receipt, continue the story. Include details about what your organization is working on right now and ways to continue the relationship. Consider displaying events, upcoming campaigns, volunteer calls, and shareable content. For example, a tweetable, “I gave to this cause!” graphic would give donors a way to easily share your campaign.
There are unlimited possibilities for the content on your thank you page. Focus on what will make your donor feel good about their contribution.
4. Include links to your social media platforms and ask your donors to like/follow you.
Now that your donor has made their contribution, it’s time to ask them to continue their support. Your donors have already invested in your cause in a big way. It’s likely that following your cause on social is a no-brainer, especially if they want to see how their donation continues to have an impact.
Check out our free add-on: Simple Social Shout for GiveWP
Add your Instagram or Facebook feed under the donation confirmation details. Or add a few buttons your donors can click on to navigate directly to your social pages. Whichever you decide, make sure to actively post on the platform you’re promoting. It’s important that your donors see engagement and consistency on social media to keep their interest.

5. Make sure that your contact information is clear and prevalent.
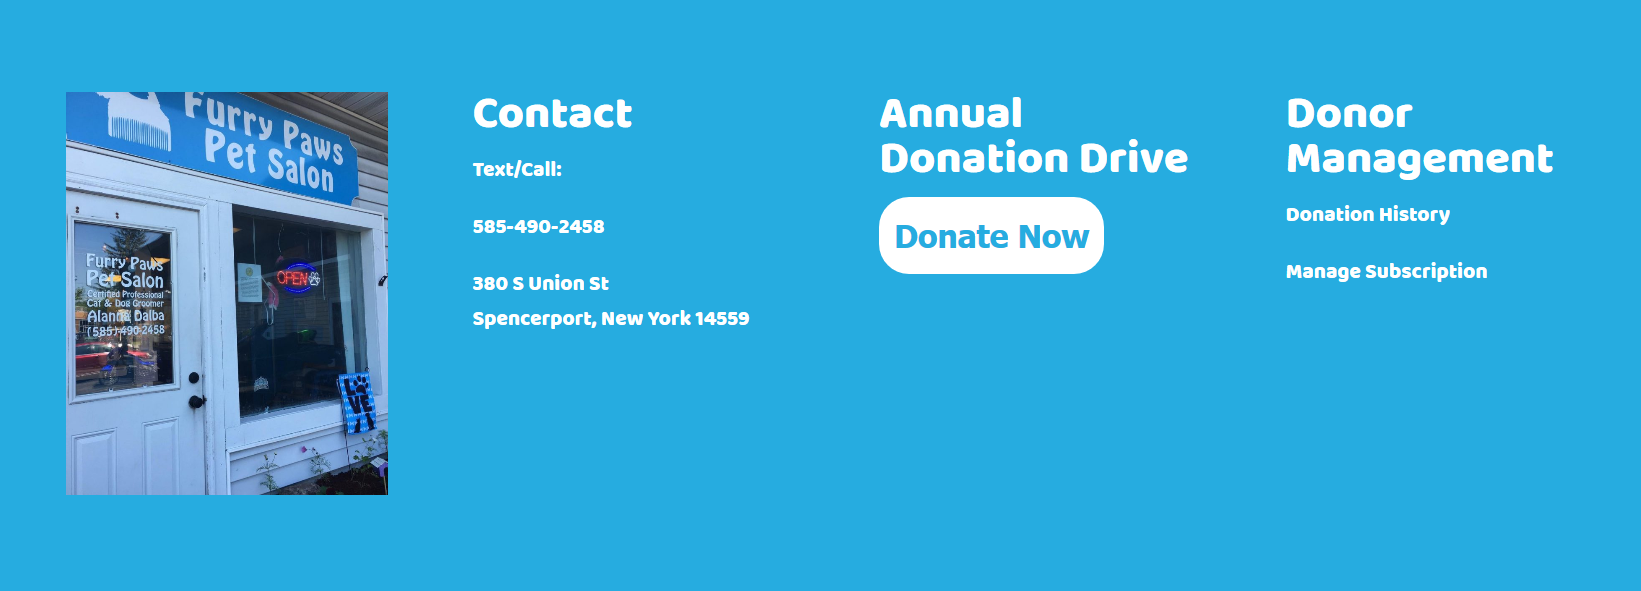
Your donor may want to contact you after they have completed their donation or even beforehand. The footer of your website is a great place to include your contact information across your website. If you have specific contact info for donation inquiries, make sure that’s clear to your donors on the thank you page. A phone number, email address, or contact form works well here.
6. Add a note about privacy and how you handle your donor’s information.
Your donors deserve to know how their sensitive information is used. Include a section towards the bottom of your thank you page (or in the footer of your website) describing how you use donor information. This doesn’t need to take up much room on your page, but a simple statement of how you handle your donor’s privacy is enough.
If you’re using GiveWP, you can easily enable Terms and Conditions on your all your donation forms. This provides you with a template to customize for your own needs. It places a checkbox for donors to acknowledge when making their donation with a link to the text from this section. You can even edit the terms and conditions per donation form so each is different.

Include a link back to your terms on your donation confirmation page in addition to a little information about how donor information is used.
7. Make the next step clear.
Now that you have a donor’s attention, it’s wise to take advantage of this opportunity. There are several different things you can ask of your donors, but it’s important not to overwhelm them with too many choices. Pick one or two and test them out on your donation confirmation page.
- Ask your donors to volunteer their time (at an upcoming event, a mission retreat, or at your office).
- Add a call to action to another page on your website. Consider linking to a page teaching donors more about a specific segment of your cause, or how they can help further.
- Invite your donors to an upcoming event.
- Ask donors to contribute monthly (if they haven’t already) or link to another campaign you’re running.
- Provide them with shareable media to help spread the word about your fundraiser.
8. Add a video to the very top of your thank you page.
Create a video from your team or president saying “thank you for your donation.” Place the video at the top, so it’s the very first thing that your donor sees. Videos are highly engaging and encourage your users to stay on the page to see what else you’ve provided for them. It makes your message more personal.
9. Use images to bring your calls-to-action alive.
Use beautiful imagery to make your call to actions lively and enticing. Make your site engaging, but be careful not to overdo it. Keep the imagery within “brand standards” and of similar styles.
Sending your donors to another page on your website? Create a clickable area on the page using a high quality image to direct them. Asking donors to follow you on social? Use bright and colorful graphics of the social icons.
10. Showcase testimonials from past donors or volunteers.
It’s important to help your donors feel secure about their decision to donate to your cause. Testimonials from past donors are a great way to set the tone for how your donors should feel after investing in you. It’s a form of social proof that works well on your donation forms as well as your thank you page.
Use testimonials from people within your organization, like volunteers and staff members. You might even consider creating impact videos, showing the impact of your mission. This helps donors actually see the difference they make by giving.
11. Learn about why your donors decided to give (and ask for their email address at the same time).
This is an excellent time to learn a little more about your donors. They’ve already given, so they’re softened to your asks. Once an action is completed, a website visitor is more likely to complete another.
Include a short survey or poll near the end of your thank you page asking your donors what inspired them to take action. This is a good place to collect your donor’s email address as well, if you’re not using the MailChimp add-on.
12. Send a thank you card in the mail.
Add a personal touch to your donor retention strategy by following up with a thank you card. Include a short message from the president of your organization or another member with their signature and photo.
If there are too many donations to send a card for each, then reserve those for donations that meet certain criteria. Only send cards for donations above a certain amount, first-time donors, corporate donors, etc.. Or, automate the process with Zapier and Handwrytten using our tutorial.
Keep it clear & focused.
Don’t over complicate things. There are a lot of great elements of an optimized donation thank you page here, but that doesn’t mean that each one makes sense for your fundraiser. Run through the list and decide what works best for you.
Above all, prioritize the donation receipt details and thank you message above getting your donors to donate again. You have your donor’s attention, so there is ample opportunity to ask them to give more. It’s more important to create a sense of fulfillment at this stage.
Bonus Tip #13: Add donor management links to your navigation.
The donation confirmation page is the first thing your donor sees after they complete their donation. But they won’t come back to this page again unless they make another contribution. Use Give’s Donation History and Subscription pages within your site’s navigation to provide donors with access to their receipts and to make changes to recurring payments.

Display these pages in a sub header or footer menu so your main navigation isn’t crowded. Include these links in your email confirmation notification as well to give your donors easy access to their donation history information.
Remember: Your donation thank you page is just one piece of your donation strategy puzzle.
Now that you’ve taken the time to consider the impact your thank you page can have on donor retention, you’re ahead of the game. This is one of the first steps to creating a holistic approach to donation campaigns and donor management. The next step is to use this advice and apply it to your email receipts as well.
Before you start improving your donor retention, remind yourself and your team of your goals. You want donors to build an emotional connection to your cause. Focus on establishing a strong sense of fulfillment after every donation. Use some of the many elements discussed here to develop your donation confirmation page in a way that both guides and empowers your donors.


