How to Update Give
Keeping Give and its add-ons up to date helps protect your site, improves functionality, and makes sure you have access to the latest features and fixes. This guide walks through why updates matter, how to prepare for them, and what to do if you need to roll back.
WARNING: WordPress version 6.9 is scheduled to be released on Giving Tuesday. To avoid potential site issues:
1. Turn off automatic WordPress updates until after Giving Tuesday
2. Test updates in a staging environment first
3. Back up your site (files + database) before applying any updates
Following these best practices ensures your donation forms stay stable during this critical giving season.
Why Updates are important
Keeping Give and its add-ons up to date protects your data and ensures you benefit from the latest features, fixes, and security patches.
- Bug fixes & security patches: Updates often resolve known issues.
- New features & improvements: The latest release is the only stable branch supported by Give.
- Database updates: Some updates run important routines. Skipping multiple versions may cause problems.
Best practice: Update incrementally when you’re several versions behind (e.g., 2.6.3 → 2.7.5 → 2.8.1 → 2.9.7 → 2.10.x).
Things to consider before Updating
Before you click “update,” take a few precautionary steps to make sure your site stays safe and your donation forms remain functional.
Use a staging site
Test updates in a staging environment before applying them live. Many hosts include staging for free. If not, plugins like Give Support Team-recommended WP Stagecoach can help.
Back up your site
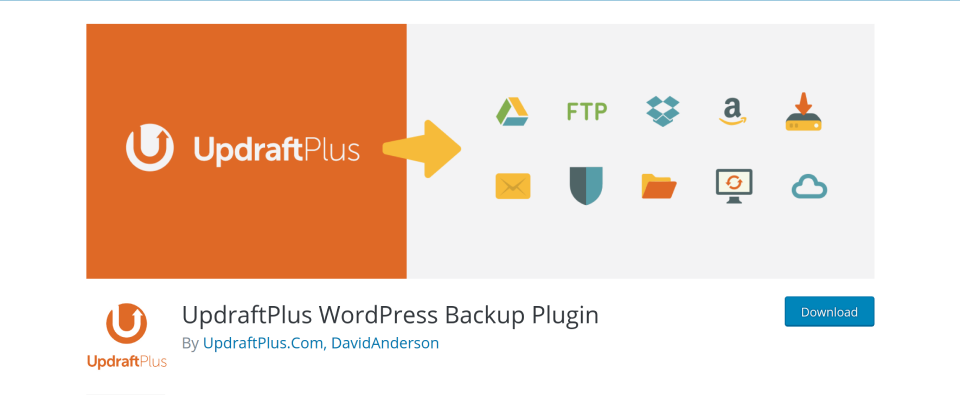
Always back up your database, themes, and plugins. Tools like UpdraftPlus are great for this.
Consider Maintenance Mode
Putting your site into maintenance mode while updating keeps visitors from making donations or other changes during the process.
There are several free plugins available in the WordPress Plugin Directory to help with this.
How to Update Give and Add-ons
When a new version of Give is available, WordPress will show a notification in the Plugins menu and on the dashboard.
Updating Give Core
- Click Update Now
- Log in to your WordPress admin dashboard
- Go to Plugins > Installed Plugins
- Find Give in the list

When a new version of Give is available, you’ll see the notifications on the WordPress admin panel as well as in the Plugins menu.
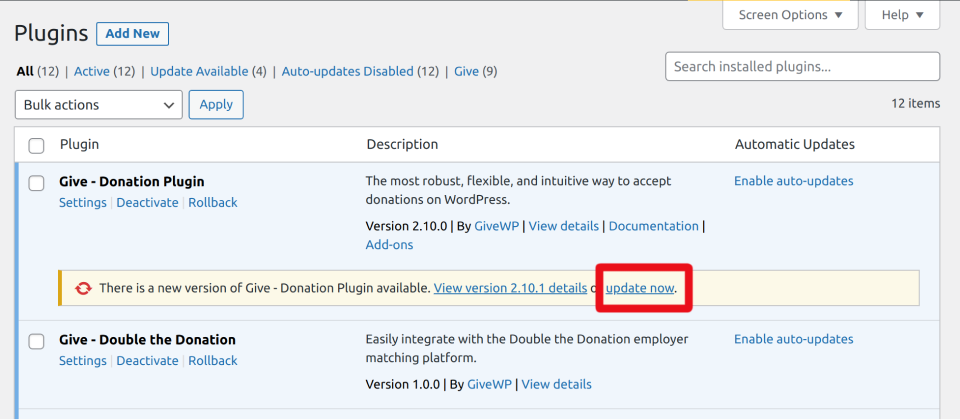
To update Give from the Plugin menu, click on the ‘Update Now’ link from the notification below the plugin.
Manually Updating Give Core
If the option to update Give doesn’t appear in the WordPress dashboard, the plugin can also be updated manually.
- Download the latest version of Give from the WordPress.org plugin page.
- In the WordPress dashboard, navigate to Plugins > Installed Plugins and deactivate the current version of Give.
- Select Add New > Upload Plugin, then upload the
.zipfile downloaded in the previous step. - Once the upload is complete, click Activate Plugin to start using the latest version.
Note: All donation forms, settings, and data are safely stored in the site’s database. Updating or reinstalling the plugin won’t affect existing donation information.
Updating Give add-ons:
If your site has an active license key, add-ons update the same way as the core plugin.
Manual Update Steps
Prefer to update manually? Here’s how:
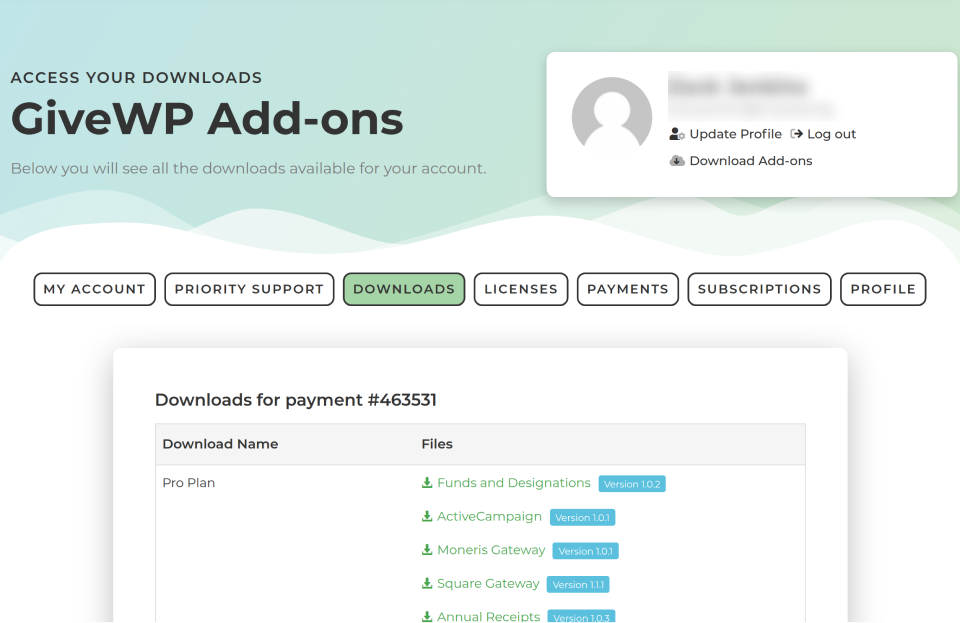
- Log in to your Give account.
- Download the latest ZIP file from My Downloads.
- In WordPress, go to Plugins > Add New > Upload Plugin.
- Upload the ZIP file and click Install Now.
- On WordPress 5.5 or newer, you’ll get the option to replace the current version.
- On older WordPress versions, first deactivate and delete the existing version. Then upload the new one.
Note: Deleting the plugin doesn’t remove your settings or donation data. That information is safely stored in your site’s database.
How to Roll Back a Give Update
If an update causes problems, you’ve got options. Below you’ll find two options to safely “undo” and update.
Option 1: Restore from Backup
Use your backup plugin to bring the site back to how it was before the update. This is the safest way to undo changes.
Option 2: Use WP Rollback (Give Core Only)
The WP Rollback plugin lets you return to an earlier version of the core plugin.
- Install and activate WP Rollback.
- Go to Plugins > Installed Plugins.
- Click the Rollback link under Give.
- Pick a version and confirm the rollback.
Note: WP Rollback only works with plugins from WordPress.org. That means it can’t roll back (or forward) any Give add-ons downloaded from the Give website. Also, rolling back might not undo database changes added by newer versions.
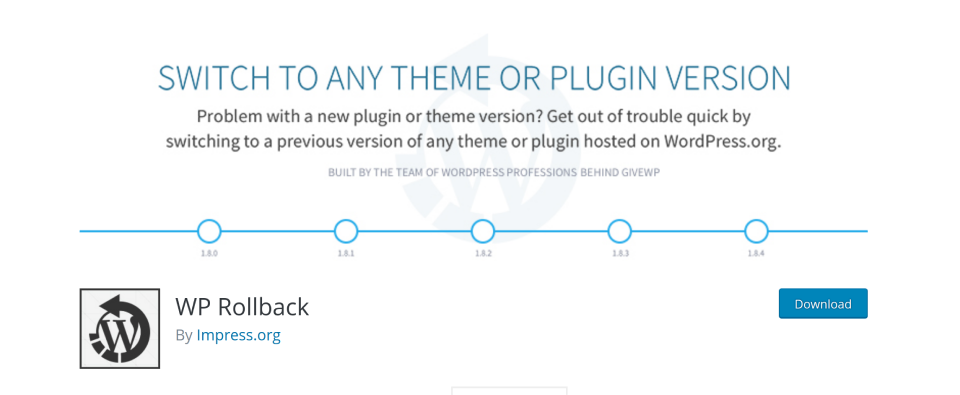
After installing and activating the plugin, you will see a rollback option below the plugin. Clicking on it will allow you to rollback the plugin to any of the previous versions provided.

Final Tips for Updating Give
Updating is one of the best ways to keep your donation tools reliable and secure. Here’s a quick recap:
- Use a staging site to test updates first
- Back up everything before updating
- Turn on maintenance mode to prevent activity during updates
- Update one version at a time if you’re behind
- Keep a restore plan ready in case you need it
Staying current with Give updates helps keep your donation platform strong. A simple update routine—test, back up, update, and watch for issues—can save time and protect your data.


