Using Multiple Stripe Accounts on a Single GiveWP Site
GiveWP allows for connecting multiple Stripe accounts, bringing more flexibility to ways you can accept donations with Stripe. This documentation walks through how to get started with configuring multiple accounts, connecting them to a specific donation form, and disconnecting your accounts.
First, to connect multiple Stripe accounts to a single GiveWP-powered donation website, ensure that you are using version 2.7.x or later of the GiveWP donation plugin for WordPress.
Next, the process of connecting to multiple Stripe accounts requires that the site admin have full access to the Stripe accounts in question. Make sure that you are a full administrator of any Stripe accounts you need to connect to your website.
Connecting to Multiple Stripe Accounts
Navigate to GiveWP > Settings > Payment Gateways > Stripe > Manage Accounts
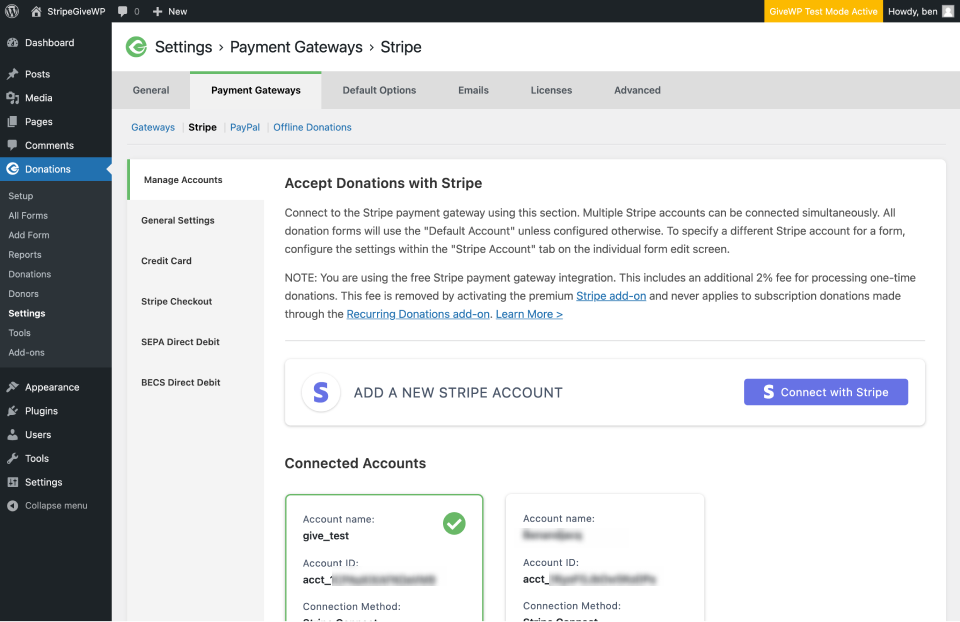
Once you are connected to the first account, as shown in the screenshot above, you are able to add as many additional accounts as you need, using the blue button.
All donations to that form are processed through the “default account” as listed on the settings tab unless you change it on an individual form.
Connecting a Form to a Specific Stripe Account
Visual Form Builder
The Visual Form Builder allows each form to use a different Stripe account.
-
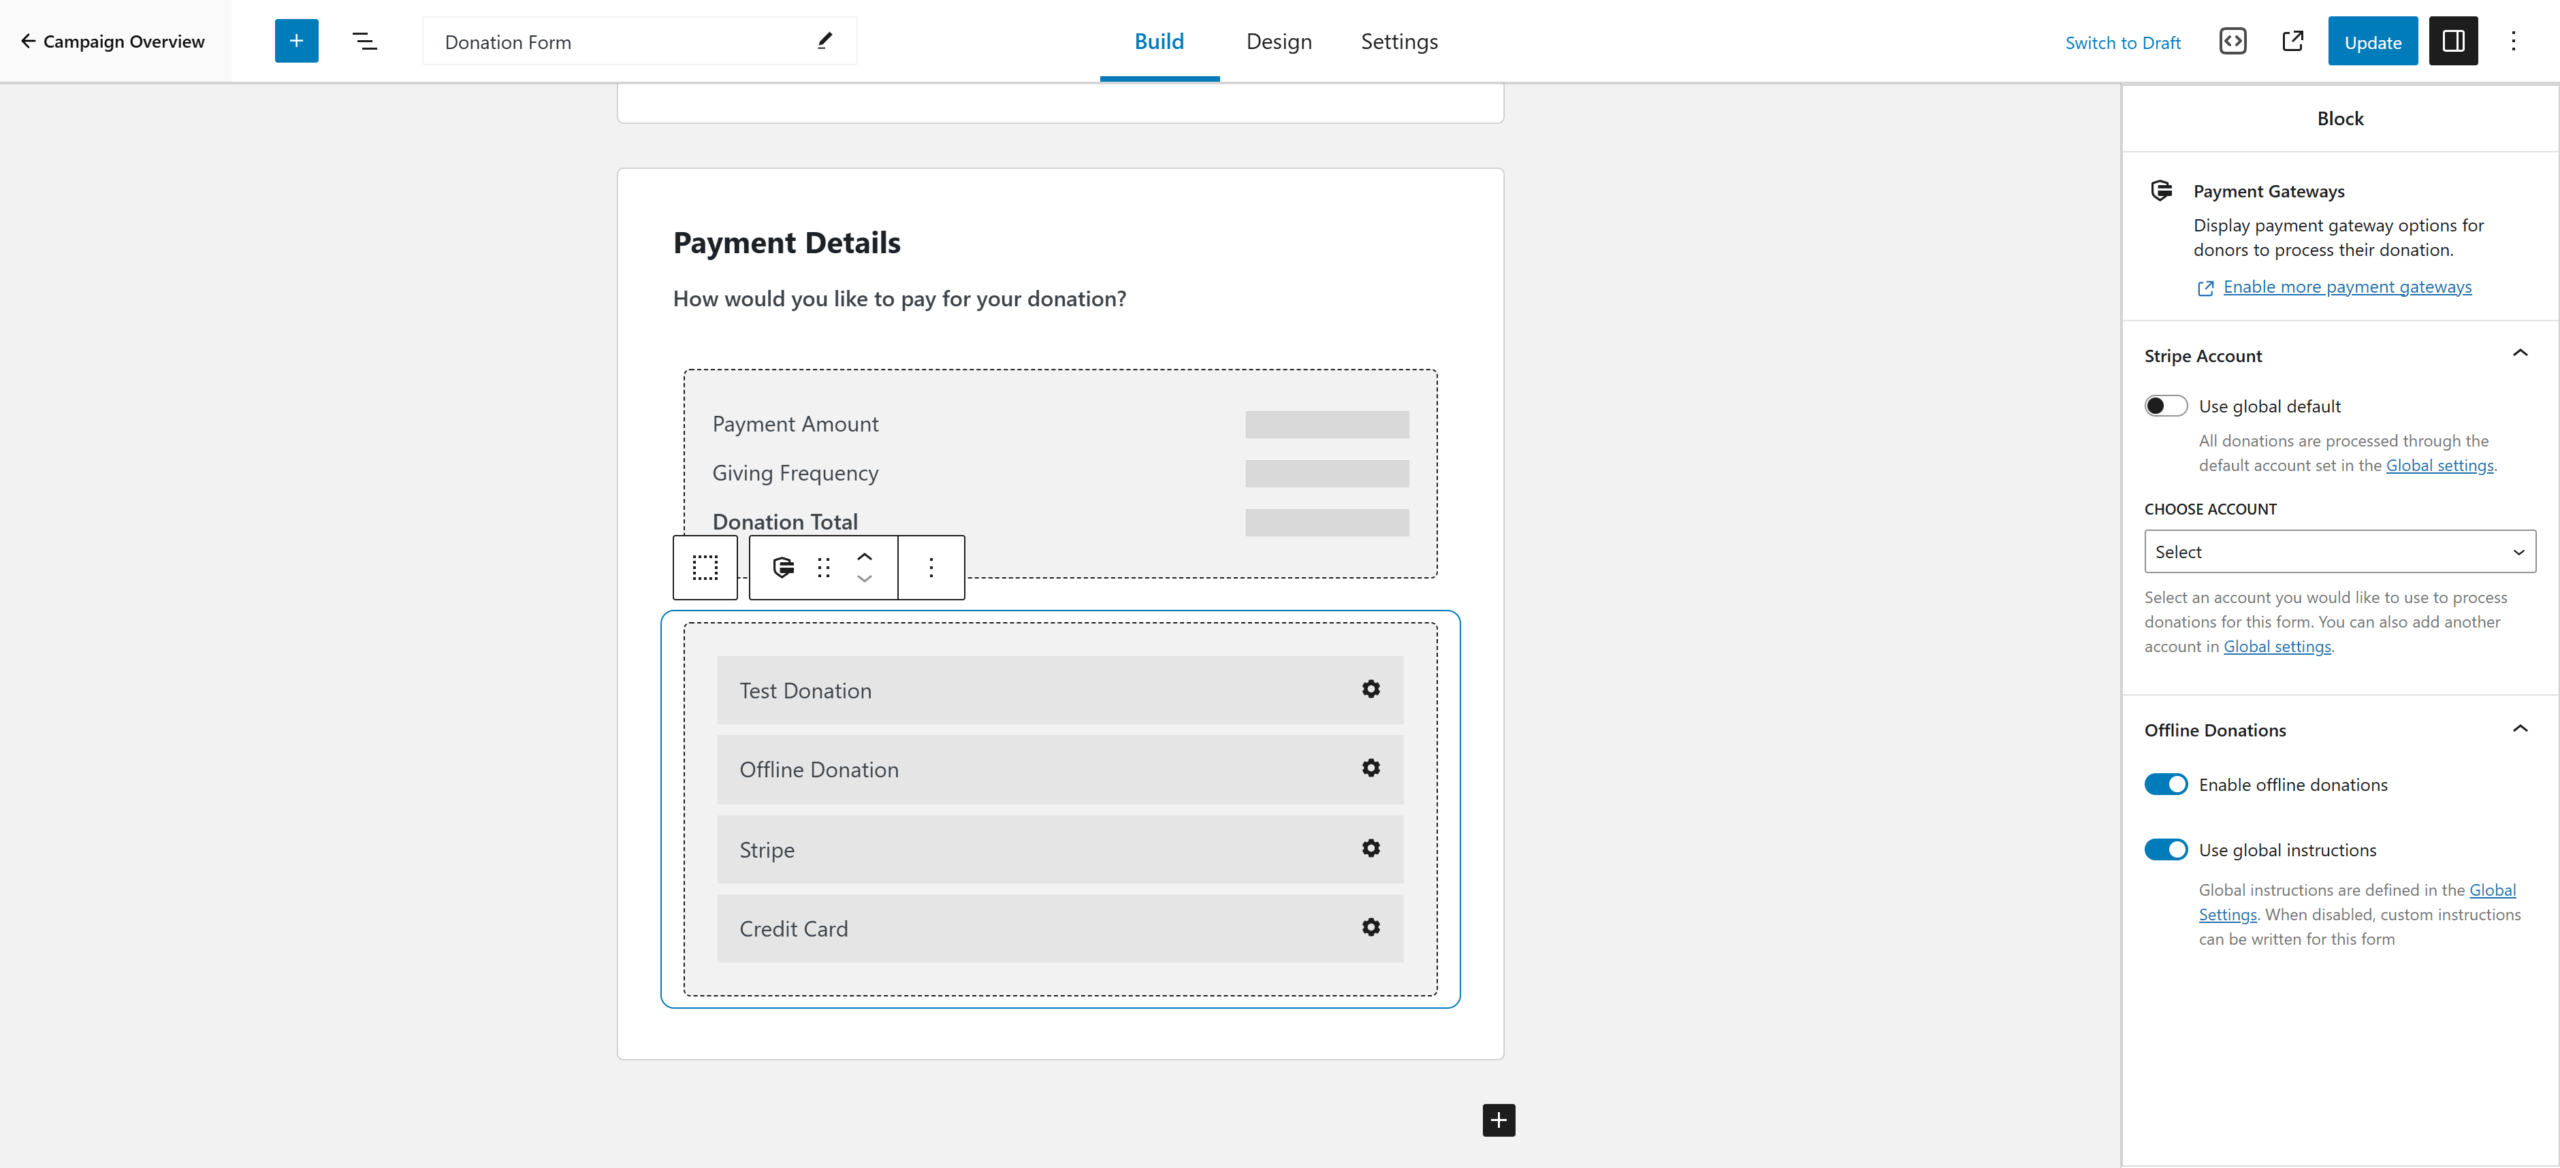
Open the form in the Visual Form Builder and navigate to the Build tab.
-
Select the Payment Gateways block.
-
In the block settings, locate the Stripe Account option.
By default, the Stripe Account setting uses the global default from GiveWP > Settings > Payment Gateways > Stripe. To connect the form to a specific account:
- Disable the default setting.
- Choose from the list of connected Stripe accounts.
That account will process donations for this form.
Option Based Forms
Individual Donation forms have a tab labeled “Stripe Account.” This tab allows you to override the site-wide default account settings and choose from any additional accounts added on the main settings tab according to the above instructions.
Once you’ve added the Stripe accounts needed, head over to the edit screen of the form that you would like to change by navigating to GiveWP > Campaigns > Forms, hover over the form you want, and then Edit. From there, click the vertical tab labeled Stripe account.

On individual forms, you can select a Stripe account for donations to go through.
Select “Customize Stripe Account”, which opens an additional section populated with all the Stripe accounts connected to the site. Select the account you want connected to that form, and click “Update” on the right side.
Note: Clicking the “Connect Stripe Account” button on the individual form takes you away to the Settings page, which will prompt you to save the progress of the form.
Disconnecting Stripe Accounts
Once connected to a Stripe account via the blue connect button method, you can disconnect the account using the disconnect button (seen in the first screenshot above).
Stripe Premium and Multiple Accounts
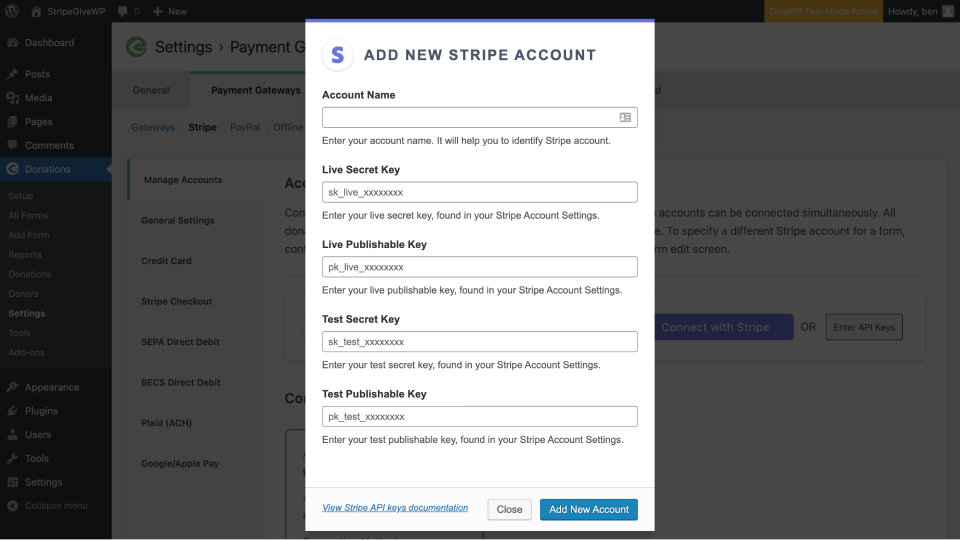
If you’ve purchased, installed, and activated the Stripe Premium add-on, there are additional methods of connecting multiple Stripe accounts. One of those methods is to use Stripe’s API keys. Activating the add-on displays the API key method of connection directly on the same Manage Accounts tab.