Testing Authorize.Net
A crucial step in setting up any payment gateway is the ability to test it without using actual money. Authorize.Net makes this process clean and separate from your live account by utilizing a Sandbox account. This document walks you through the process of testing Authorize.Net.
Testing with Authorize.Net’s Sandbox
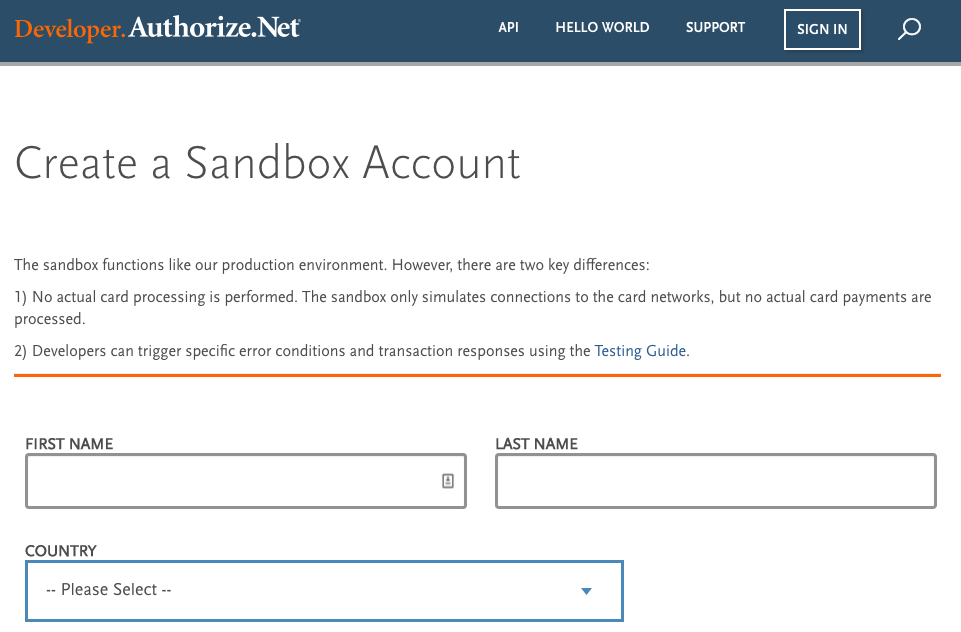
Authorize.Net has a sandbox version of their gateway for this specific purpose. The sandbox functions like the production environment except that no actual card processing is performed. The sandbox only simulates connections to the card networks, but no actual card payments are processed. See Authorize.Net’s Testing Guide for additional information.
Let’s get started testing the integration between GiveWP and Authorize.Net.
Testing Steps
First, you will need to set up an Authorize.Net Sandbox Account:
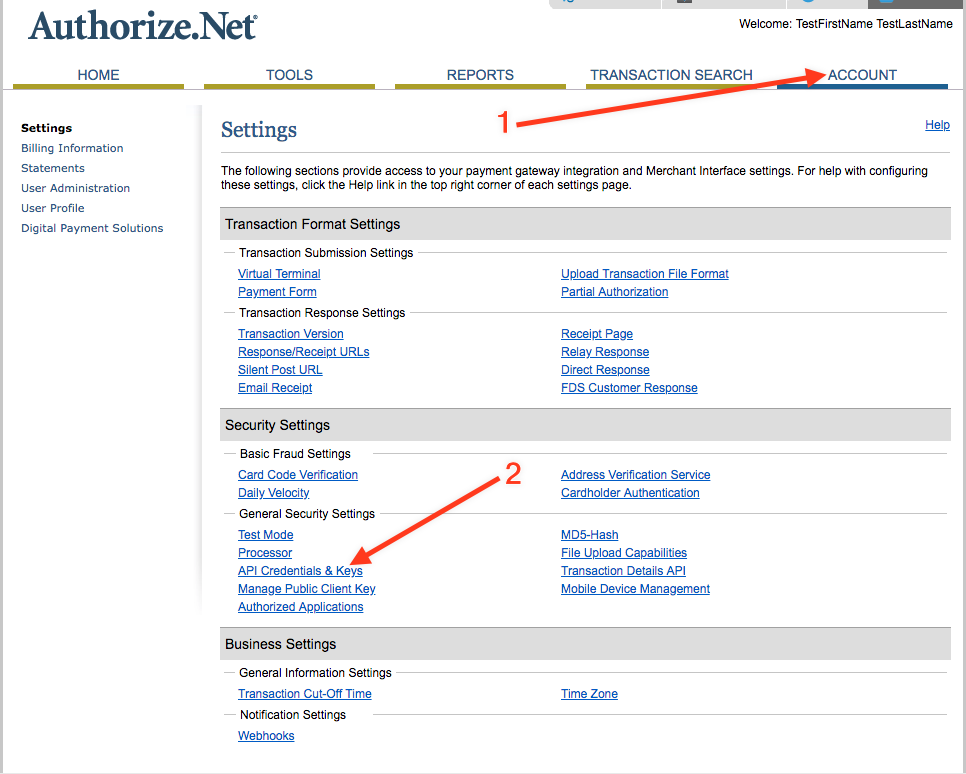
Once the account is set up, log into the sandbox dashboard and navigate to Account (top right) and find “API Credentials and keys” under the general security settings of the Security Settings section.
On the next page, your API Login ID is displayed. Copy and paste that into the sandbox GiveWP settings (open in a new browser window or tab) at Donations > Settings > Payment Gateways > Authorize.Net settings.
Back in the Authorize.Net settings, the secret answer to the security question for your sandbox account is “Simon.”
Note: The security answer for Authorize.Net sandbox accounts is “Simon” for all accounts.
Select the “New Transaction Key” option and submit the form. On the next page, copy and paste that key into the GiveWP settings and Save the changes. You’re now all set to accept test donations, but there’s one more step to take before testing things.
Back at the Authorize.Net sandbox dashboard, click “continue” to be taken back to the Account tab, then click on the “API Credentials and Keys” link and submit the form again, selecting “New Signature Key” from the options this time. On the next page, you’ll see a Signature key, but you don’t need to paste that anywhere in GiveWP’s settings.
That signature key allows GiveWP to set up and configure webhooks automatically for you, which allows authorize.Net to communicate with your GiveWP site. With that, your settings are configured for testing Authorize.Net.
How to Test Credit Cards with Authorize.Net
The Authorize.Net Sandbox makes it easy to test credit card donations with GiveWP:
- First place GiveWP into Test Mode
- Create a Donation Form as you prefer it to be configured
- Process a test donation using the test credit card numbers provided by Authorize.Net’s Testing Guide
- Confirm the donation processed properly from the donor perspective
- Confirm the donation completed in the back end of GiveWP
- Confirm the donation was captured at the gateway
Verifying Credit Card Transactions
Authorize.Net handles capturing and charging payments typically on a nightly schedule. However this may be different depending on how your live merchant account is configured.
To verify sandbox transactions:
- First log into your Sandbox merchant account
- Click on Transaction search > Unsettled Transactions > View.
- Unsettled transactions (those made the same day of testing)
The Authorize.Net sandbox settles all unsettled transactions at once, usually at the close of the business day.
Testing eCheck with Authorize.Net
GiveWP supports both one-time and recurring donations with the Authorize.Net eCheck gateway integration. To test Authorize.Net’s eCheck functionality use the following test account information:
Test Routing Number:
- 021000021
- 011401533
- 09100001
Test Account Number:
- 111111111
Test Name on Account:
- Demo
Test Account Type:
- Any dropdown item
Please Note: For testing purposes, eCheck.Net transactions under $100 will be accepted. To generate a decline, submit a transactions over $100.


