Access Control
Access Control settings help manage how donors view their donation information while keeping sensitive data secure. These tools offer flexible options for login, email verification, and spam protection, especially useful for sites that don’t require full user accounts. This section covers everything from one-click email access to reCAPTCHA security and session settings.
Note: Having Trouble with user access? See our Troubleshooting User Access Issues guide.
Email Access
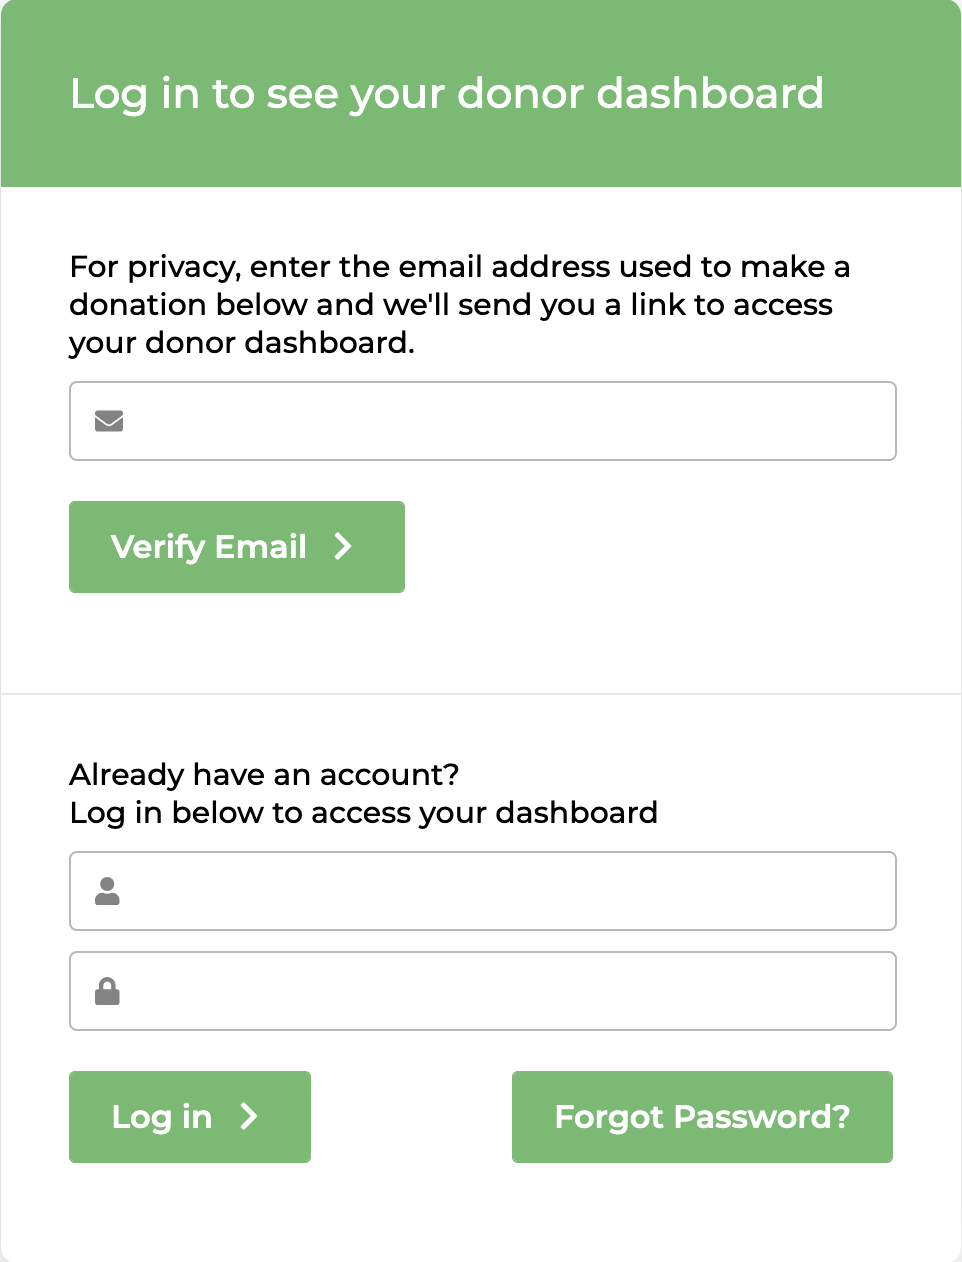
Email Access is turned on by default for new installs. It lets donors view their donation history by verifying their email, no password needed. On the Donor Dashboard page, donors enter the email they used to give and click Verify Email. Donors will get a one-time link sent to that email address, which takes them straight to their dashboard.
Here’s how it appears:
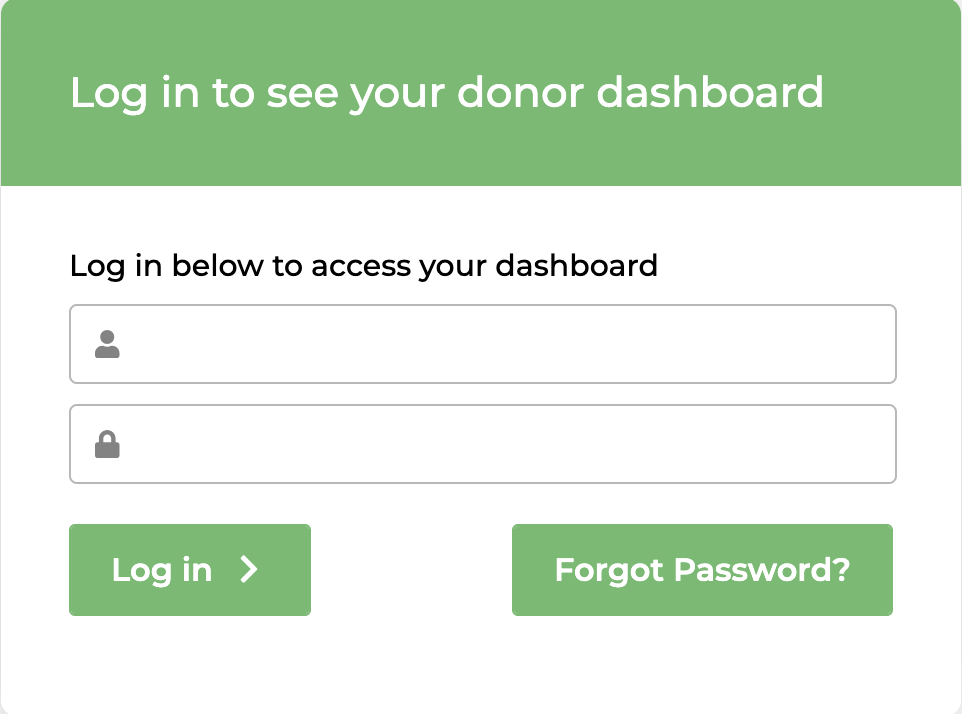
When Email Access is Disabled, only the login section will be displayed. This is where the donor will enter their WordPress username and password to gain access to their Donor Dashboard:
Note: All donations made through forms built with the Visual Donation Form Builder will automatically create a WordPress user account for the donor. The Guest Donation option only applies to legacy Option-Based Forms.
Enable reCAPTCHA
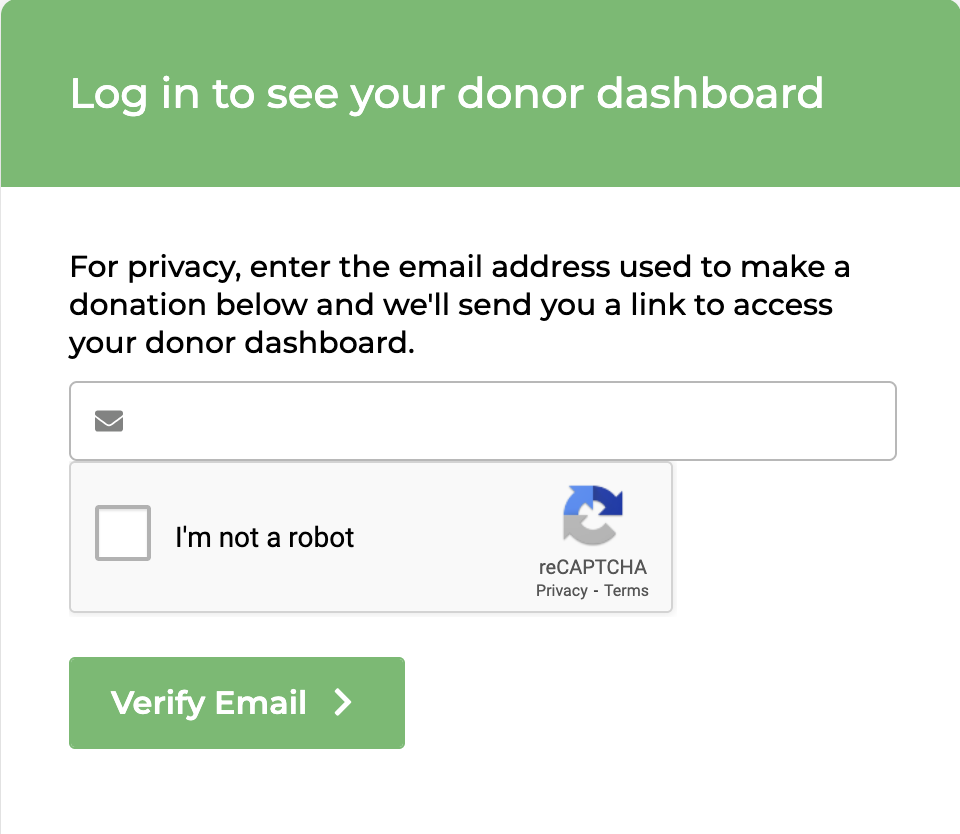
When Email Access is enabled, the Enable reCAPTCHA option will be visible. This setting, when enabled and configured, adds a reCAPTCHA checkbox field to the email login form on the Donor Dashboard page. This helps against spam or bot access to donor records.
Note: This setting only applies to the email access form. It does not add reCAPTCHA to donation forms.
reCAPTCHA Site Key and Secret Key
Entering your reCAPTCHA V2 checkbox Site Key and Secret Key values will help protect your Email Access form from being spammed with requests. Because the Email Access form is just one field asking for any email address, it’s an easy target for spambots. reCAPTCHA is a strong form of spam protection that is relatively easy to setup and configure.
Note: It’s important to note that you need to use reCAPTCHA v2, otherwise, GiveWP will be unable to generate the reCAPTCHA field on the access form. After selecting reCAPTCHA v2, make sure you select the “I’m not a robot” tickbox, as per the image below.
Setting Up a new reCAPTCHA v2 Challenge Checkbox
Go to the legacy Google reCAPTCHA admin page to create your keys by clicking on the + as seen below between the Cloud Console and Settings icons.

If you are creating keys for the first time:
- Label – add a label that will be familiar to you for this website
- reCAPTCHA type – select the Challenge (v2) and I’m not a robot Checkbox options
- Domains – add the domain only for your website like “mygivewpsite.xyz”
When complete, click the Submit button at the bottom of the page.

On the next page, you’ll see your new Site Key and Secret Key.
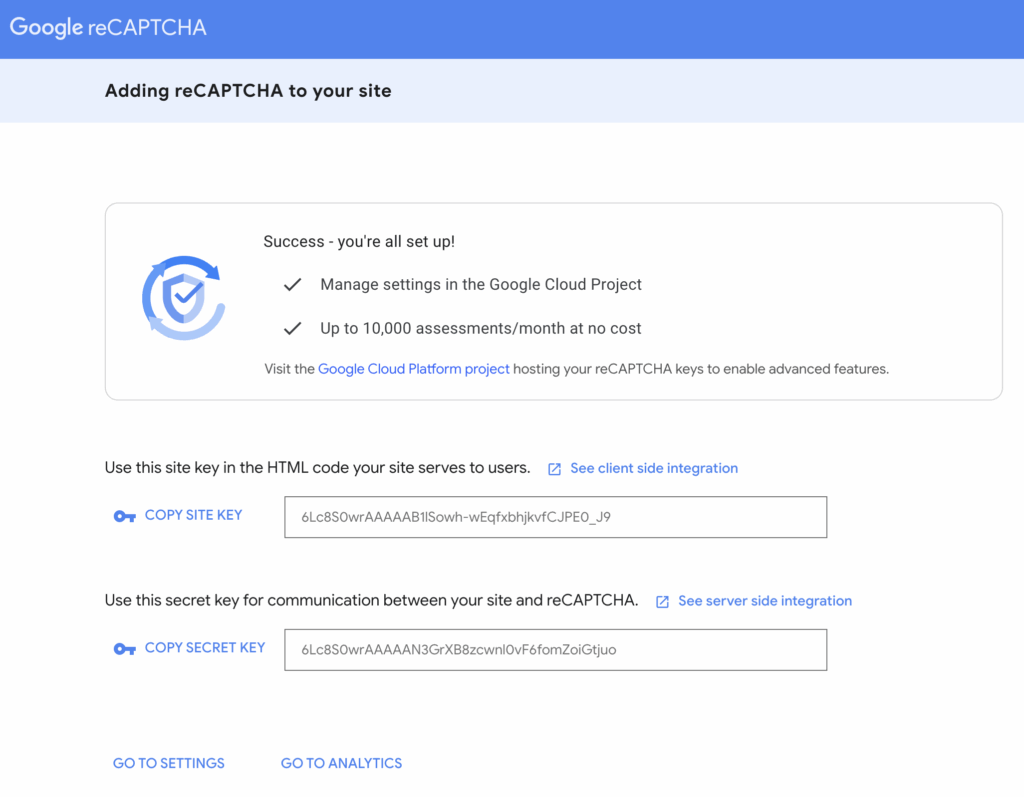
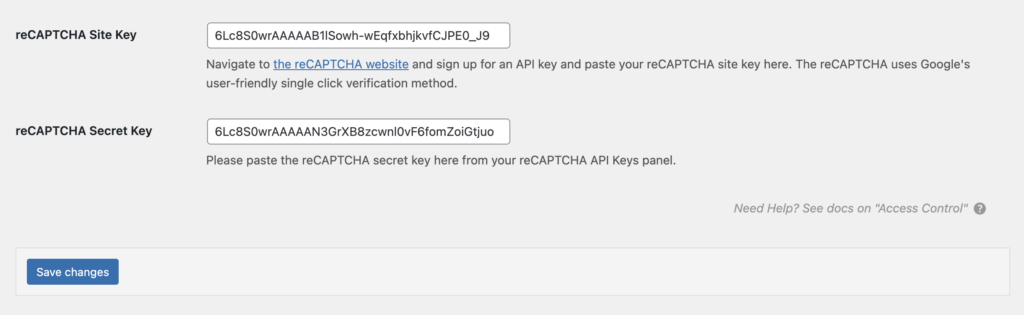
Adding reCAPTCHA To Your Site Settings
Click on the COPY SITE KEY link for each key above, and paste in their respective fields at the bottom of the Access Control settings page, and click Save Changes.
Now your Email Access form is protected with reCAPTCHA.
Settings for Option-Based Forms
These settings will also be visible when you have the Option-Based Form Editor setting enabled in the Advanced settings.
Session Lifetime
Options: 24 Hours | 48 Hours | 72 Hours | 1 Week
Default: 1 Week
This setting determines how long a donor’s session is kept active after they donate. This allows them to see their donor information securely within their browser without having to log in to your site. Once this period expires, donors will not be able to see their Donor History or Donor Confirmation page any longer.
Limit Donations Displayed
Options: Any whole number
Default: 1
To prevent unauthorized access to the complete donation history associated with an email address, GiveWP limits access for logged-out donors who submit a donation. To gain access to the full donation history, donors must prove that they have access to that email address.
This setting allows you to specify how many donations logged out donors have access to without any verification. For security, lower numbers are recommended.


