How to Start Fundraising: Setup to Strategy
Getting started with fundraising can be somewhat daunting, but with the right tools, resources, and strategy it’s actually easier than you might think.
For most new fundraisers, the two biggest challenges are:
- Technology: Setting up donation tools, websites, and campaigns.
- Donor engagement: Finding and connecting with the right supporters.
The good news? You can turn these challenges into opportunities with the right tools and a clear plan. This guide walks you through everything from setting up your fundraising website in WordPress to creating your first campaign and building a strategy that inspires giving.
Setting Up Your Fundraising Website
Let’s start with the technology side of things, because it’s often the most intimidating part. You don’t need to be a web developer to launch a nonprofit website that accepts donations.
WordPress, combined with tools like GiveWP, allows anyone to get started.
Step 1: Domain and Hosting
Every nonprofit website needs two essentials:
- Domain name (your web address, like givewp.com)
- Hosting (where your website lives online)
If you don’t already have these, many providers offer nonprofit-friendly plans. One option designed to simplify this process is StellarWP’s Stellar Sites. With StellarSites, you can get hosting, WordPress, and essential plugins like GiveWP bundled together, so you don’t have to juggle multiple vendors. It’s a fast-track way to launch your fundraising site without worrying about technical setup.
Of course, you can also choose other hosting solutions like Nexcess. The key is to make sure your hosting is reliable, as downtime could cost you donations.
Step 2: Choose a Template
Once hosting is in place, you’ll need a design. Rather than starting from scratch, you can use a starter template. These templates provide pre-designed layouts you can customize with your logo, colors, and content.
Kadence offers excellent no-code templates specifically for nonprofits, so you can launch faster without design headaches.
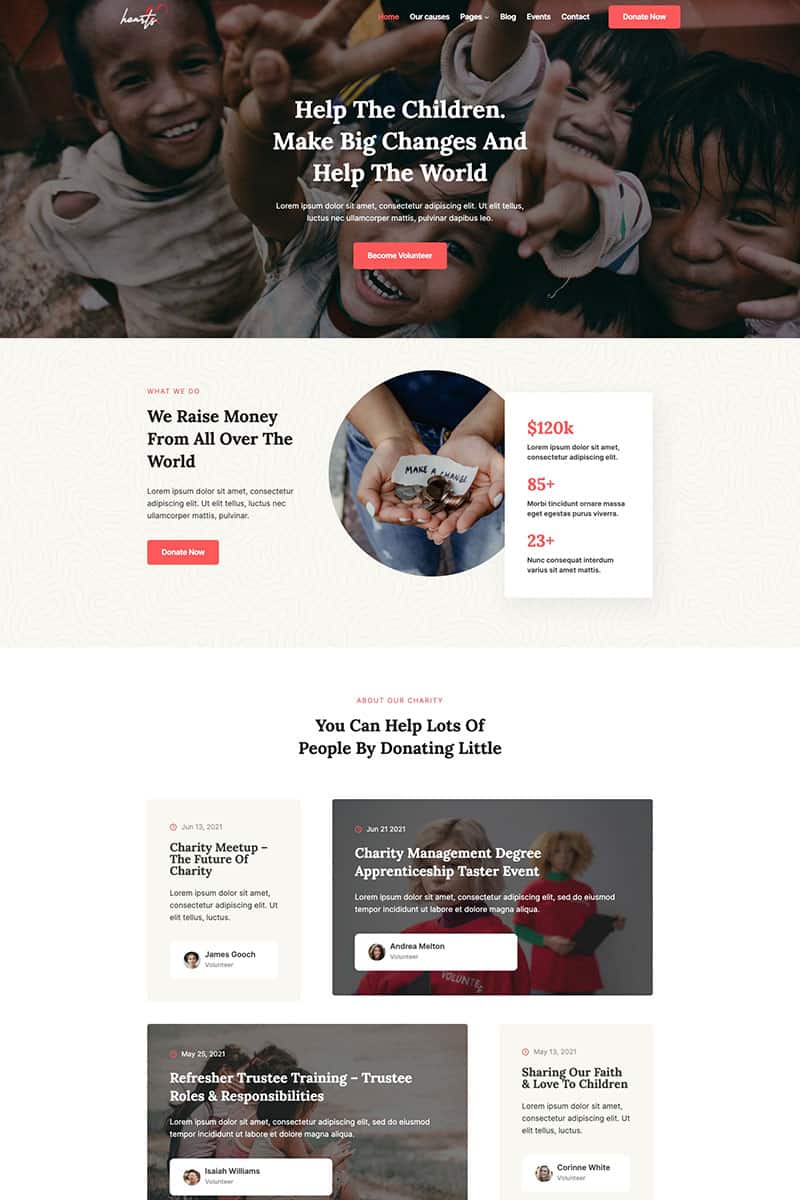
Here are three popular website design templates:
- Donate: With beautiful galleries, powerful blog posts, and customizable forms, your viewers will have no trouble getting on board
- Charity: Your efforts are fully supported with gorgeous layouts and royalty-free images
- Hearts: Give you the framework you need to customize for your charity’s needs
Even better: Kadence templates already include GiveWP, so if you use one, you can skip to creating your first campaign.
Using GiveWP
With your theme in place, the next step is enabling donations. That’s where GiveWP comes in.
GiveWP is a free WordPress donation plugin used by over 100,000 nonprofits worldwide. It’s designed to help you:
- Create unlimited fundraising campaigns
- Track donor activity and relationships
- Report on performance with built-in analytics
Creating Campaigns in GiveWP
Campaigns are the backbone of online fundraising. Each represents a specific goal or story you want to share with your donors. Think of a campaign as your digital fundraising hub.
Getting Started
From your WordPress dashboard:
- Navigate to GiveWP > Campaigns
- Click Create Campaign
You’ll enter the campaign builder, where you’ll set up the basics.
Step 1: Set Up Campaign Basics
Every campaign needs:
- Title: Keep it clear and inspiring (e.g., “Clean Water for 500 Families”)
- Description: A short summary of what the campaign is about. This is your chance to inspire visitors
- Cover Image: Photos are powerful motivators. Use one that emotionally connects with your mission (recommended: 1600px x 900px)
Step 2: Define Your Campaign Goal
Donors love to see progress. Setting a goal helps them visualize their impact. GiveWP lets you track by:
- Total amount raised
- Number of donations
- Number of donors

Customizing Your Campaign Page
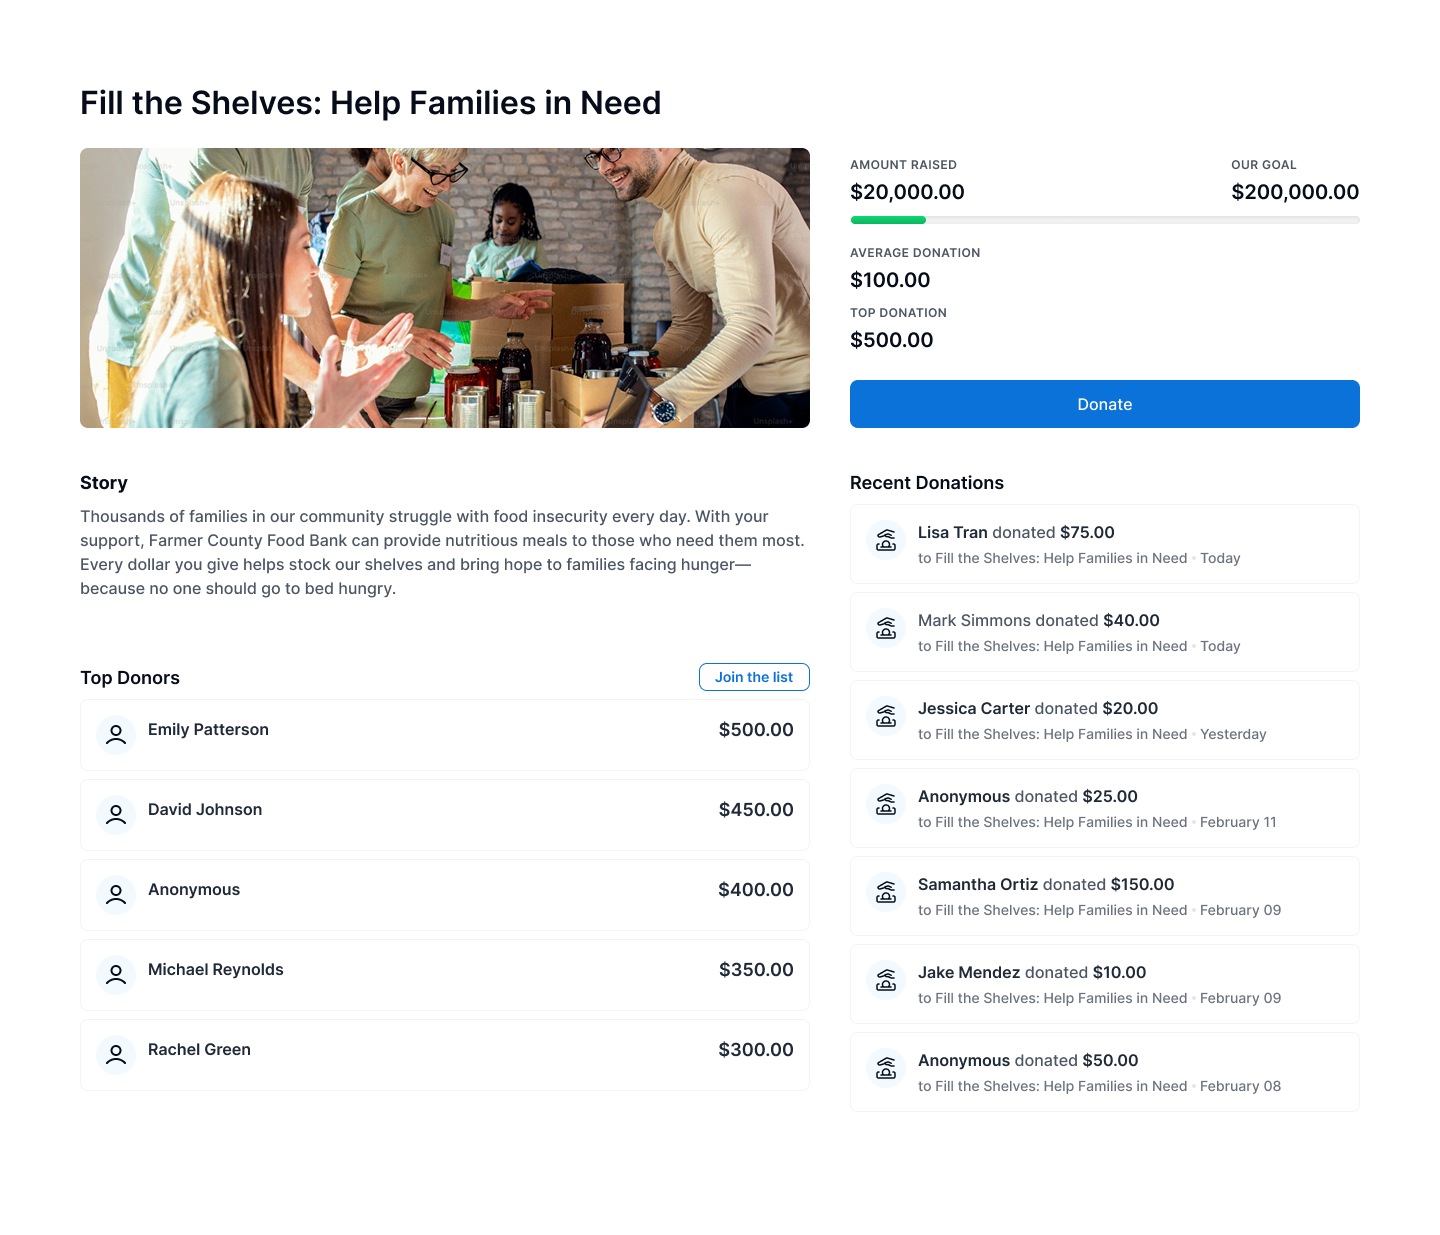
Each campaign automatically generates a landing page; think of it as your campaign’s home base, where donors learn about your cause and give directly.
Layout
The default page includes:
- Cover image and donate button at the top
- Goal tracker
- Recent donations
- Top donors
This setup is optimized for conversions, but you can easily customize it using the WordPress Block Editor.
Content Blocks
Campaign pages have several default blocks, but you aren’t limited to just the basics. These pages are most effective when they feel like a story, so think about how different types of content can work together to inspire donors.
For example, you might share impact stories highlighting how donations directly change lives, or add testimonials from past supporters and beneficiaries to build trust. Visual elements also play a powerful role: short videos featuring a personal appeal can create an emotional connection, while infographics make it easy for potential donors to understand exactly where their contributions will go.
By blending these elements, your campaign page becomes more than just a place to donate — it becomes a compelling invitation to join your mission.
Default GiveWP blocks include:
- Campaign Title & Description (auto-populated)
- Campaign Goal (progress bar or number)
- Donate Button (opens the form in a modal)
- Recent Donations & Top Donors (for social proof)
Publishing Your Campaign
Once you’ve customized your page, hit Publish. Your campaign is now live and ready for donations. Share the link across social media, email newsletters, and partner networks to start gaining traction.
Editing and Updating Your Campaigns
Launching your campaign is just the beginning. As your fundraiser progresses, you may need to update details, adjust goals, or refresh content to keep donors engaged. GiveWP makes this easy.
How to Edit a Campaign
- Go to your WordPress Dashboard
- Navigate to GiveWP > Campaigns
- Hover over the campaign you want to update and click Edit
From here, you can:
- Update your title or description: Refine your story or add new context as your campaign evolves
- Change your goal: If you’ve met your initial target or need to adjust expectations, you can increase or decrease the fundraising goal anytime
- Swap out images or videos: Add progress photos, donor thank-you videos, or impact updates to keep the visuals fresh
- Edit your donation form: Customize donation levels, add recurring options, or tweak the form settings to improve conversion
Keeping Donors Informed
Regular updates help maintain momentum. You might share a milestone update when you hit 50% of your goal, add a new story about how funds are being used, or post fresh visuals that reflect your campaign’s progress. These minor edits keep your campaign active and give supporters a reason to come back.
Repurposing Campaigns
You don’t have to start from scratch when a fundraiser ends next time. GiveWP allows you to duplicate and adapt an existing campaign for a new initiative. This saves time and helps you maintain consistency in your messaging and design across different efforts.
Building a Strong Fundraising Strategy
Technology gets you online, but strategy keeps your donors engaged. A strong fundraising plan ensures your team and supporters stay aligned.
The first step is to develop your messaging. Ask yourself: What makes your mission unique? Why should people care about this cause right now? And who are your ideal donors? The answers shape your campaign’s story and tone.
Next, you’ll need to craft the ask. A compelling donation appeal usually combines your organization’s values, a direct “you” statement, and a clear call to action.
For example: “With your support, we can provide 500 families with clean water. Will you join us by donating $25 today?”
Before you launch, gather supporting materials. Think stories from volunteers, photos, and videos that bring your mission to life, and key data points that show the impact of giving. Having these assets ready makes your campaign more engaging and easier for supporters to share with their own networks.
Best Practices for Campaign Success
The most successful campaigns build trust and keep donors involved. One helpful principle to remember is the 80/20 rule: Most (80%) of your funding will come from a smaller group (20%) of highly engaged donors. Focus on nurturing that group while also welcoming new supporters.
You can also increase momentum with social proof. Highlight recent donations, showcase testimonials, and celebrate progress as it happens. This makes potential donors feel like they’re part of something growing.
Recurring donations are another best practice worth emphasizing. Even small monthly gifts create reliable income and make donors feel invested over time. Pair this with active participation from your board and volunteers, and you’ll have a strong foundation for expanding reach.
Finally, make your campaign easy to share. Provide ready-made graphics, sample posts, or even hashtags to encourage supporters to spread the word on social media.
Common Mistakes to Avoid
Even the best-planned campaigns can stumble. One common mistake is skipping the goal. Donors are more motivated when they can see progress toward a specific target. Another is overloading the page with too much information. Keep your campaign page focused, clear, and visually appealing.
Equally important is how you follow up. Not thanking donors quickly or failing to show how their gift made an impact can harm trust. And finally, avoid the trap of one-and-done campaigns. Each fundraiser should be part of a larger plan to build long-term donor relationships, not just a quick cash infusion.
Get Started With GiveWP
Once your strategy is in place, GiveWP simplifies the technical side. With campaign creation, donor tracking, and flexible reporting, you’ll have everything you need to launch, manage, and grow your fundraising efforts.
More than 100,000 nonprofits already use GiveWP to power their online fundraising. Start your first campaign today and see how easy it is to tell your story, inspire giving, and make an impact.
Amplify your fundraising with a GiveWP Plan
About the Author
Camber Clemence
Camber is a Senior Product Marketing Manager for GiveWP. In her role, she focuses on positioning GiveWP’s products to meet the evolving needs of nonprofit fundraisers. Outside of work, Camber runs her own charitable organization and volunteers with a homelessness coalition. She also enjoys long walks with her dog, kayaking, traveling, and taking trips ’round the world at Epcot.